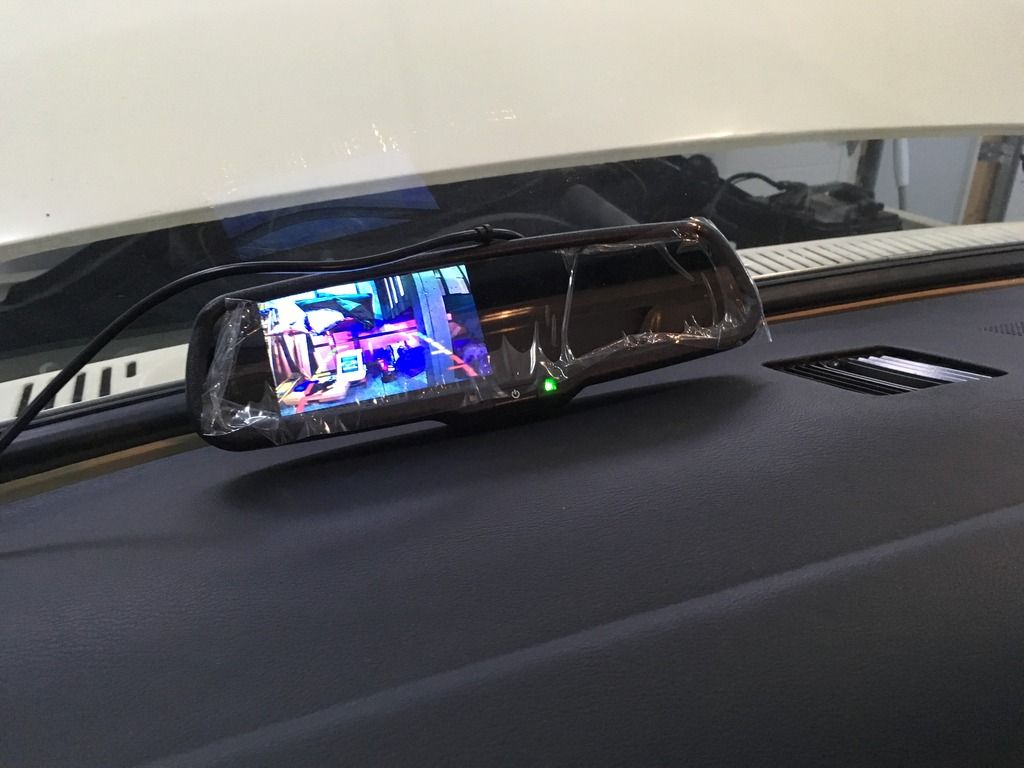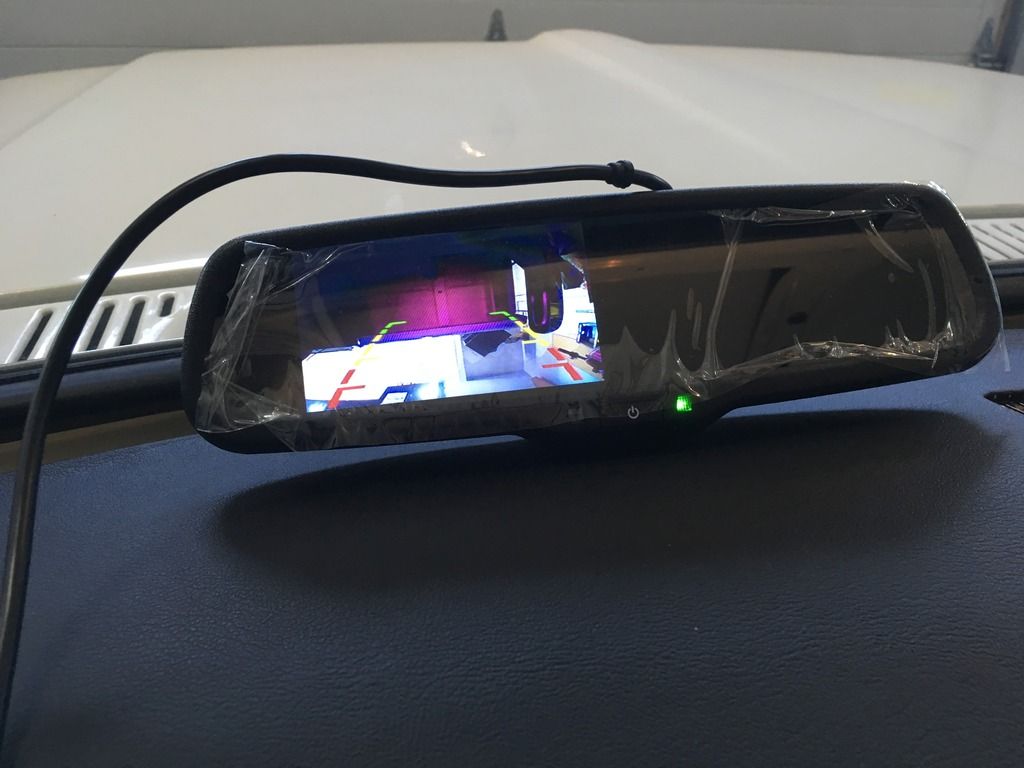
I found this rear-view mirror with a 4.3" 480p screen on e-Bay, for $50 with free shipping from China. Felt like a good deal, and the mirror itself looks relatively stock compared to the old one. The Dennis Carpenter reproductions are a bit pricey at $70 US, so the e-Bay deal looked better and better.
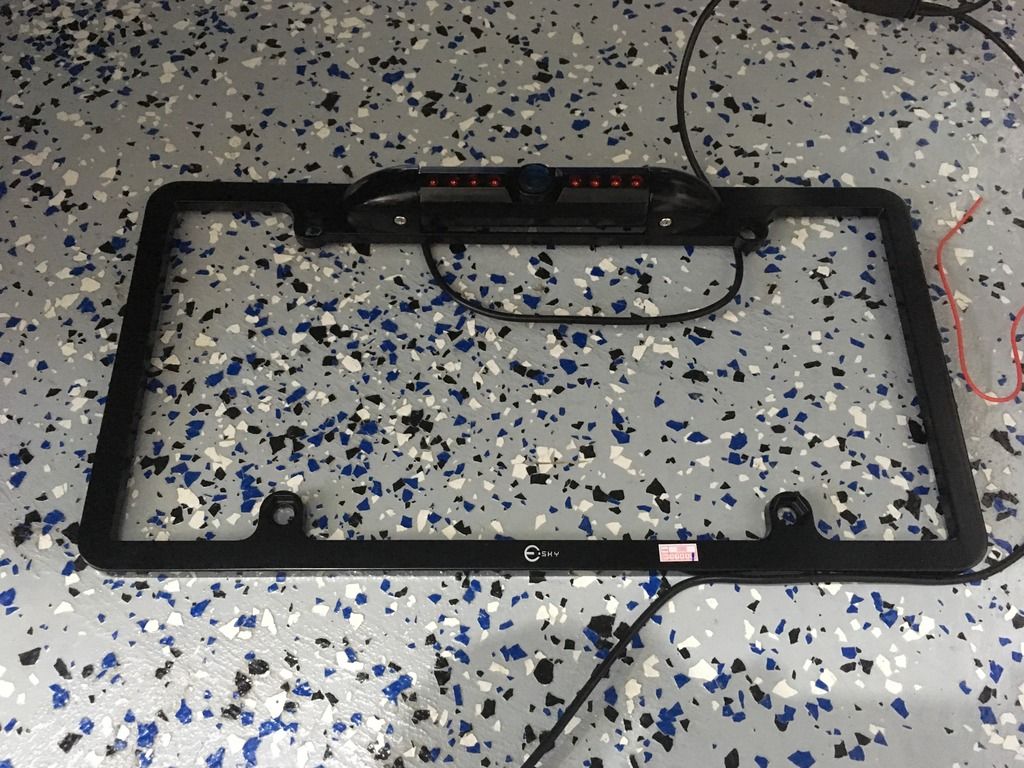
The tough thing to figure out was where to position a camera. Luckily, I found this eSky license plate bracket with camera on Amazon for about $35. The quality seems quite good, and it even has night vision.
I ran the mirror harness up through the pillar, and wired it into accessory power and ground. This model has an auto-dimming feature (for headlights on highbeam behind), so it needs a constant power supply.
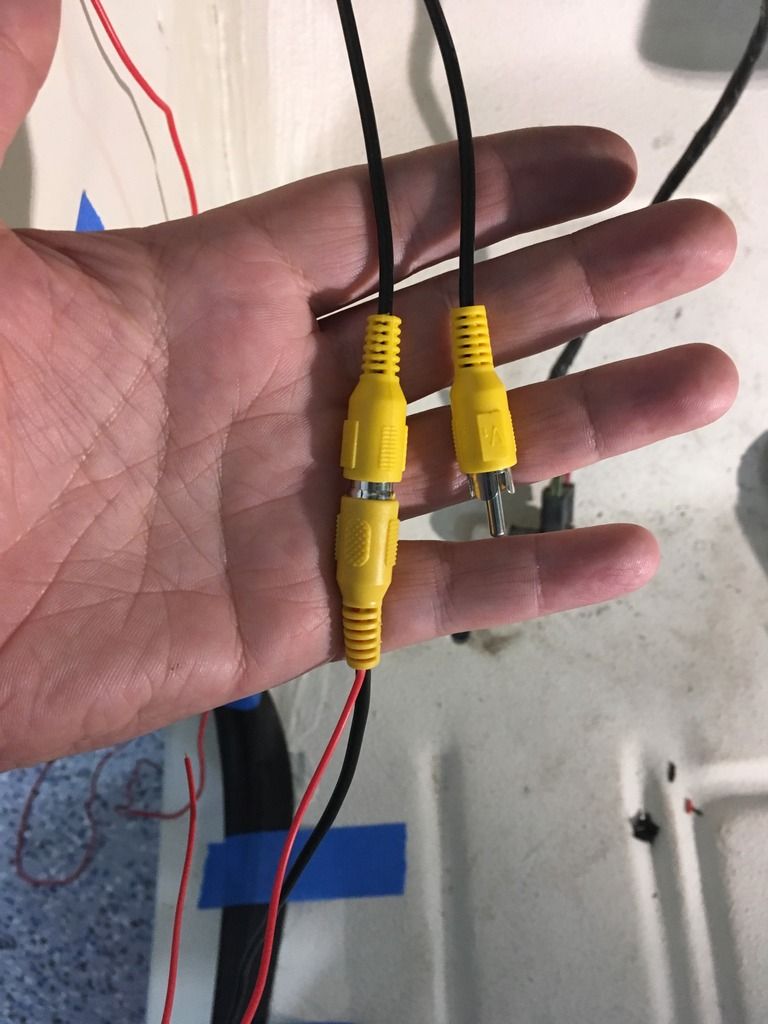
This is from the mirror harness. It has one RCA plug for the camera, and apparently the other for a DVD player. Who is watching movies in their rear view mirror?
Notice the RCA cable with a red wire - this is an option if you wish to use the same power supply for your screen and camera (the back up light power). Since my mirror requires the constant power provided by accessory, I didn't use this option.
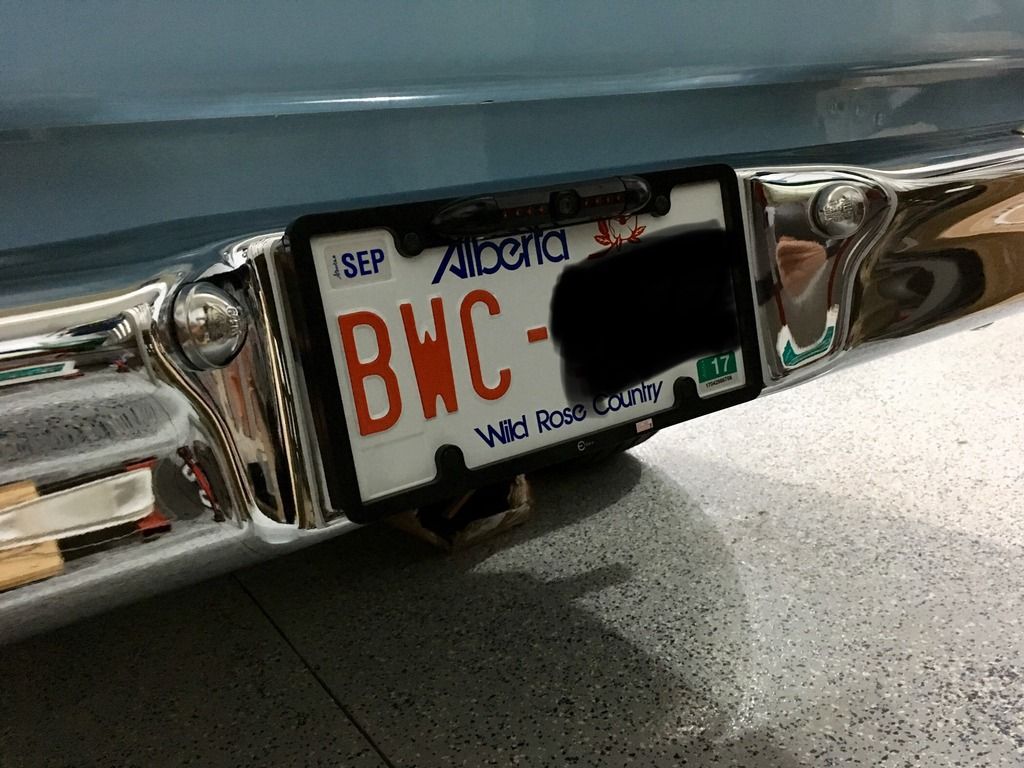
Unfortunately, I had to drill a hole to run the wire cleanly through the bumper. This was a tough decision to make, but it turned out okay. I had to drill 2 more holes to secure the bottom fasteners. Did a bit of research on this, and these are the steps I used to drill through a chrome bumper:
1) Masking tape over the area to be drilled
2) Centre punch, pilot hole, drill slow and use lubricant (I use WD40)
3) When hole is finished, pull masking tape off by pulling towards the hole in all directions
4) Use a step bit (or larger bit) on opposite side to get rid of flash that will rust and also cut you (if you use a file, BE CAREFUL not to catch the chrome and lift it).
5) Prime and paint any bare metal to prevent rust
6) Seal area around hole with (clear) silicone to help prevent chrome plating from lifting and peeling
7) Use a rubber grommet if passing wires through the bumper.
I wish I would have taken some more pictures detailing the process, but if anyone has any questions please reply to this thread or send my a PM. I think this endeavour was fairly successful so far.
