'67 F250 - This project is now for sale (EVERYTHING)
Moderator: FORDification
- theletup
- New Member
- Posts: 88
- Joined: Tue Jun 19, 2012 1:00 am
- Location: Post Falls, ID
Re: '67 F250 460
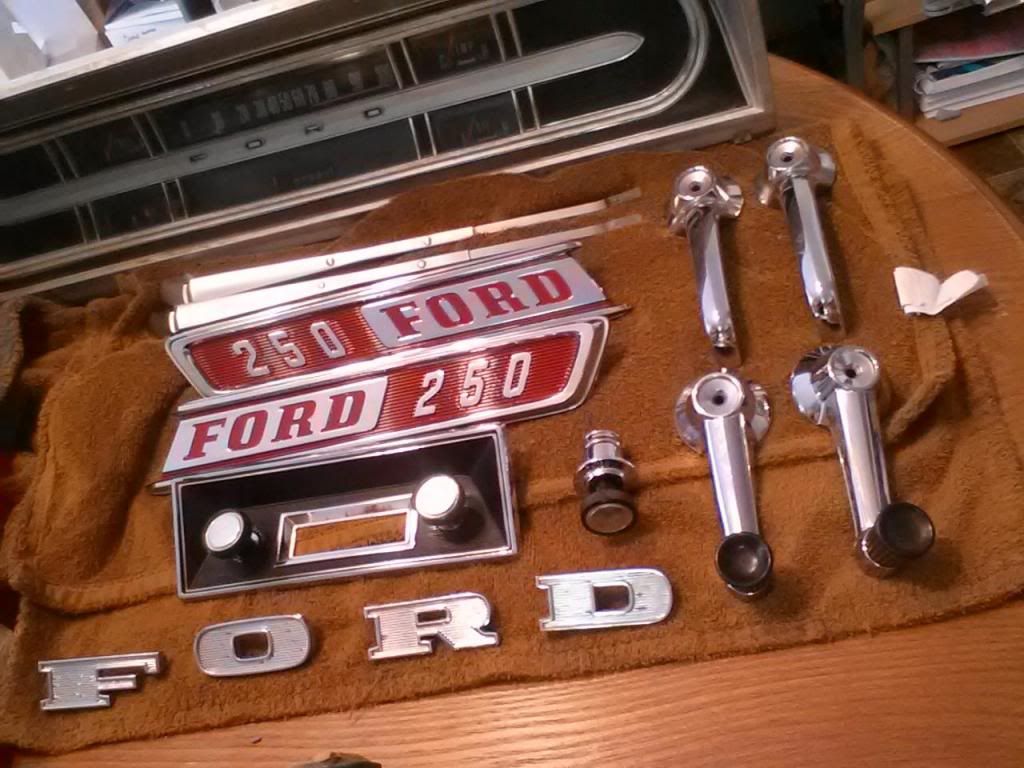
I ended up finishing up my other hood emblem before I went to bed last night. Masking was much quicker and easier this time around now that I had an idea of how to do it.
Then this morning I drank coffee and cleaned parts. Incredible how well these old parts shine up!
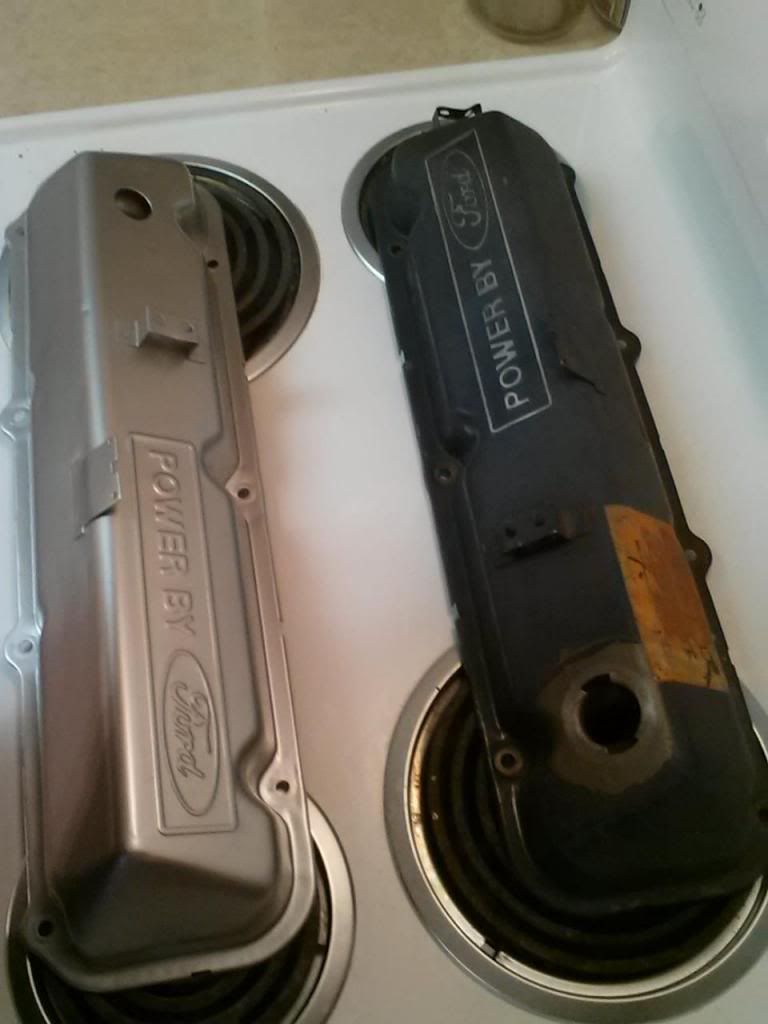
Today I got my first valve cover all finished up:
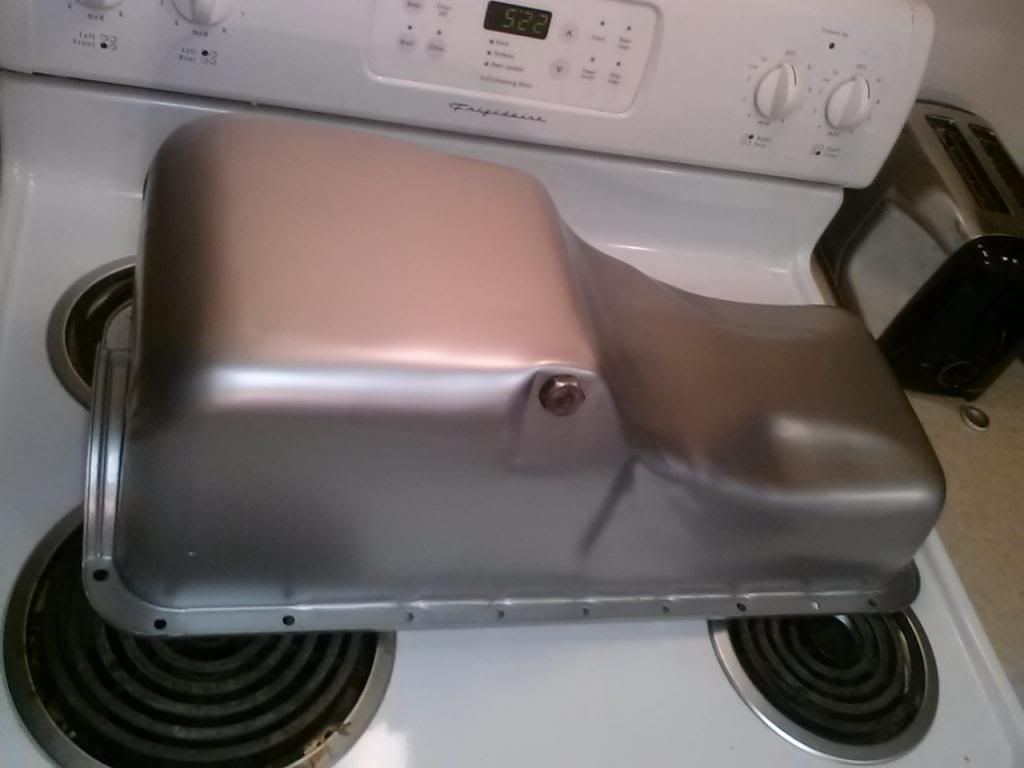
Also finished my oil pan at the same time.
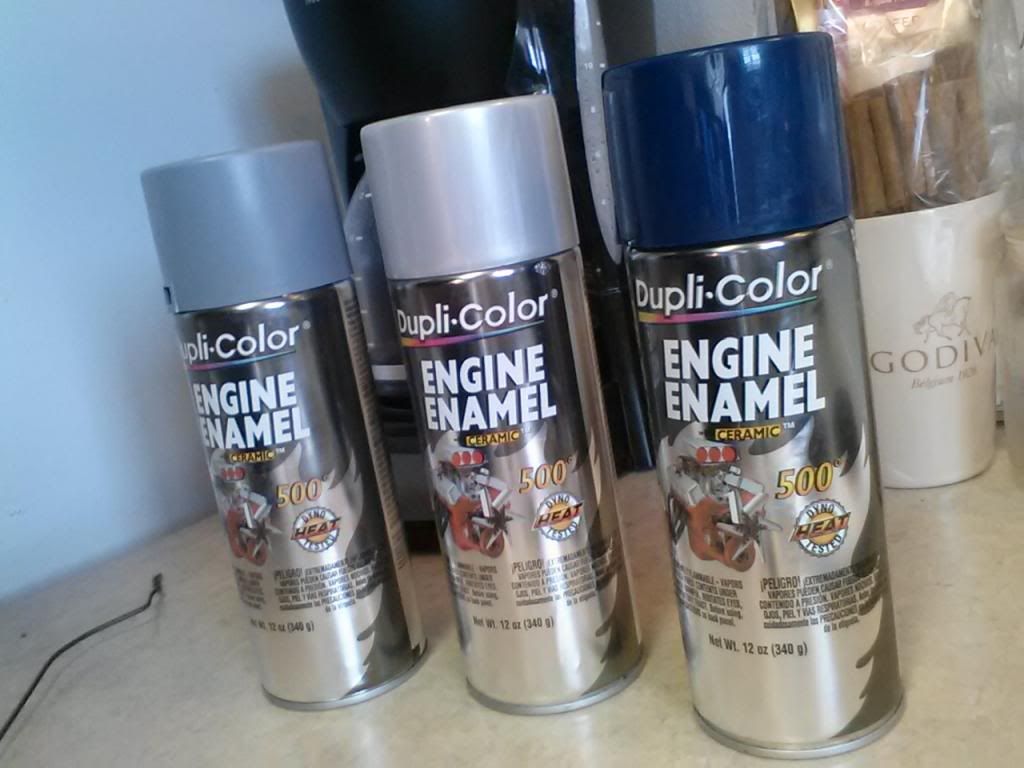
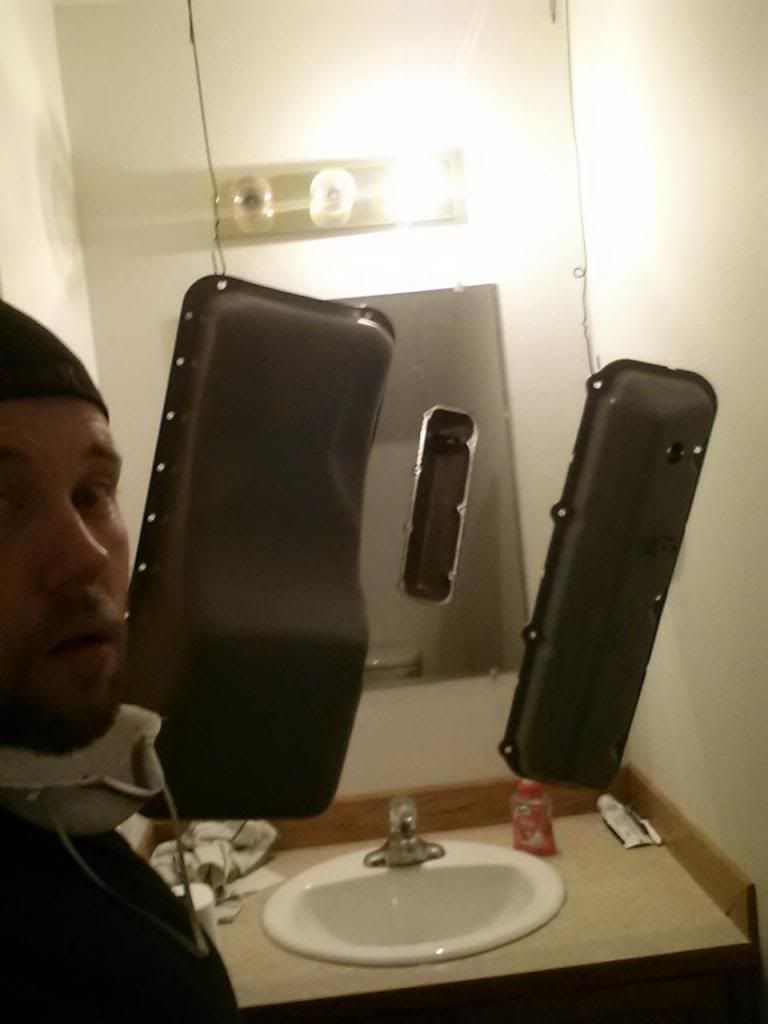
Since I had my engine parts down to bare metal I used Duplicolor's Engine Primer before spraying on the Duplicolor "Aluminum" Engine Enamel. I sprayed 3 coats of each with 10 minutes between coats.
Since it's literally 10* in my garage right now I converted my half bath into the perfect drying room ha ha. Shower rod and exhaust fan on and it's almost professional. I let the parts hang in here inbetween coats to keep everything warm enough but sprayed out in the garage for obvious reasons.
Next up is the timing cover.
http://SpokaneSaveMore.com
Save More Automotive
- Mancar1
- 100% FORDified!
- Posts: 5390
- Joined: Thu Jun 10, 2010 8:13 am
- Location: USS Gramps Garage (DD-727) Tehama County, Northern Ca.
Re: '67 F250 460
Vlv cover cleaned up great
May your sails stay full, and your knots not slip. Unless a slip knot.
Once I thought I was wrong, but I was wrong.
Life is a banquet, and every days a feast.
68 F-250 CS 390 C-6 P/S A/C front disc. 2nd owner.
2016 GMC Terrain Denali 301 HP V-6 AWD.
2009 Silverado Crew Cab, V-8, 4X4.
DD-727
DD-806
AE-35
LSD-39
AS-41
AR-8
Once I thought I was wrong, but I was wrong.
Life is a banquet, and every days a feast.
68 F-250 CS 390 C-6 P/S A/C front disc. 2nd owner.
2016 GMC Terrain Denali 301 HP V-6 AWD.
2009 Silverado Crew Cab, V-8, 4X4.
DD-727
DD-806
AE-35
LSD-39
AS-41
AR-8
- elgemcdlf
- 100% FORDified!
- Posts: 1855
- Joined: Mon Nov 01, 2010 2:04 pm
- Location: Ringgold, GA
Re: '67 F250 460
Bathroom? Really? You need more room. I did my fenders in the living room. Much more spacious.
- theletup
- New Member
- Posts: 88
- Joined: Tue Jun 19, 2012 1:00 am
- Location: Post Falls, ID
Re: '67 F250 460
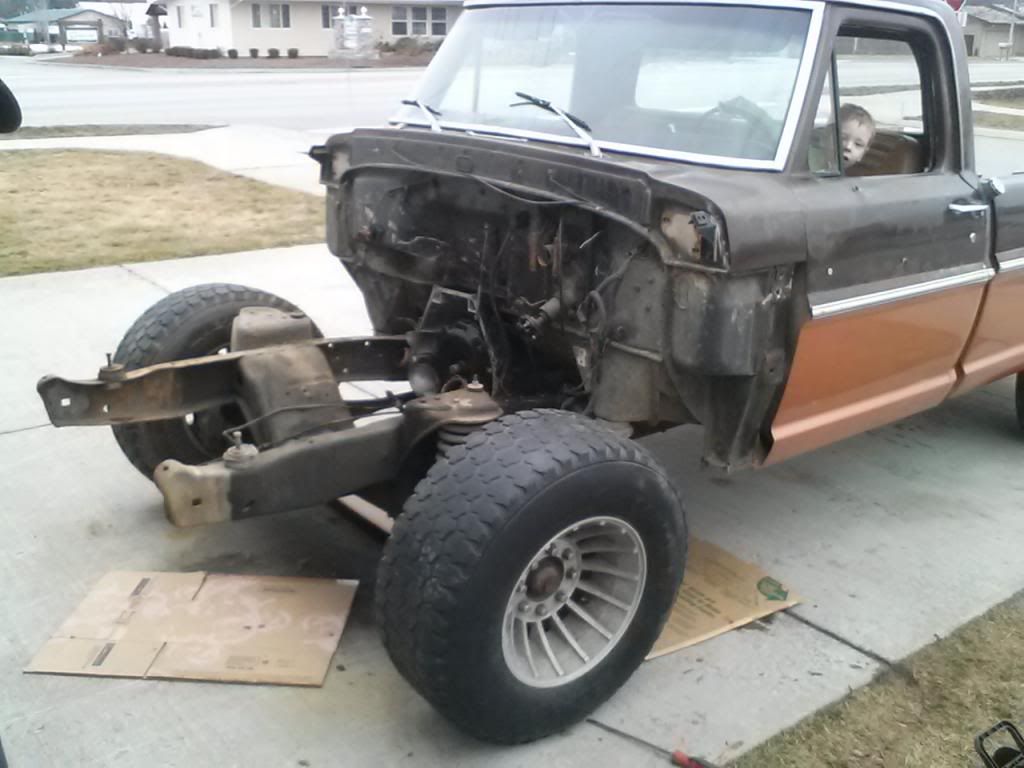
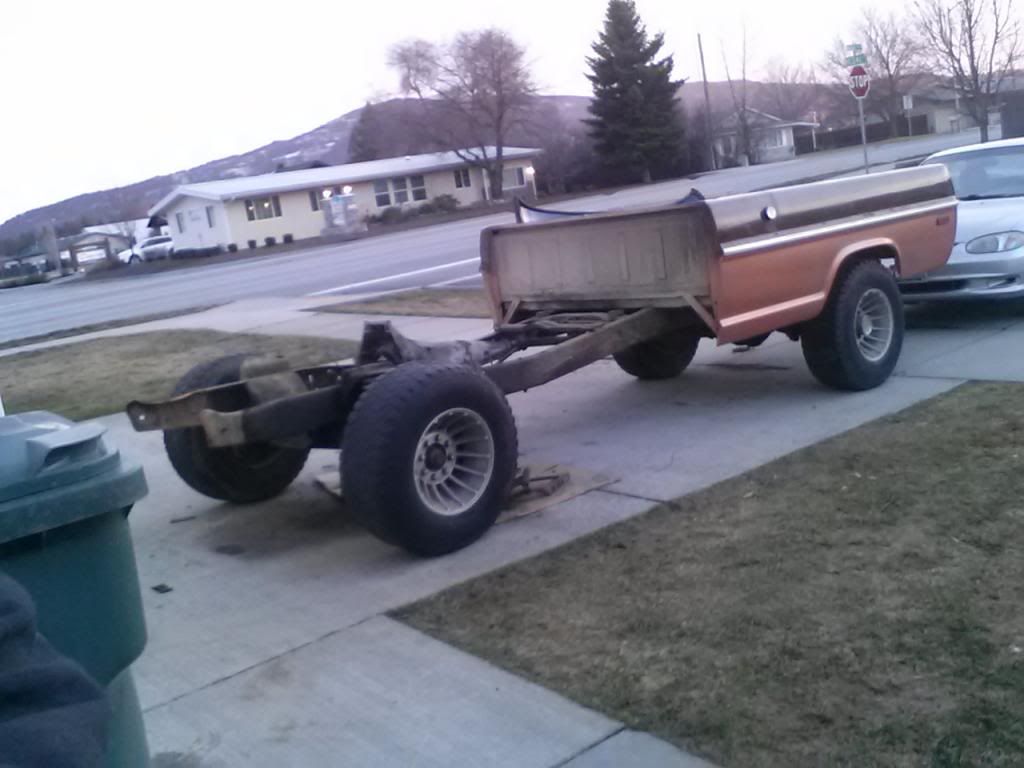
Today Wyatt and I got the front clip off the truck and cleaned up all the messy wiring done by the PO. I plan on completely re-wiring the truck but left all the factory harness in place just in case for now. It looked like it was going to start raining so we called it a day but next I will soak everything in de-greaser and pressure wash the frame and firewall.
The whole front suspension, steering, and brakes is all getting replaced with new so I won't worry about any of that for now.
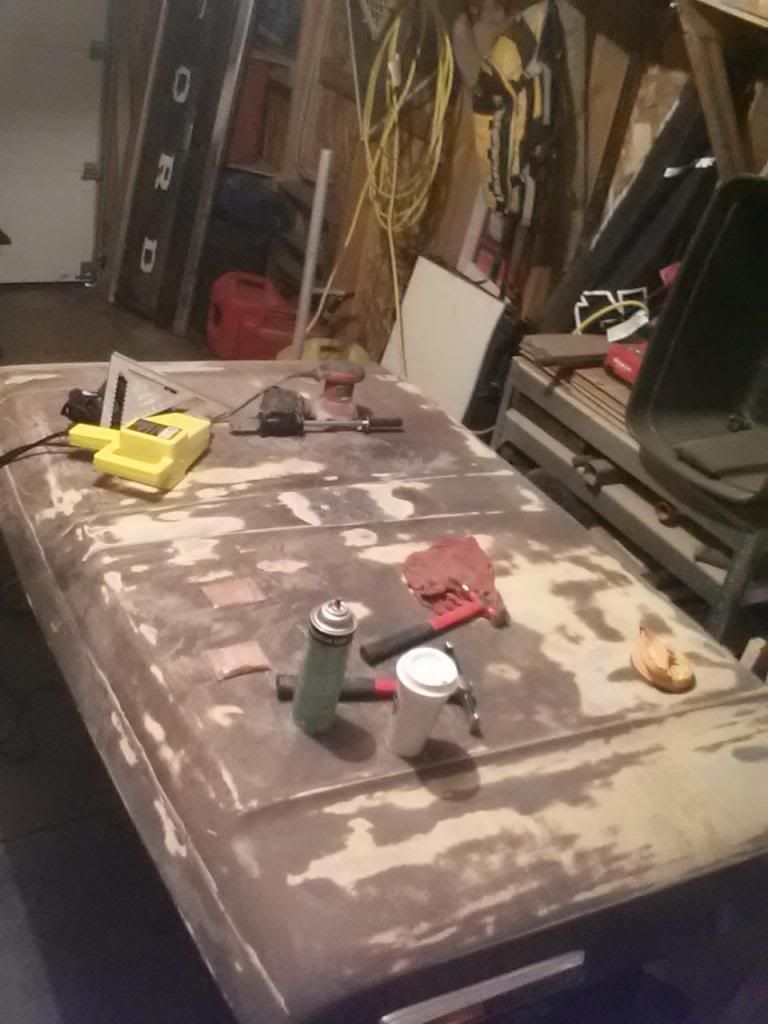
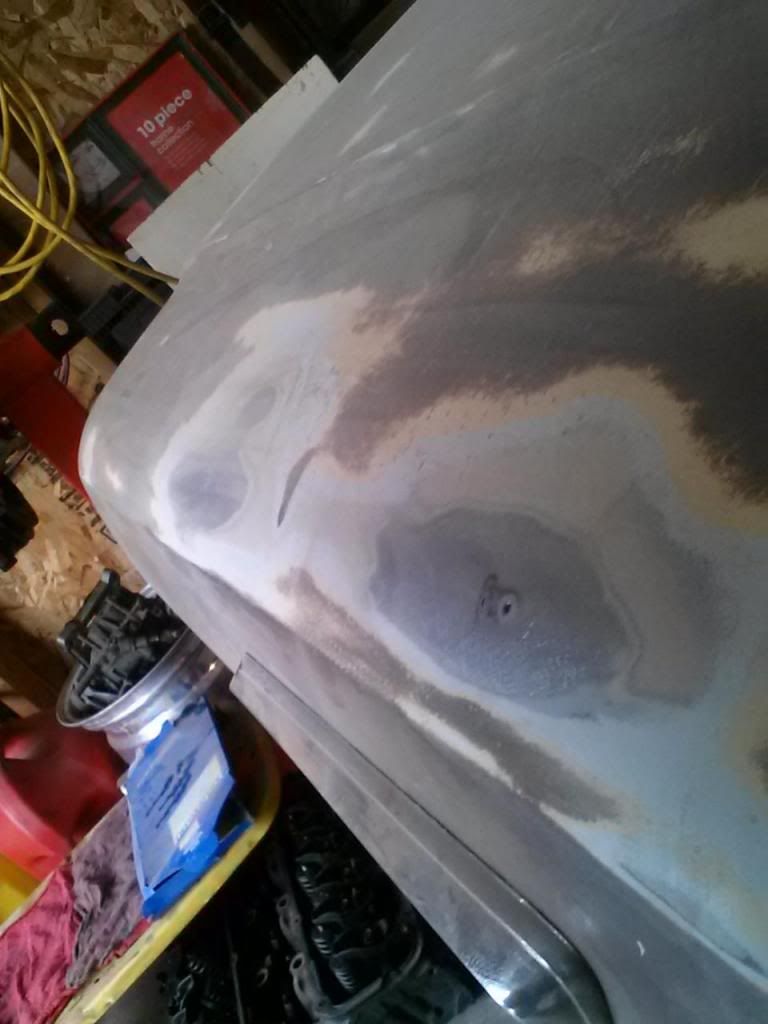
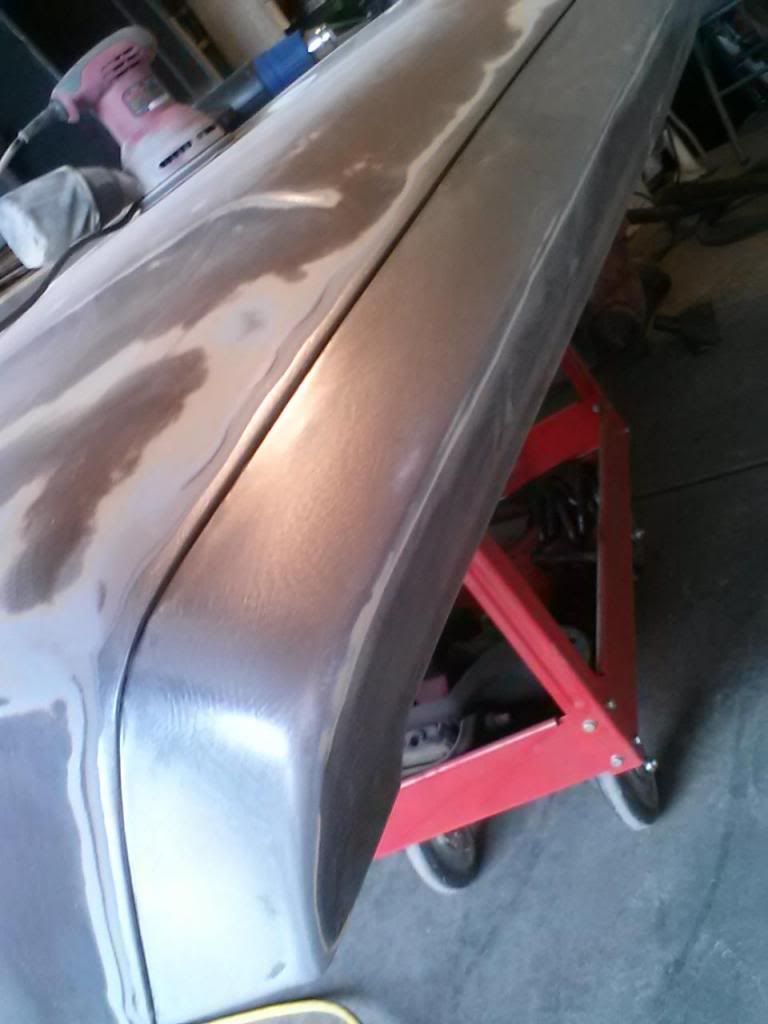
I worked on the hood all week. I've never done body work before and only had an hour here and there but I've got it as straight as I possibly can without any filler. There was a foot print sized dent right in the middle and a couple on the pass side. I also got the seam all cleaned out and ready for new seam sealer. After I get the filler in place and seam all re-sealed I'll give it a couple coats of filler primer and block it out for the first time. It's still too cold in the garage for filler or paint so that will be in a week or two. So for now I will work on the fenders.
Before I do any more work on the hood I think I will flip it over and get the bottom side prepped and painted first though.
Anyway... That's all for now.
http://SpokaneSaveMore.com
Save More Automotive
- theletup
- New Member
- Posts: 88
- Joined: Tue Jun 19, 2012 1:00 am
- Location: Post Falls, ID
Re: '67 F250 460
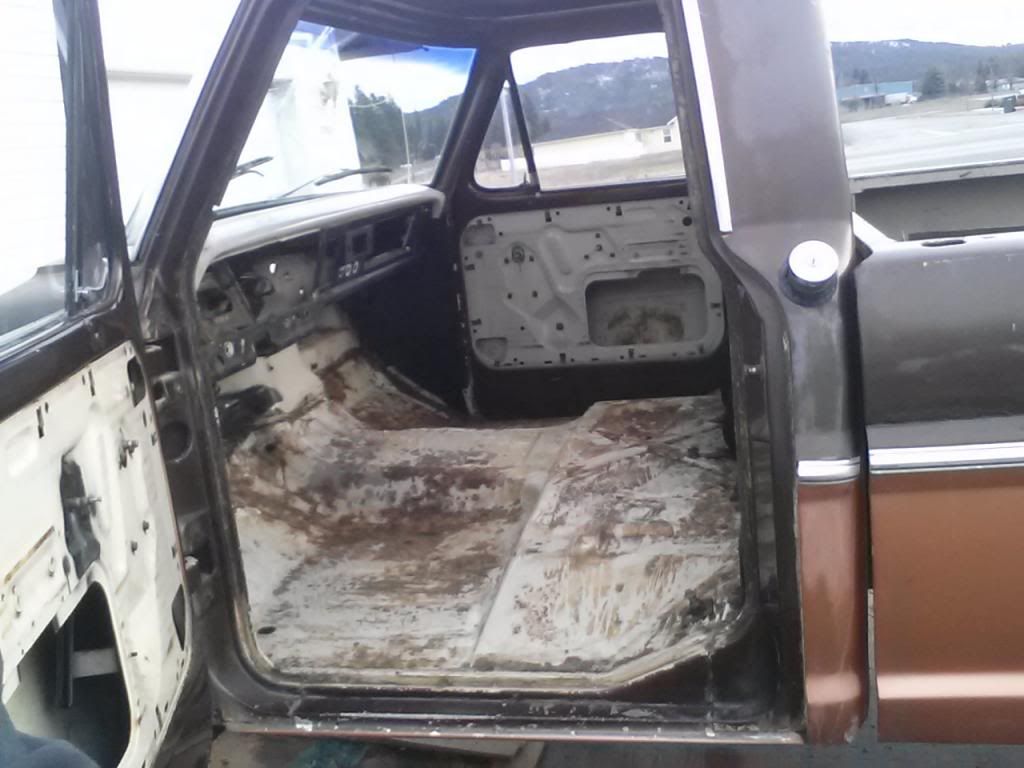
Wyatt and I spent today stripping the interior down.
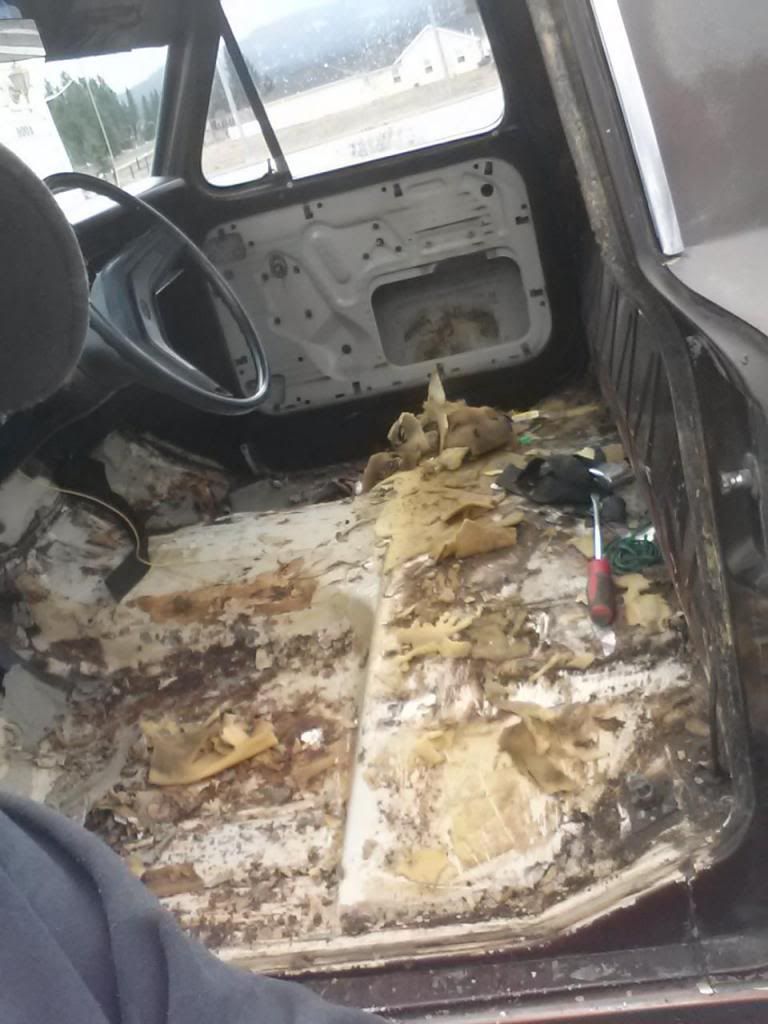
This is the floor most of the way cleaned up. It was cover in 3 or 4 layers of insulation, glue, heat tape, etc... It took several hours with a gasket scraper and a shop vac. I should have gotten a before pic when I pulled the carpet up. IT WAS NASTY!
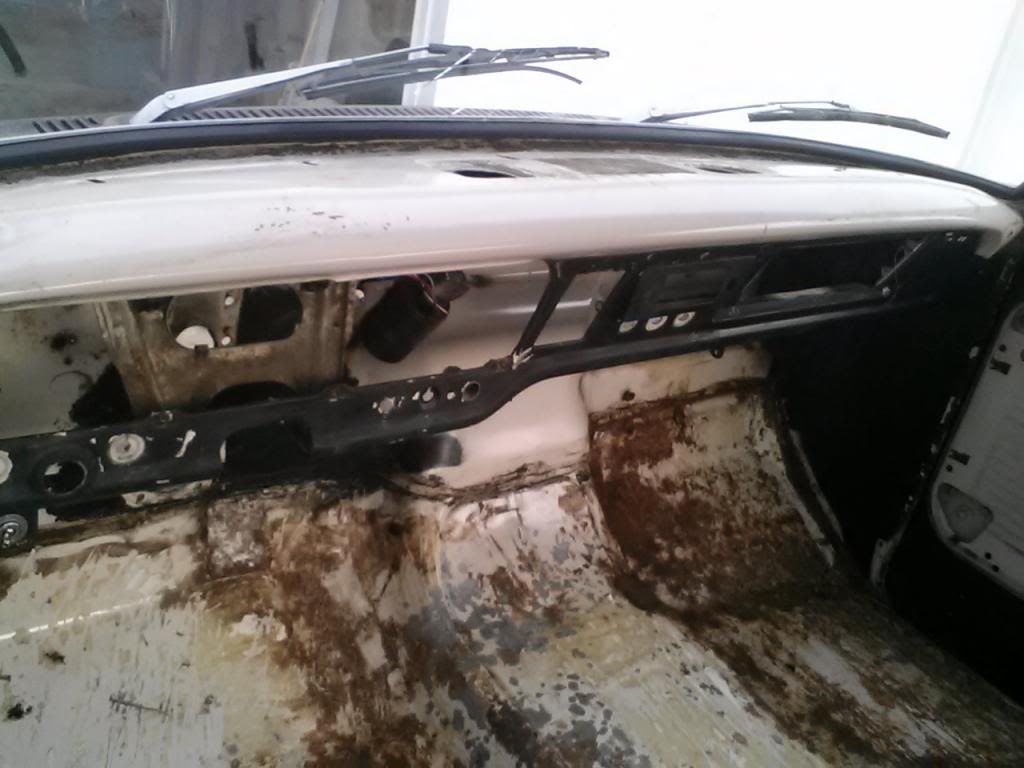
Then I got the dash all cleaned out. I plan to leave the dash bare and weld up the mounting holes etc.
Also you can't really see it in the pic but somebody at some point welded a modern radio mount to the front of the dash and pretty much destroyed that area . I havent decided if I'm going to try fixing it or just incorporate my stereo into the center console I'm going to build. Most likely the latter and will just weld a smooth piece where the radio used to be or figure out a way to mount the radio delete plate I got from ebay.
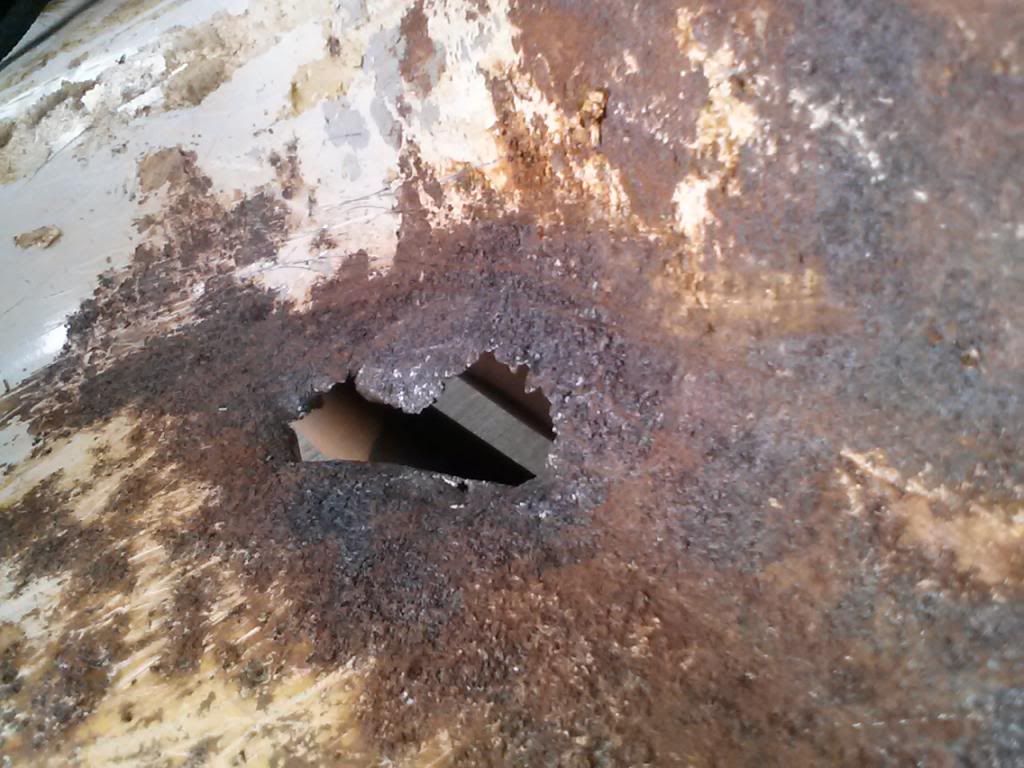
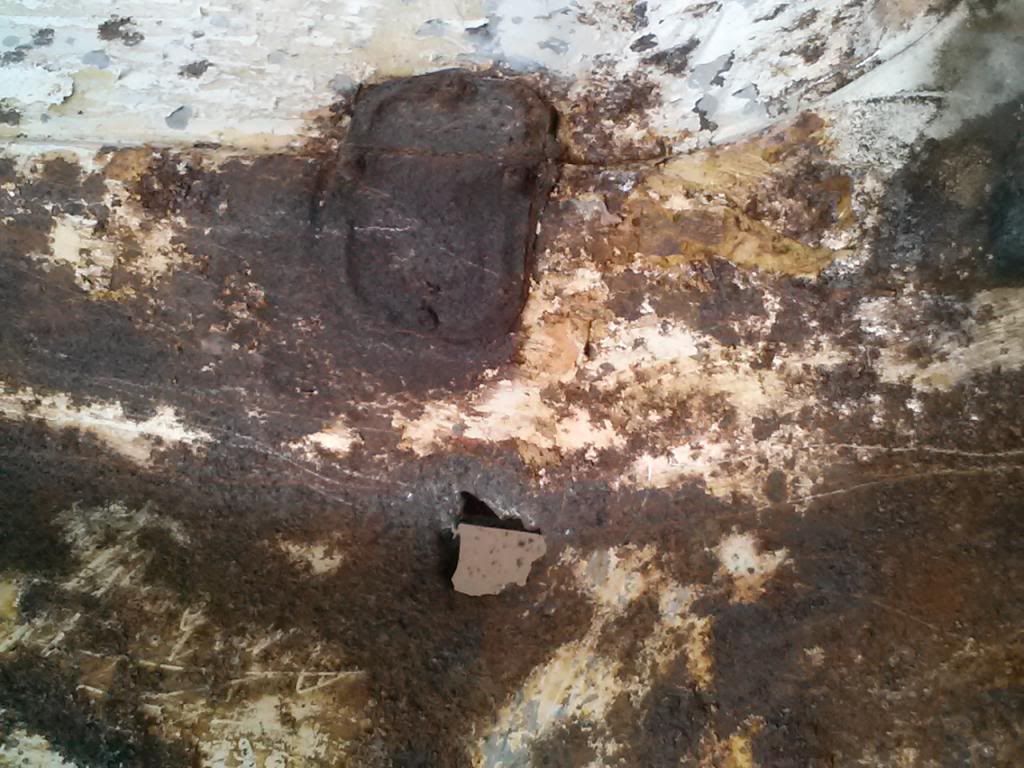
Looks like I'll be welding in some floor pans and making my own trans hump repair patches:
The driver's side pretty much is just surface rust but the pass side is pretty bad. I'm not sure if I'm going to repair both sides or not yet. Probably will... then POR 15 on top and bottom...
Interior stripped except for the head liner (aftermarket sunroof which I'll also have to remove ha ha) and fuel tank because I could find my funnel to transfer fuel to my car .
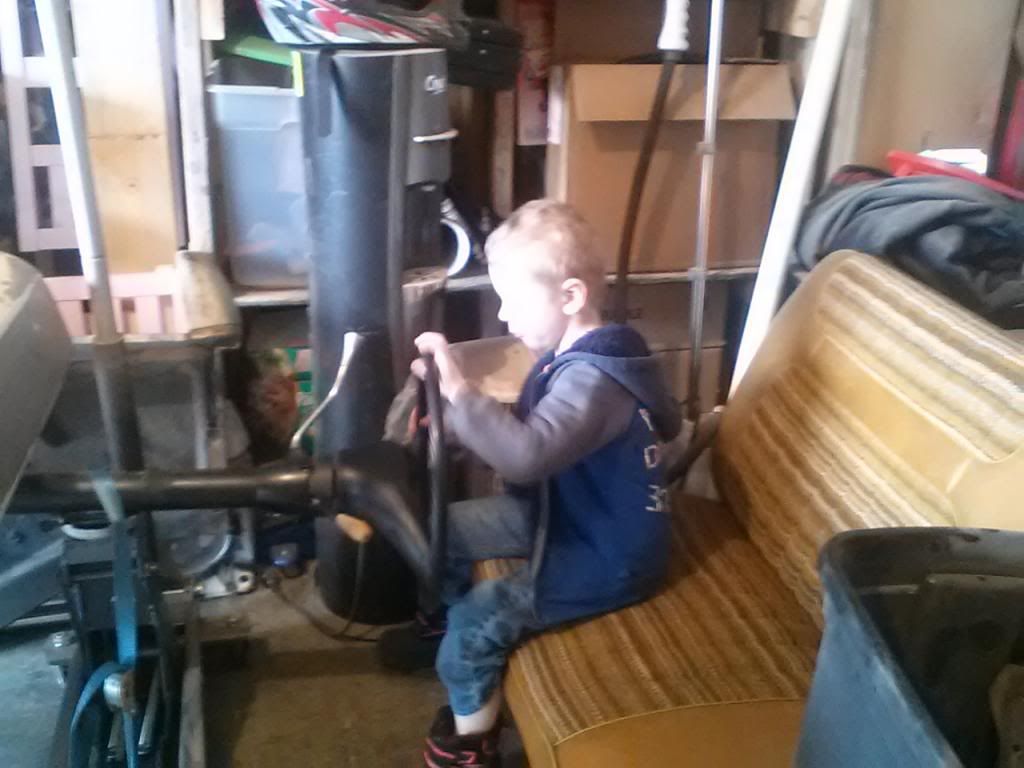
Wyatt was bummed that he couldn't "drive" the truck anymore while we worked on it so I built him a little set up in the garage
That's all for today. This week I'll start body work on fenders and next weekend I'm hoping to build a roll around dolly for the cab and one for bed so I can start on those next.
http://SpokaneSaveMore.com
Save More Automotive
- sargentrs
- 100% FORDified!
- Posts: 9866
- Joined: Fri Jun 22, 2007 9:30 am
- Location: Georgia, Jasper
Re: '67 F250 460 - Interior Stripped
Good work! Keep us updated on your progress Cool set up for Wyatt Great thinking!
Randy
1970 F100 Sport Custom Limited LWB, 302cid, 3 on the tree. NO A/C, NO P/S, NO P/B. Currently in 1000 pcs while rebuilding. Project thread: http://www.fordification.com/forum/view ... 22&t=59995 Plan: 351w, C4, LSD, pwr front disc, p/s, a/c, bucket seats, new interior and paint.
1987 F-150 XLT Lariat, 5.0/C6 auto.
- theletup
- New Member
- Posts: 88
- Joined: Tue Jun 19, 2012 1:00 am
- Location: Post Falls, ID
Re: '67 F250 460 - Interior Stripped
Got a bunch done this week! My 460 block is at the machine shop getting all the machine work done. I am ready to start port and polish work on the heads as soon as my new Matco 5hp 60 Gal compressor shows up this week. So STOKED to have a compressor at home finally!!!
So this week I got my hood pretty much completely roughed in and just need to apply a skim coat to all my body work and them I'm ready for primer. It finally got warm enough here in N. Idaho to start doing body filler. I also re-drilled my holes for the F.O.R.D lettering on the front of the hood that had previously been welded up.
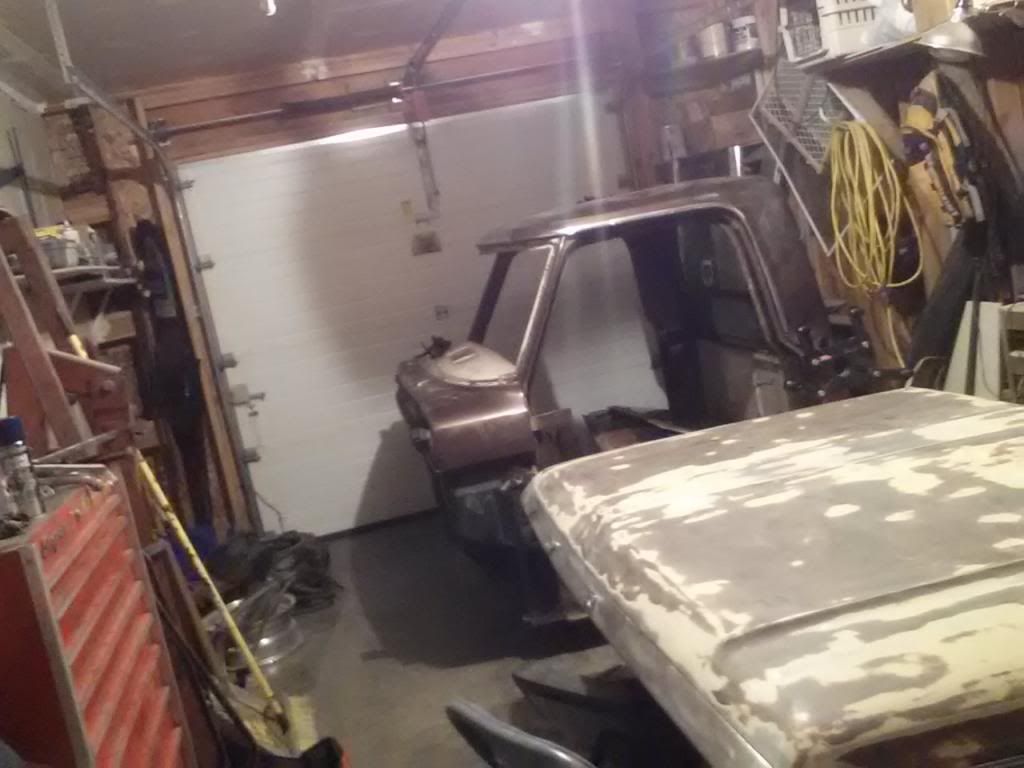
Today I got the cab off the frame with the help of my brother in-law. It was pretty heavy but do-able for 2 guys.
We set the cab on moving dollies I got from Harbor Freight for $10 each and they work great. I can roll the cab in and out of the garage easily by myself and it fits in there nicely with the hood on top of my tool cart.
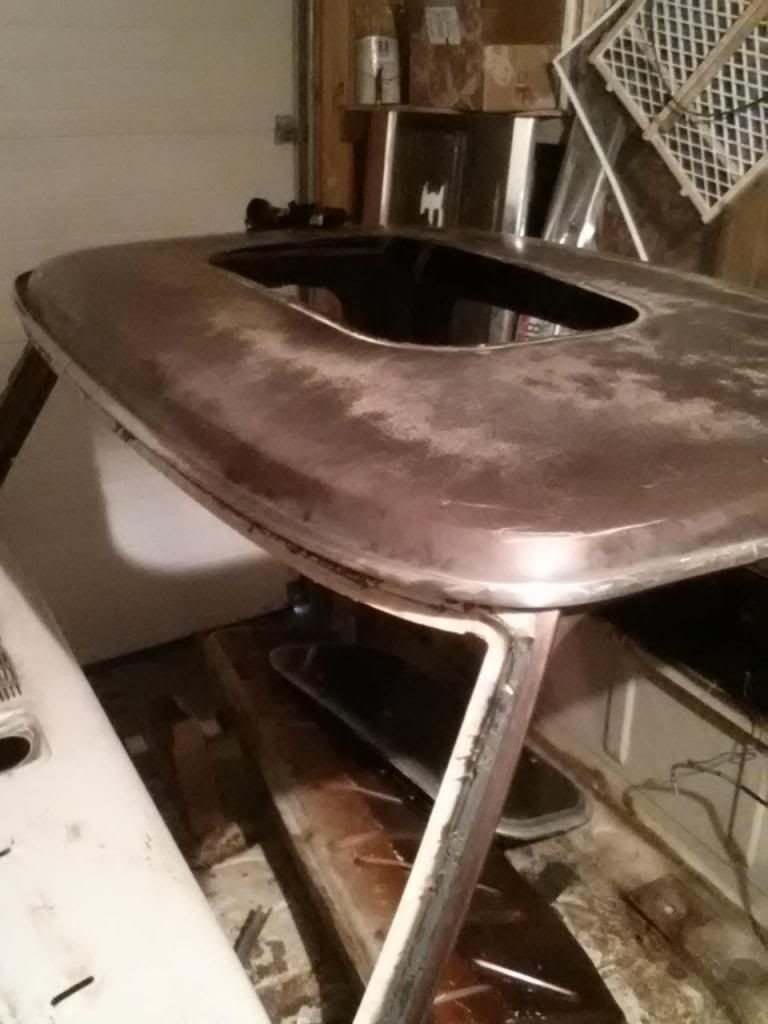
I got the sunroof and headliner pulled and I'm glad to report there's no rust in the roof of the cab. I was a little worried what it was going to look like... but it's clean. One bummer is the center roof support is completely cut out so I'll have to make one but I think the roof will be a bit easier to weld up than I thought. I also got the windshield removed without damaging any of the chrome trim. The windshield was broken so I pulled it. I will have my glass guy pull the back window for me so I don't damage it trying to get it out. He's a buddy so he works for beer
That's all for today. Tomorrow's project is moving anything and everything possible to a storage unit to make more room in the garage. On Monday I'm going to wire a 220 outlet for the new compressor.
http://SpokaneSaveMore.com
Save More Automotive
- theletup
- New Member
- Posts: 88
- Joined: Tue Jun 19, 2012 1:00 am
- Location: Post Falls, ID
Re: '67 F250 460 - The Clean Out and Seam Sealer
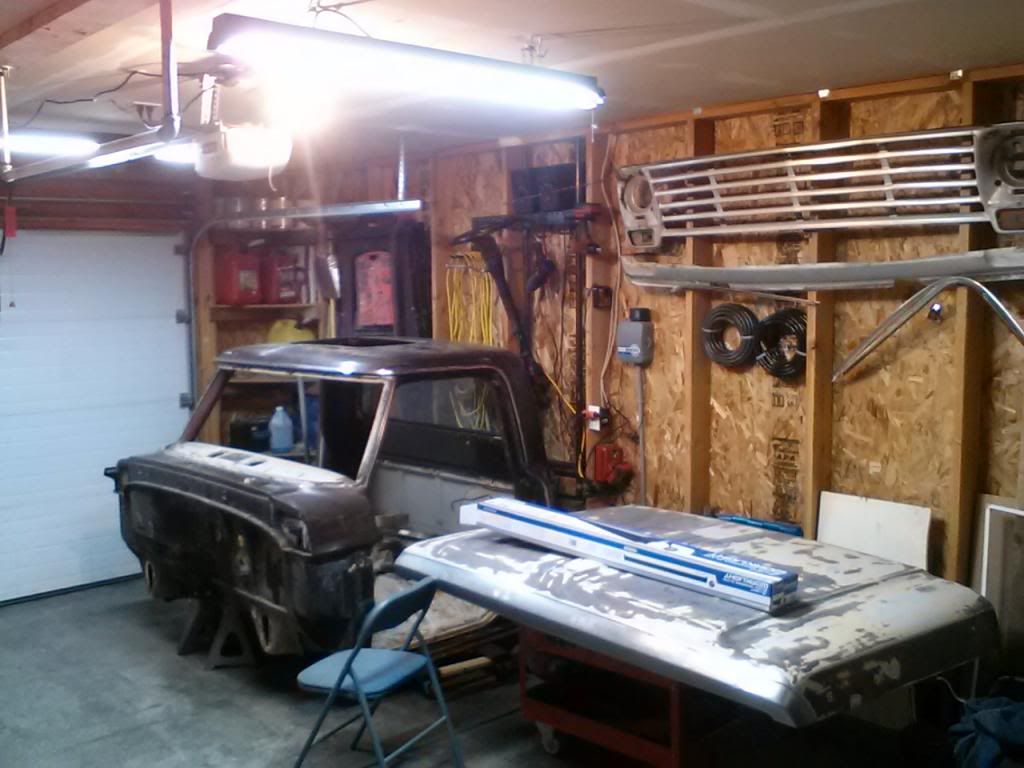
Today Wyatt and I spent the ENTIRE day re-organizing the garage. I started at about 7:00AM and finished around 11:30PM. We pulled everything out of the garage, made a dump run, a storage run, and a home depot run. I picked up a couple clearance 4ft 3 bulb T8 shop lights for $20 each, 30 feet of light weight PVC pipe, 100x10 foot roll of heavy duty clear plastic and a few other things. We got everything cleaned up a re-organized as it came back inside and then I got the light hung.
I still haven't figured out how exactly I'm setting up the other wall yet because I don't have my compressor yet and don't know where it's going to fit. I want to build a work bench and shelving around the compressor and have a spot for my welder and couple roll around carts to store under the bench. That will probably be next weekend's project.
So after getting the garage ready for work I sat on my bench seat (which make a perfect shop chair by the way ), drank a PBR and stared at that chrome trim surrounding my drip rail. Then I decided to go for it. Turned out WAY easier that I thought and it pretty much pops right off. I just rolled back from the top edge first. I recommend wearing some gloves or you probably will get guy multiple times.
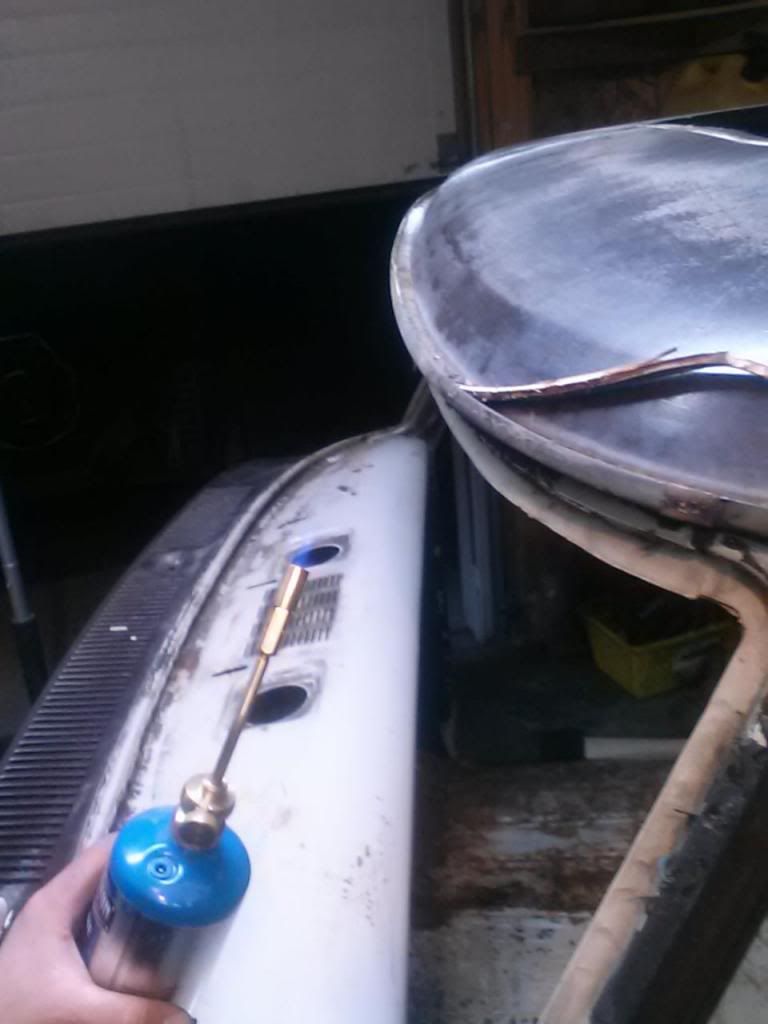
After that I used a propane torch and heated up the seam sealer from the bottom and used a small screw driver to pry it out in big pieces. Also one then that help me get it out in one piece was running a razor blade along the corners. Mine had been painted over and I don't know how big a difference it made but it seamed to come out easier without ripping.
It smells pretty bad so your wife will probably come out and ask "When are you going to be done??"
There didn't seam to be any bad rust in the seam but some surface rust that hasn't really started pitting or anything. Do guys normally hit that with POR 15 or anything before applying new sealer?? I'm going to wire wheel it really well but I don't want it to rust out in the future.
http://SpokaneSaveMore.com
Save More Automotive
- theletup
- New Member
- Posts: 88
- Joined: Tue Jun 19, 2012 1:00 am
- Location: Post Falls, ID
Re: '67 F250 460 - The Clean Out and Seam Sealer
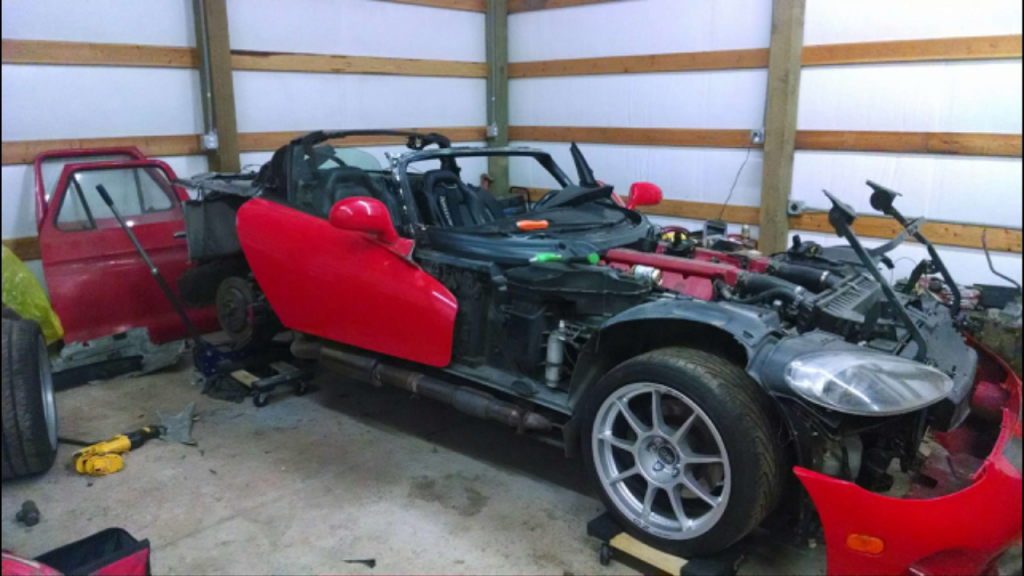
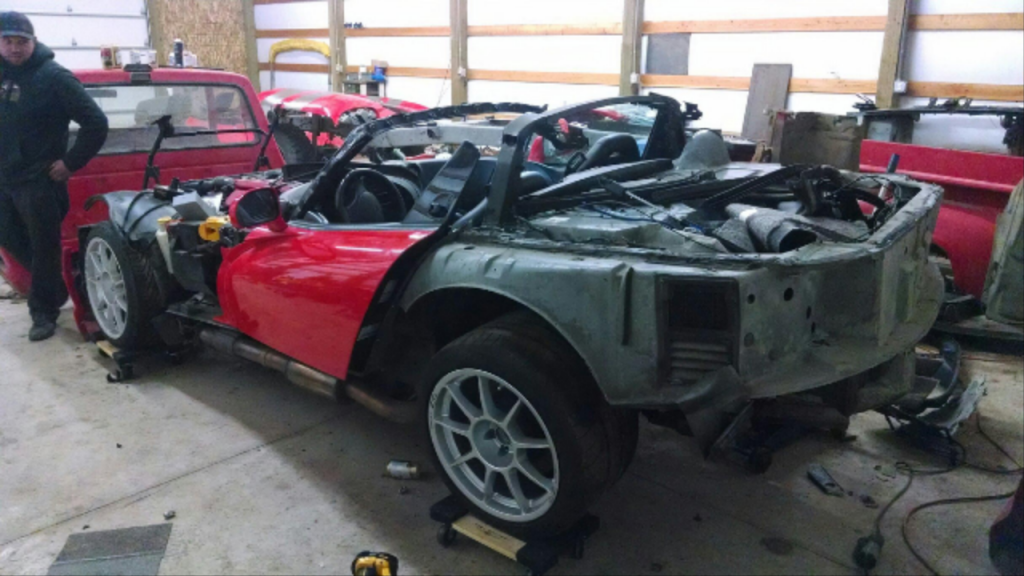
This past week and I spent some time working on another project... My wife's brother in-law bought a wrecked Dodge Viper for a really good deal and now he's recruited me to fix it for him ha ha.. So here's where that's at:
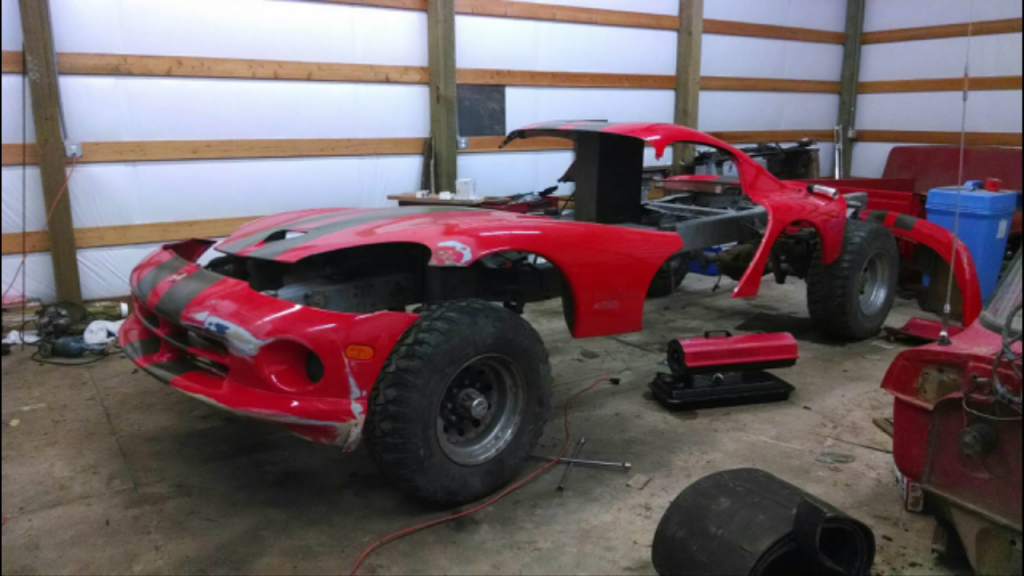
And as a joke for his buddy (who's shop the viper is at) we decided to make his 76 F250 into a monster viper for him to walk into the next morning.
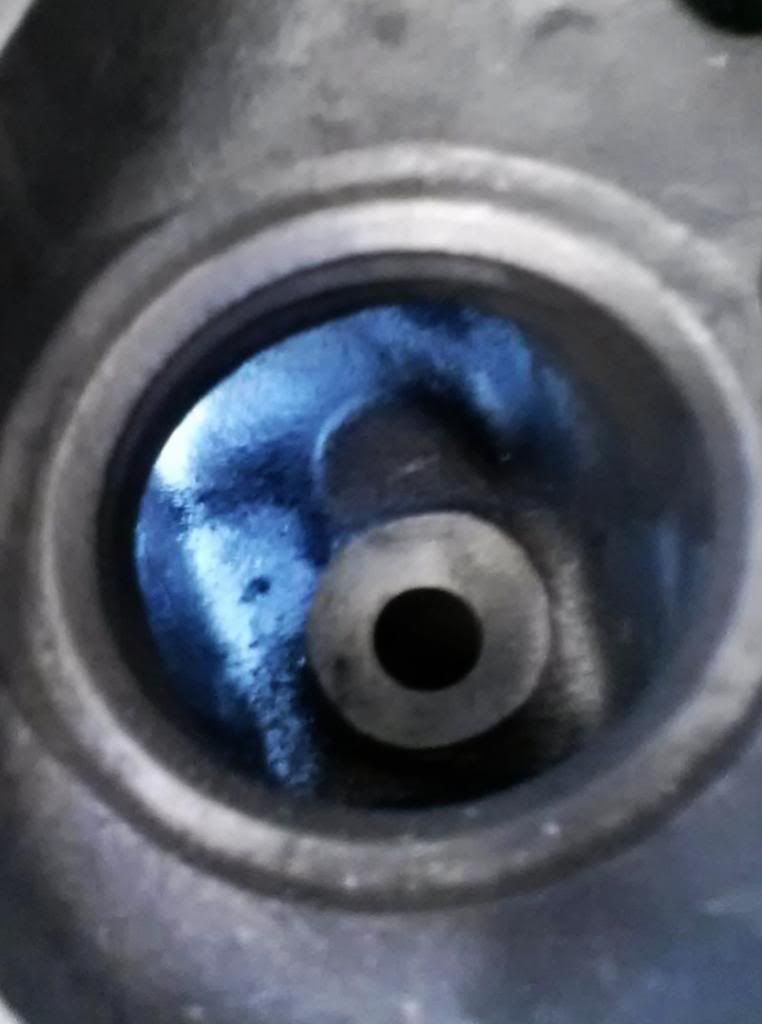
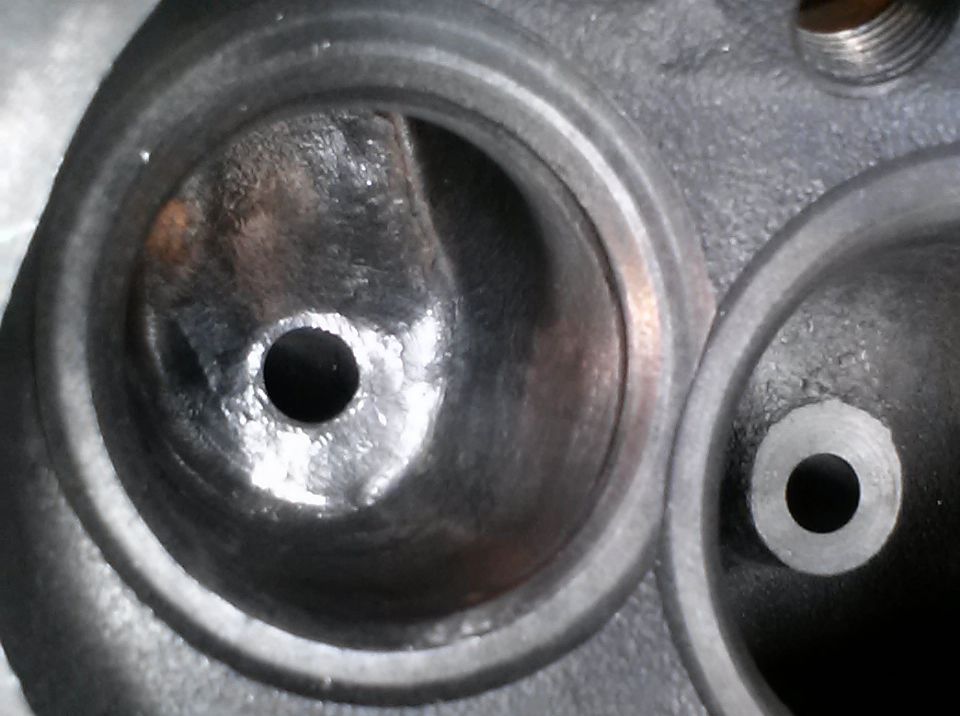
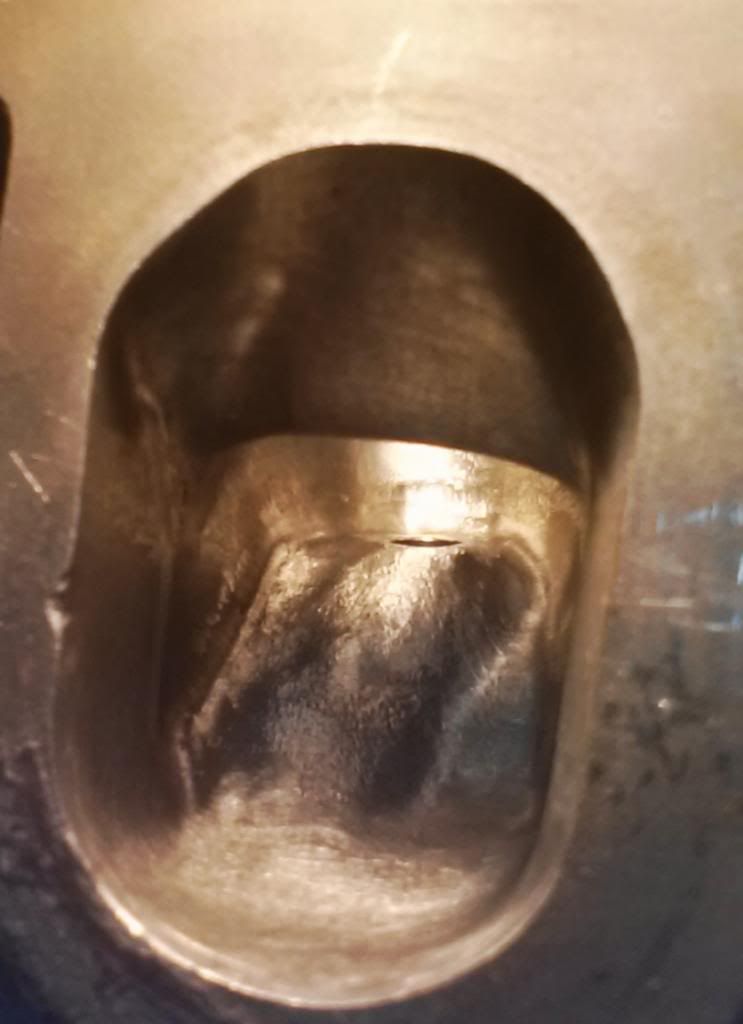
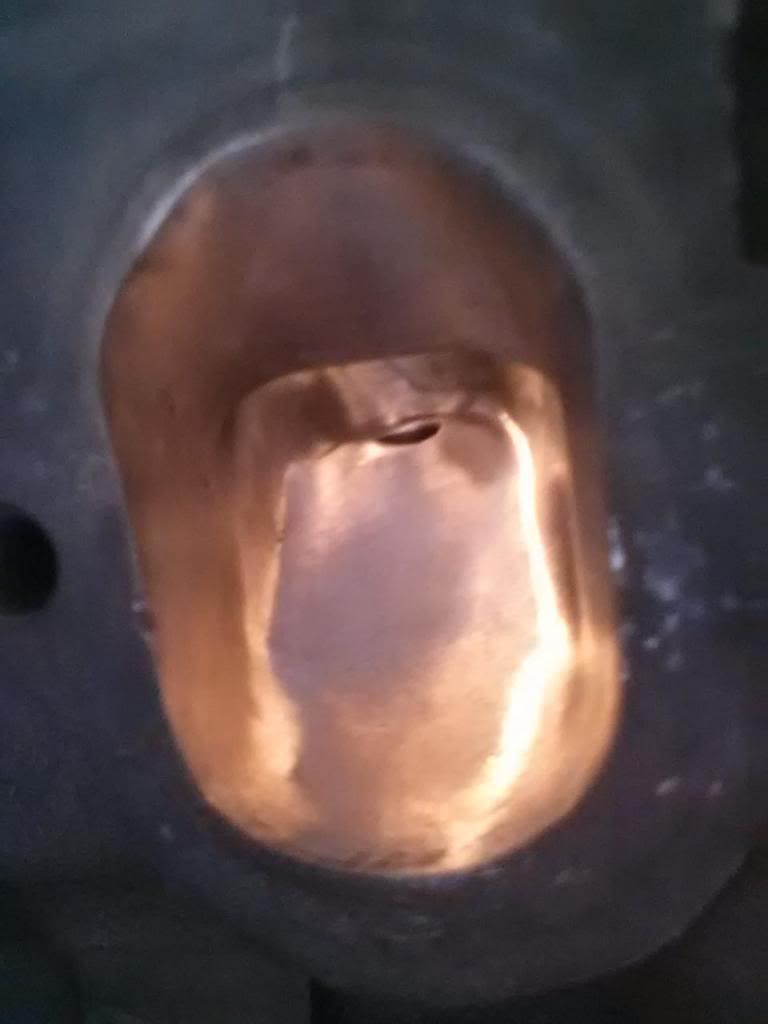
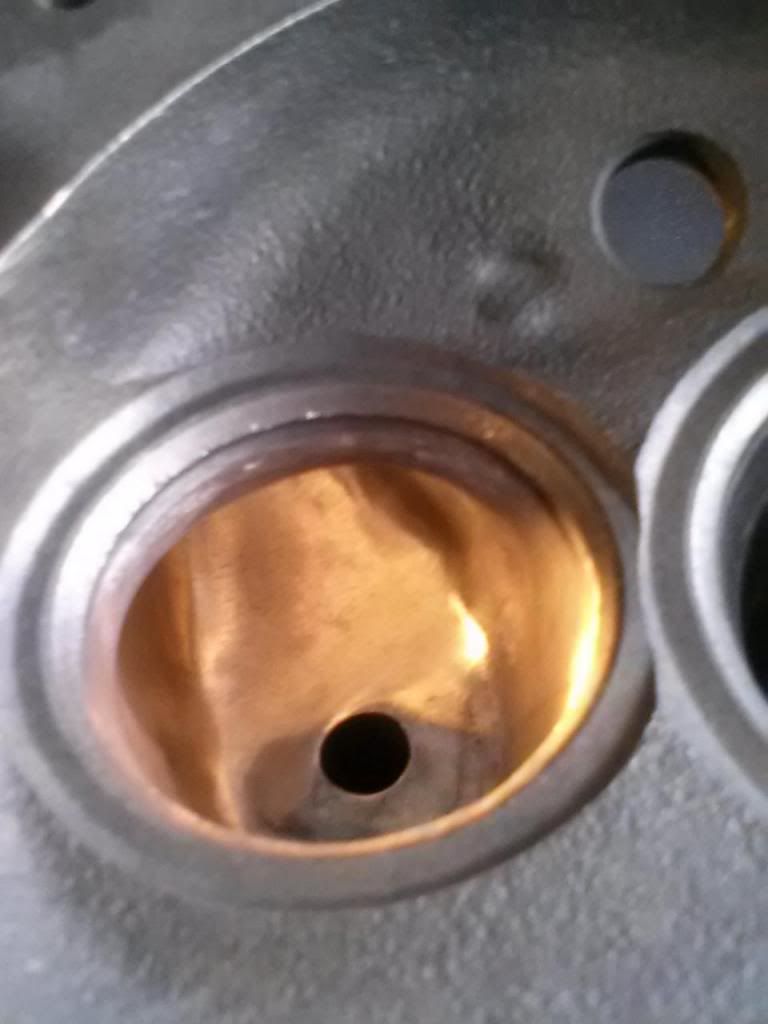
Anyway after two days of tear down on the viper I made it into the machine shop to discuss some plans. I have decided to go ahead and use my D3VE heads and keep my compression at about 9.5:1 with the pistons I'm using and some machine work. The D0VE heads would end up costing me a ton more as I don't have any of the studs rockers etc. So I'll save those for another project. The machine shop tanked my heads for me so I could start the port and polish work. After day one of porting I've got my shape roughed in on my first 4 exhaust ports:
Here's what they were like before. You could barely fit one fit around the turn
And here's the shape I have now:
]
Like I said these are just roughed in with my carbide bits. I'll get the other head worked tomorrow and start polishing them out after that. The intake ports don't need much, just a little clean up. I'll blend the bowls and finish them out after I get the valve job done. I'm sticking with the stock size on the intake valves and going to the cobra jet exhaust valve size.
Anyway not a whole lot right now, just the time consuming process of head work for now
http://SpokaneSaveMore.com
Save More Automotive
- theletup
- New Member
- Posts: 88
- Joined: Tue Jun 19, 2012 1:00 am
- Location: Post Falls, ID
Re: '67 F250
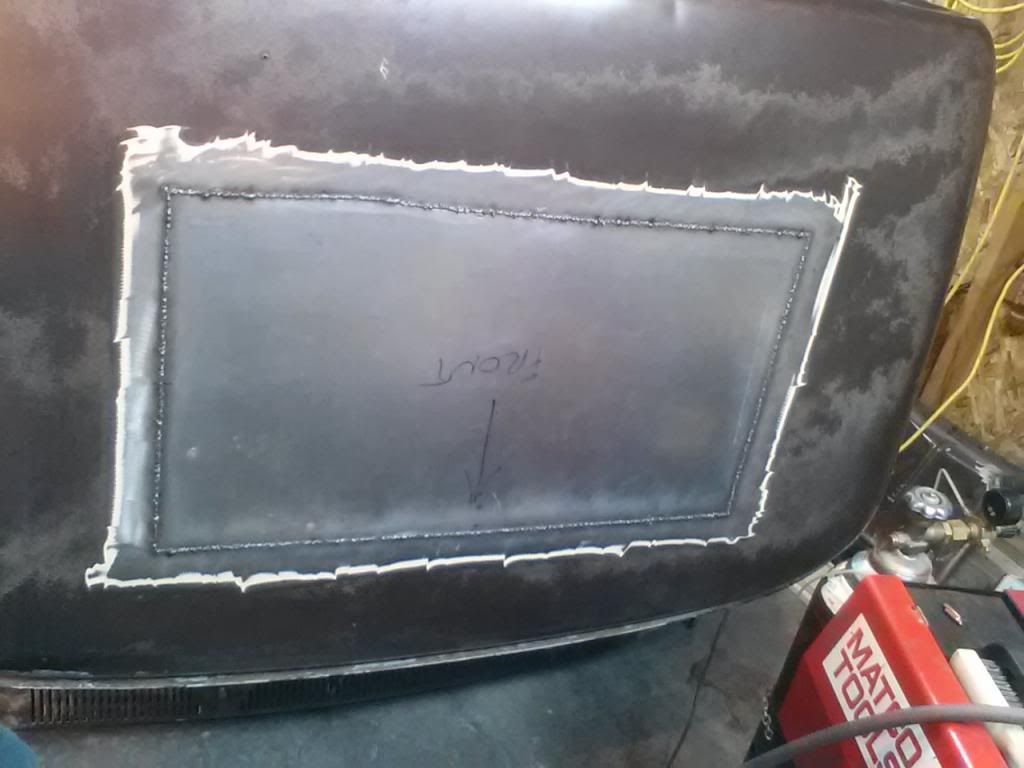
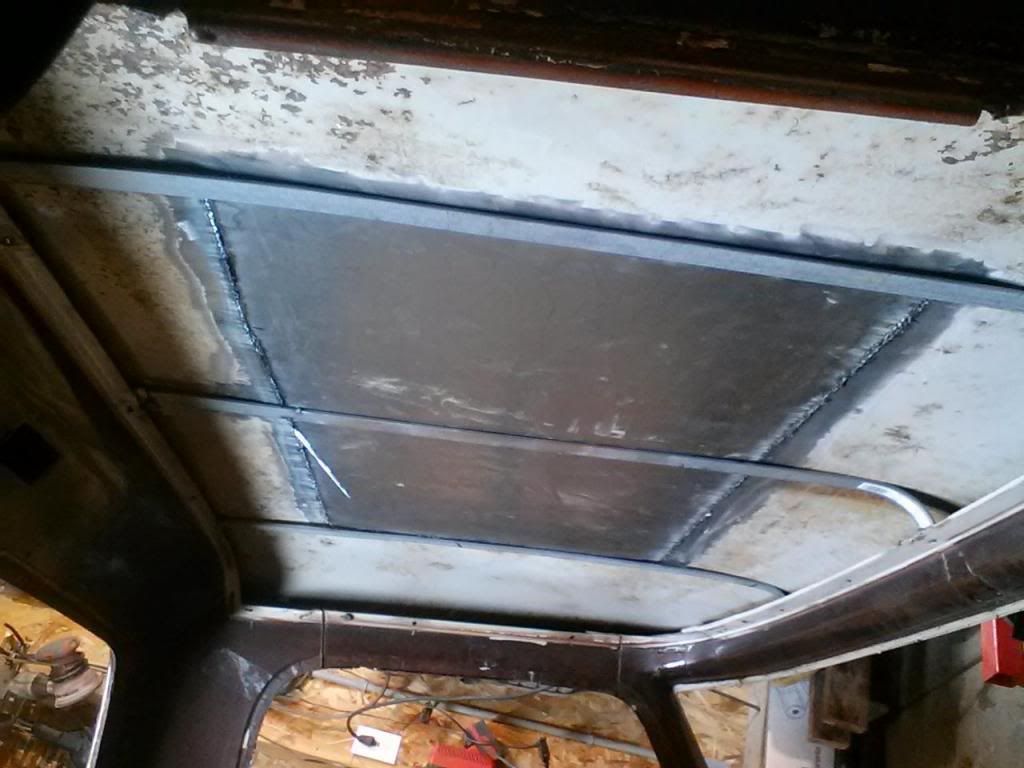
Making some good progress on the ol' '67. I also have been making good progress on the garage. Finally got my new compressor (Matco 60gal 5HP) and I just scored a new/used matco welder this weekend and decided to go to work on that stupid sun roof:
Since the rood brace was missing, I made some new bracing as well.
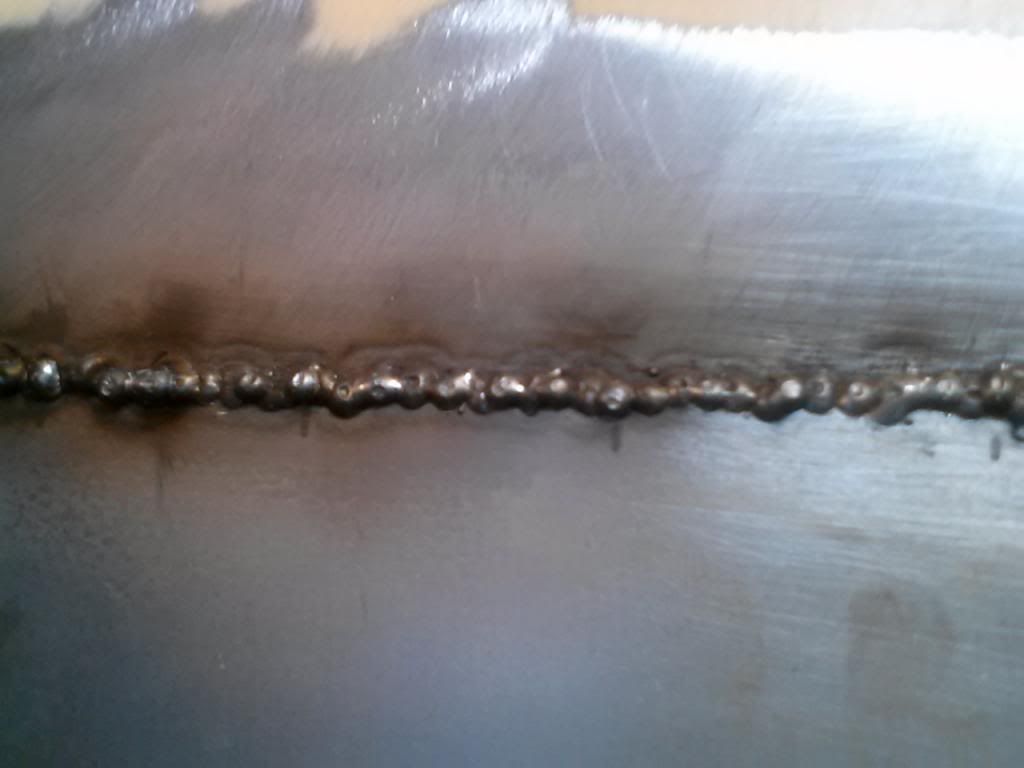
This is just the first pass with the welder and after I grind this down I will go through and hit all the holes. But the first pass turned out pretty well
This was my first time ever welding anything besides exhaust and I definitely have a better feel for tack welding after about 500 tacks til 11:30 last night.
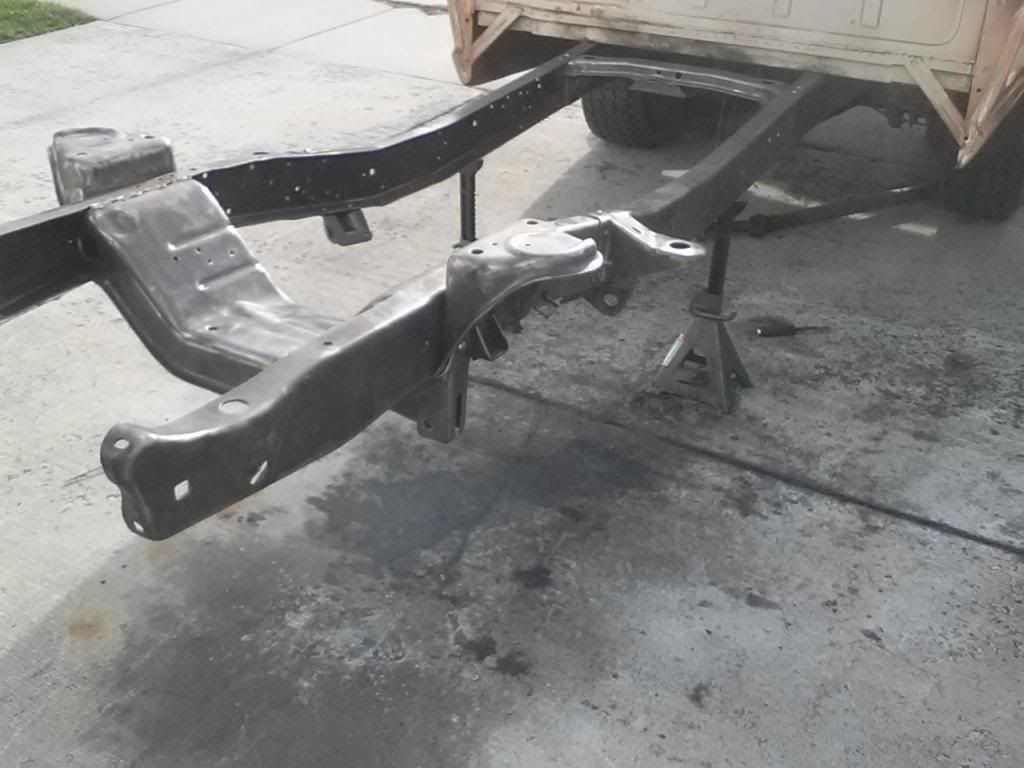
It was FINALLY nice enough outside to paint so I today I moved out to the driveway and went to work on the frame. I got the tranny, driveline, parking brake cable and lines all out of the way and went to work with the wire cup on my 4 1/2" grinder. Here's the frame all cleaned up before I painted it.
It was dark out by the time I finished painting so I didn't get any pictures yet. I'll still have to get a couple more coats also, then I'll post some pics.
Also this past week I've been working away on the heads. I've got the exhaust ports all finished up on the first head:
I have 2 of the intake ports finished up as well but haven't taken any pics yet. I still have some work to do on the chambers.
I think that's it for now.
http://SpokaneSaveMore.com
Save More Automotive
- theletup
- New Member
- Posts: 88
- Joined: Tue Jun 19, 2012 1:00 am
- Location: Post Falls, ID
- FREEHAND
- New Member
- Posts: 31
- Joined: Sat Mar 22, 2014 5:49 pm
Re: '67 F250
Man that's looking great, youv'e got a lot of work into already its gonna pay off!!
- theletup
- New Member
- Posts: 88
- Joined: Tue Jun 19, 2012 1:00 am
- Location: Post Falls, ID
Re: '67 F250
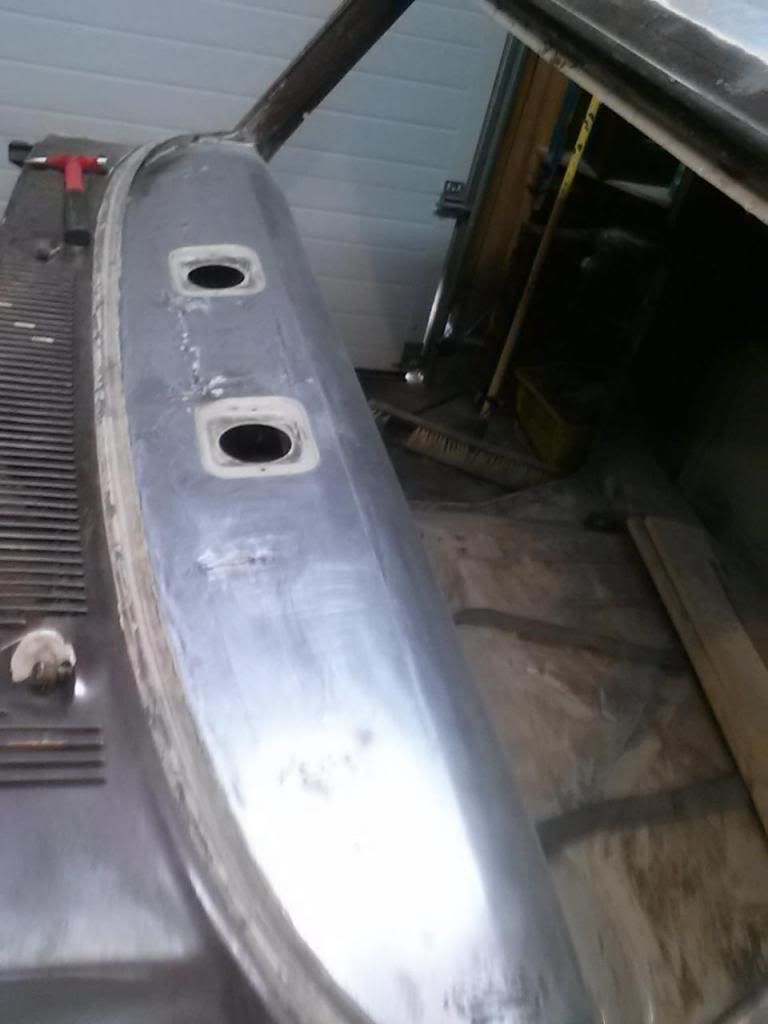
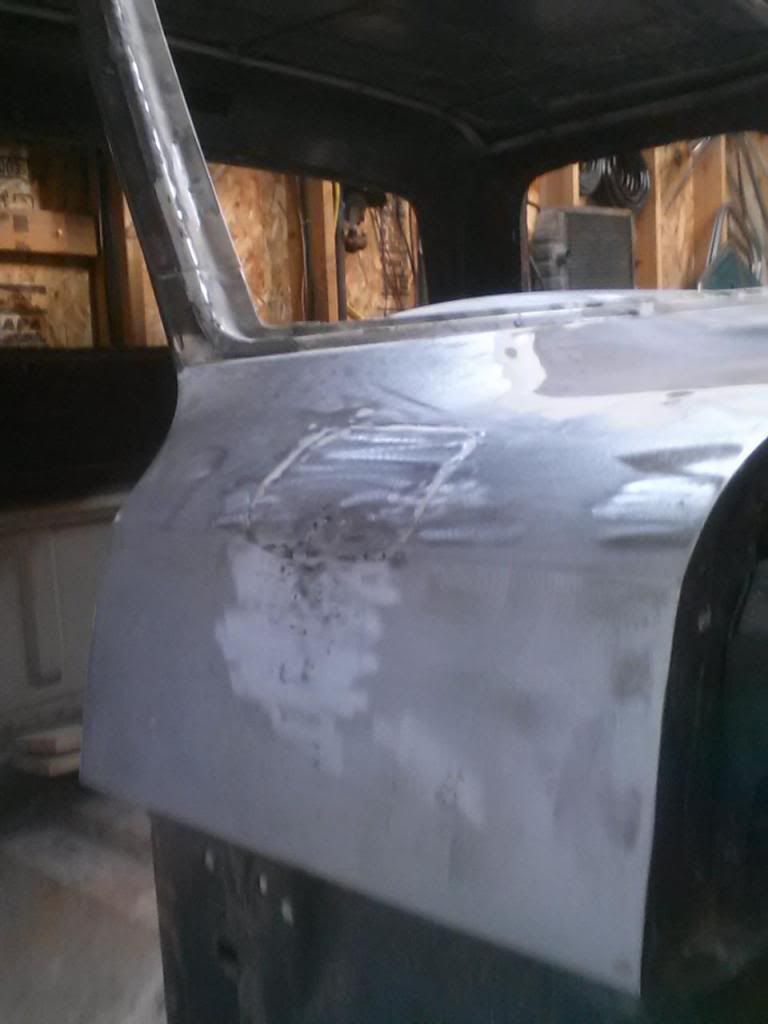
Got the dash all smoothed out for the dash pad delete.
Filled the gas filler hole
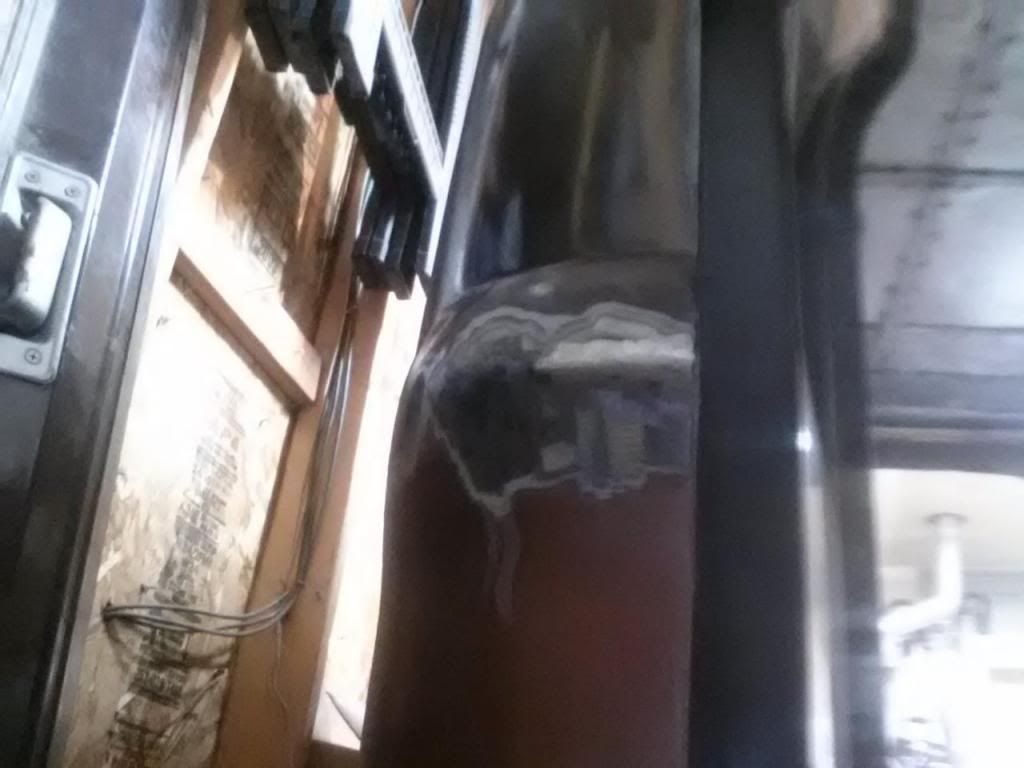
Filled the trim holes on the back corners:
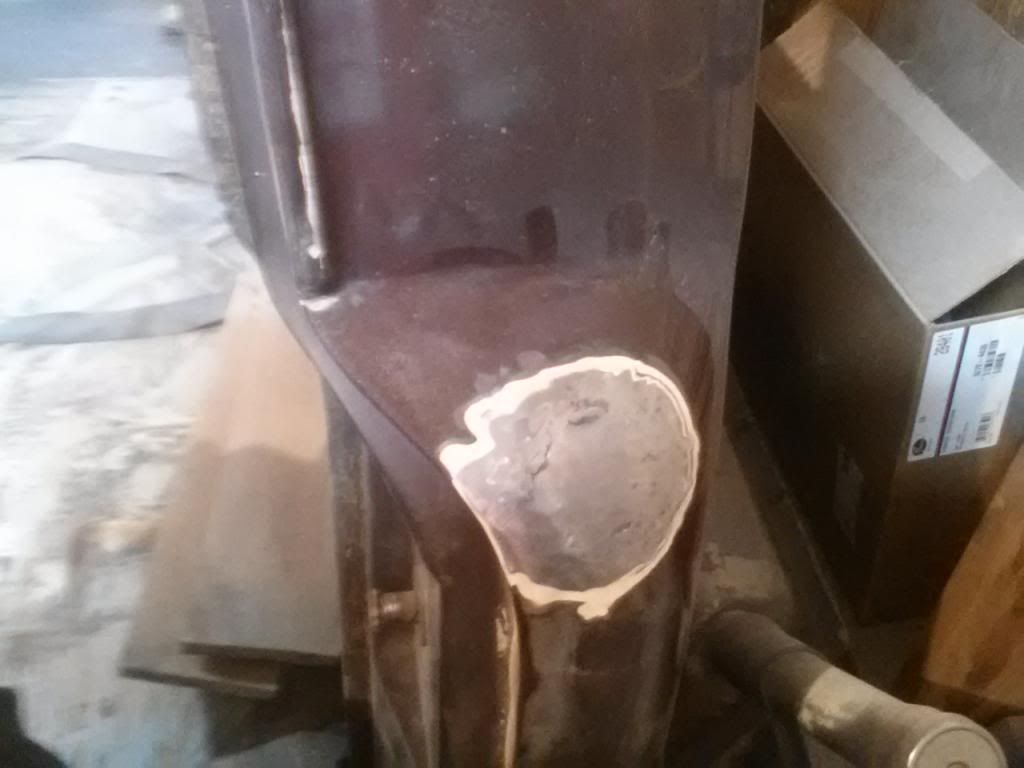
Antenna hole needed quite a bit of attention. The spot had been cut up and welded before and had about 1/2" thick layer of bondo
over the "repair: I'm not great at sheet metal (this is my first time doing any sheet metal work) but I got it straightened out and
filled pretty well I think.
My engine block should be all done this week. Last I heard from the machine shop they were balancing the rotating assembly. I have one of the heads completed for port and polish work and I'm going to spend all day today trying to get as far as I can on the other.
http://SpokaneSaveMore.com
Save More Automotive
-
- New Member
- Posts: 23
- Joined: Fri Apr 18, 2014 9:31 am
- Location: Dallas, GA
Re: '67 F250
Threads like this one give me great inspiration! Keep up the outstanding work it is looking great
- theletup
- New Member
- Posts: 88
- Joined: Tue Jun 19, 2012 1:00 am
- Location: Post Falls, ID
Re: '67 F250
Wow so it's been a while since I've updated the thread. Not slacking on the truck just on posting updates...
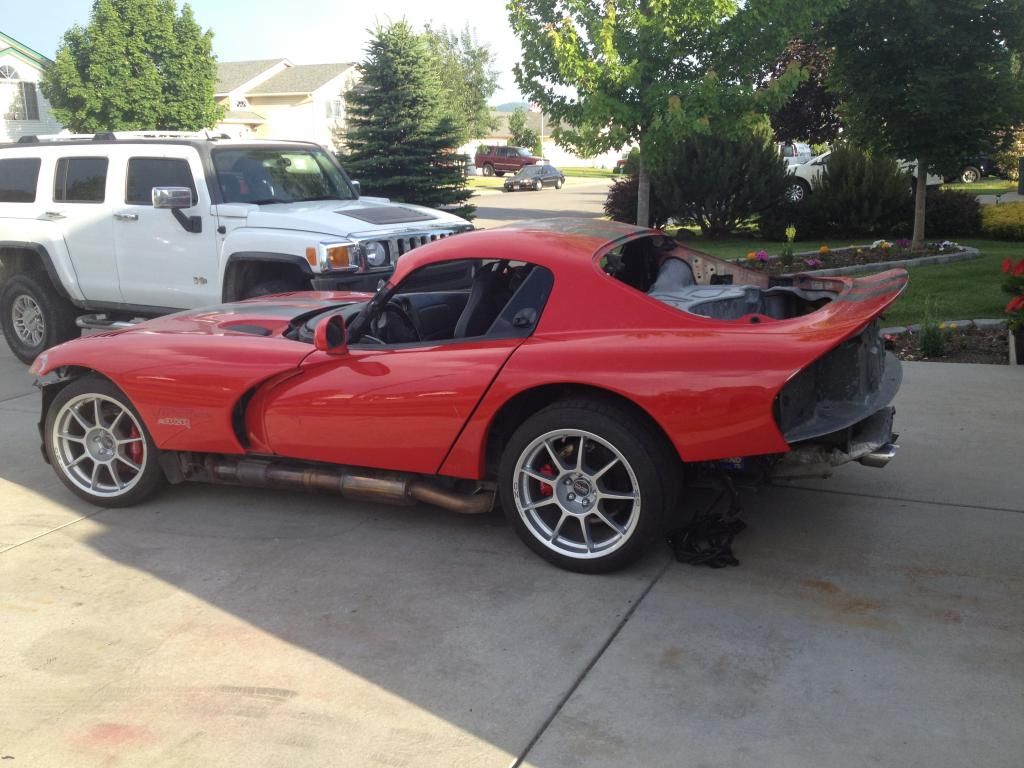
I've been super busy lately trying to get the Viper project finished up. It's back from the frame shop and 100% straight. I got the body most of the way back together as a mock up before paint. Should be getting paint in the next couple weeks.
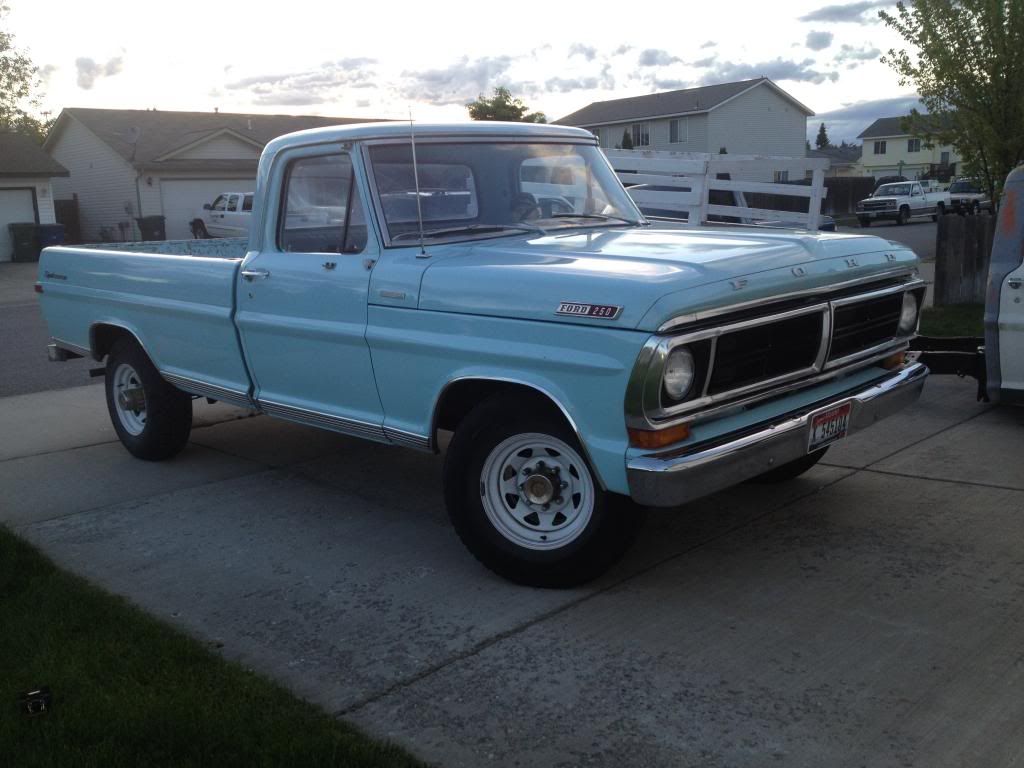
Also I bought another bump... For two reasons really: 1. I was getting impatient with my '67 and was contemplating throwing it together without doing everything I really wanted to do to it. I needed a truck to drive to keep me patient on the '67 and 2. Saw it. Had to have it. Got a good deal.
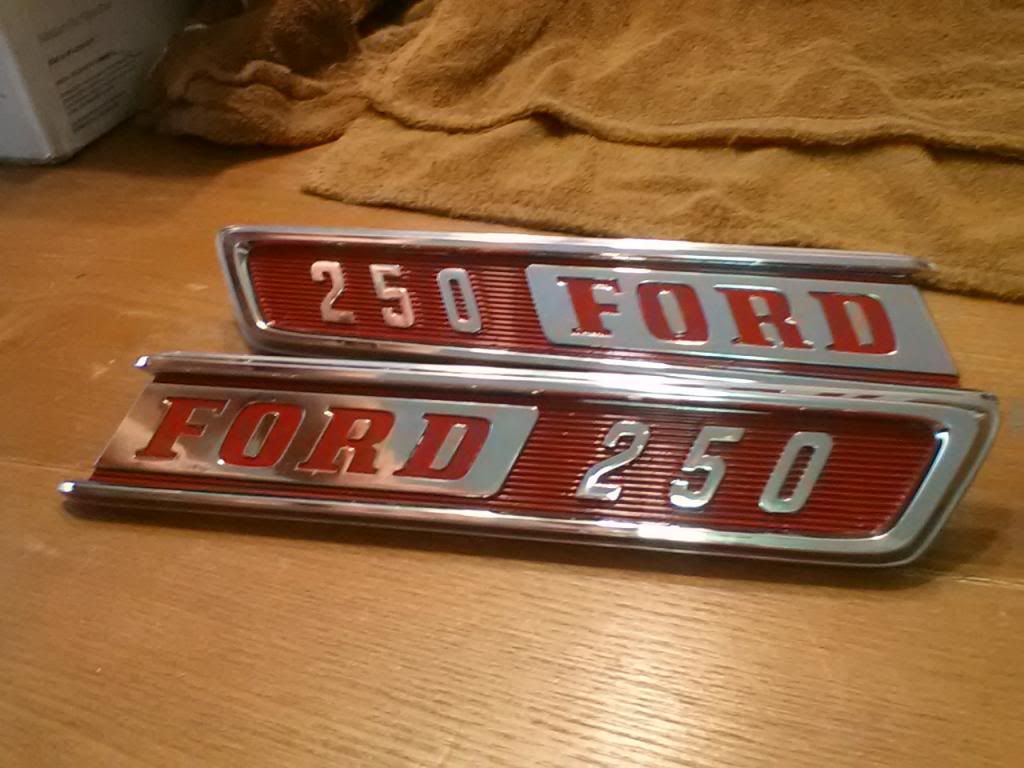
This is my new daily driver. I get to use it as a truck and not worry about dinging up the bed. I've been doing little detail projects on it like repainting the grill inserts and headlight bezels and just cleaning it up. I also put the f-250 badges on it that I refurbished and they look excellent on the light blue.
ANYWAY:
So here's where I'm at on the '67
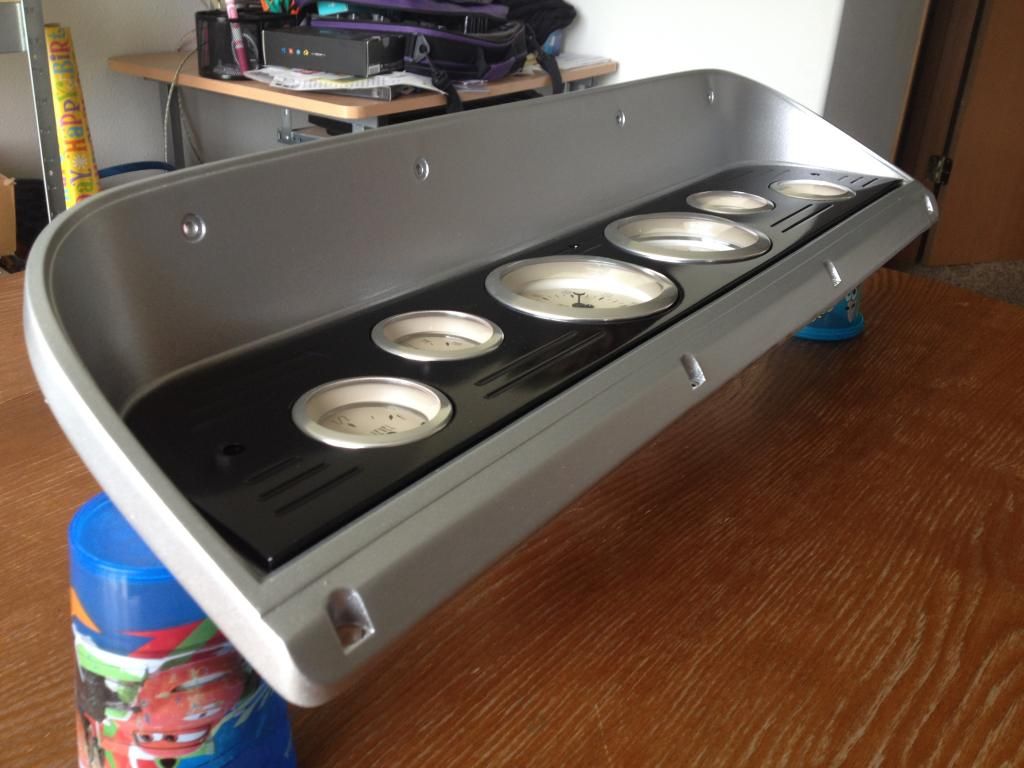
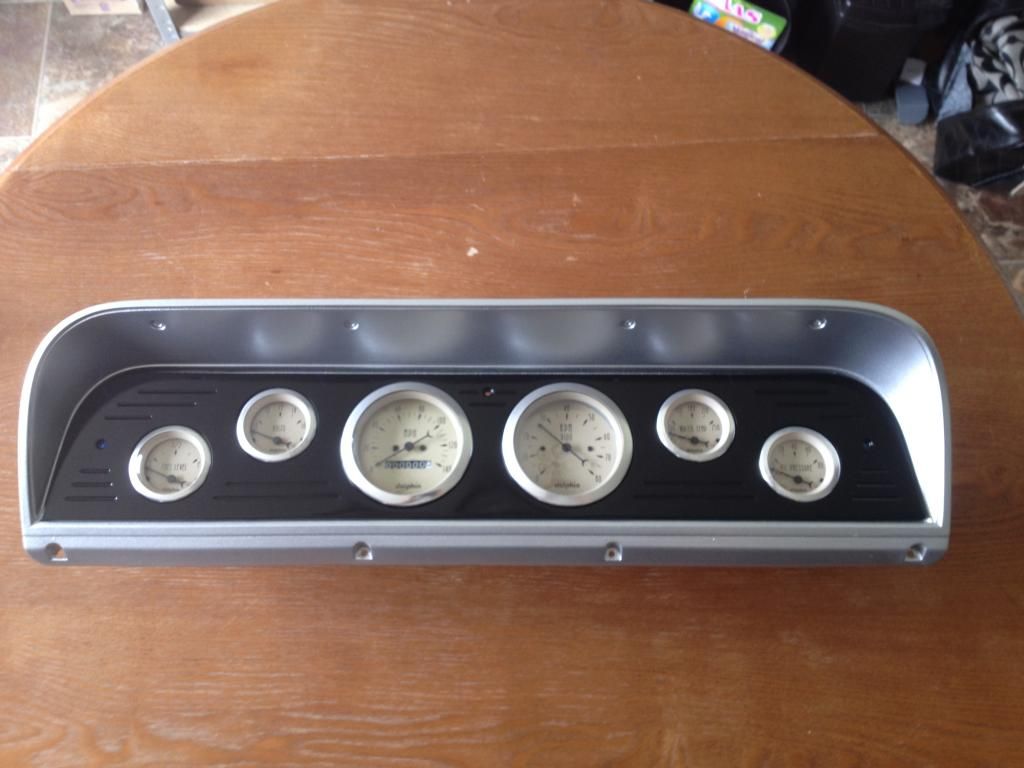
Got a gauge set and bezel insert/face off ebay. I refinished one of my old cluster bezels with silver krylon and painted the billet face plate black. I love how it came out.
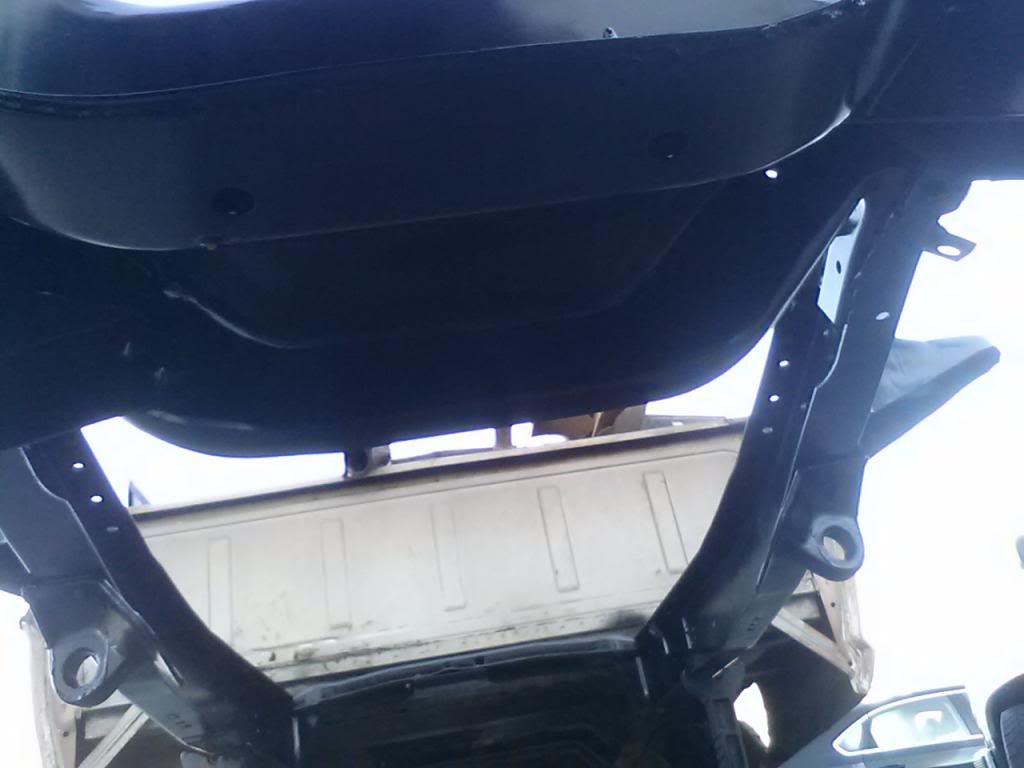
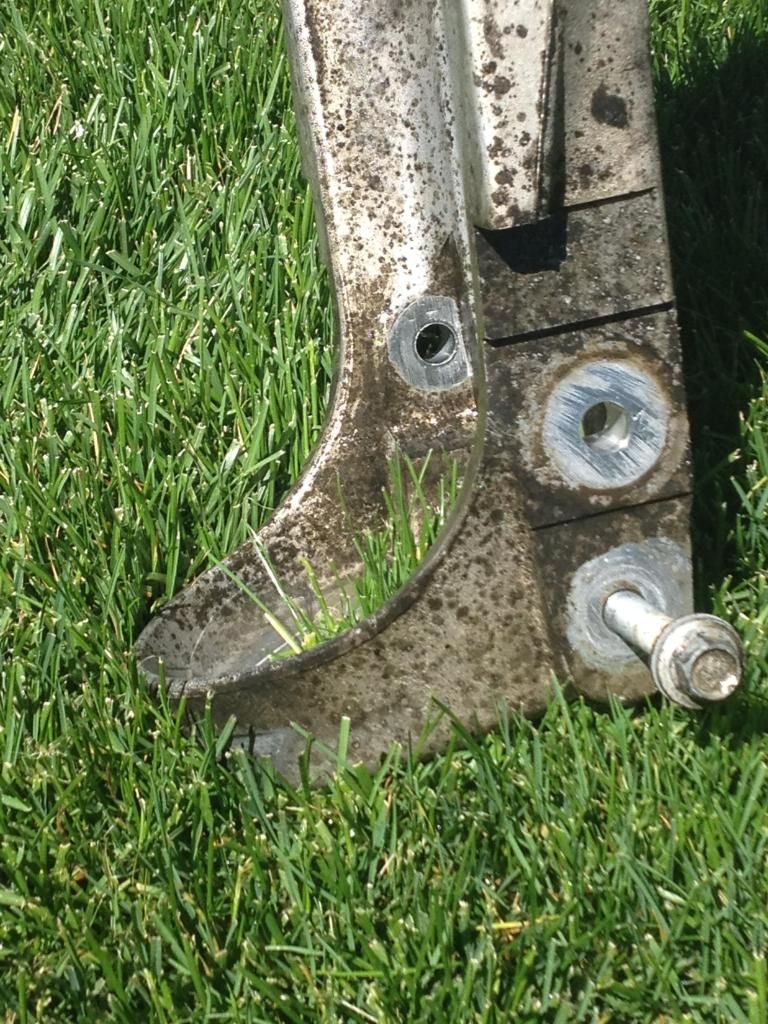
I also FINALLY found some Crown Vic stuff. I got a whole front assy and matching rear axle off an '03 P71 that had 100K on it. I took it to the car wash and pressure washed it then brought it home used two different degreasers to try and clean everything up. It all still looked like this (which is actually clean compared to when I first got it).
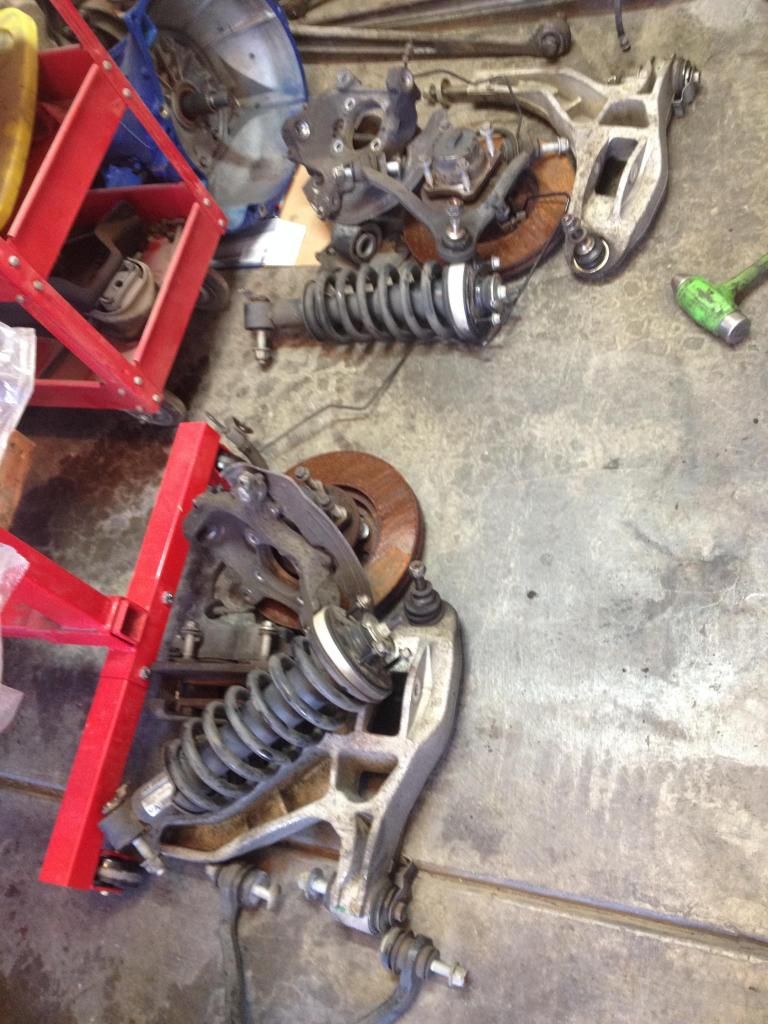
Next was time for tear down. All the ball joints, tie rods, sway bar links, wheel bearings etc are on in great shape and I will re-use mostly everything but I'm going to be putting new drilled rotors and new pads on when I get it ready to reassemble.
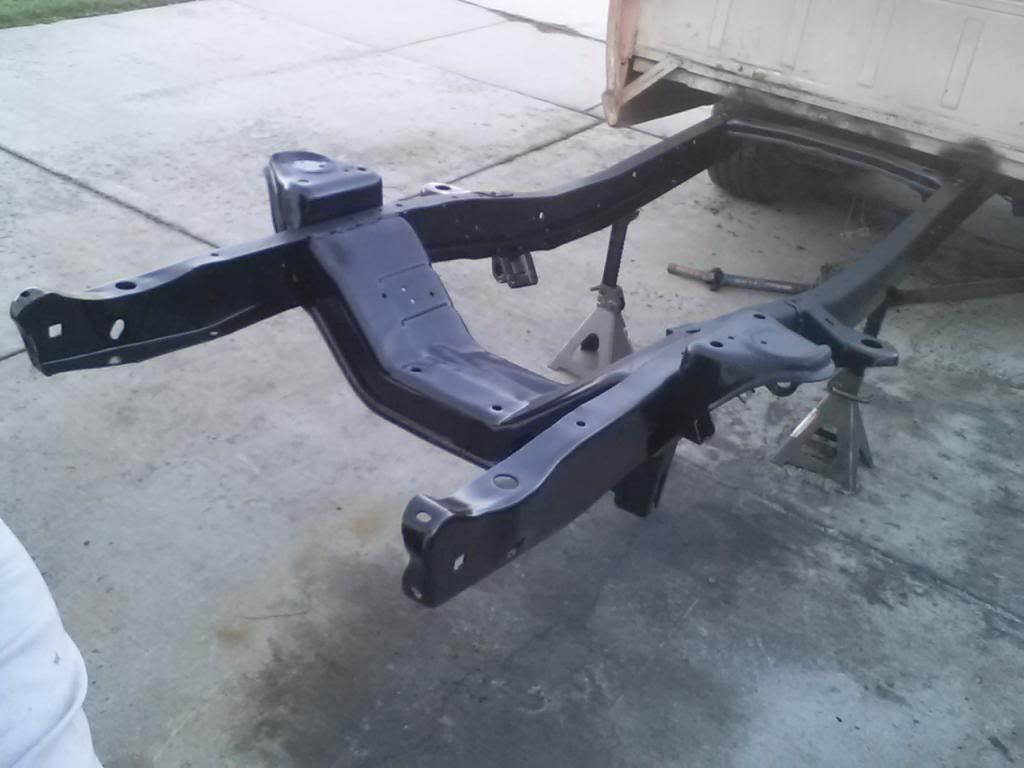
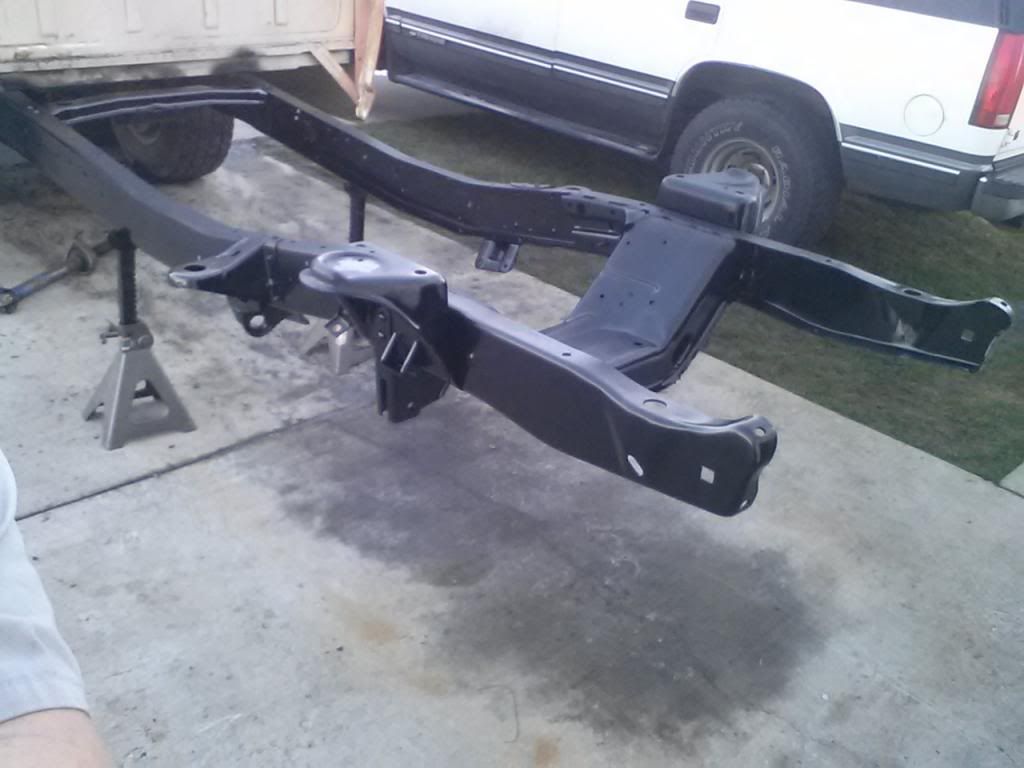
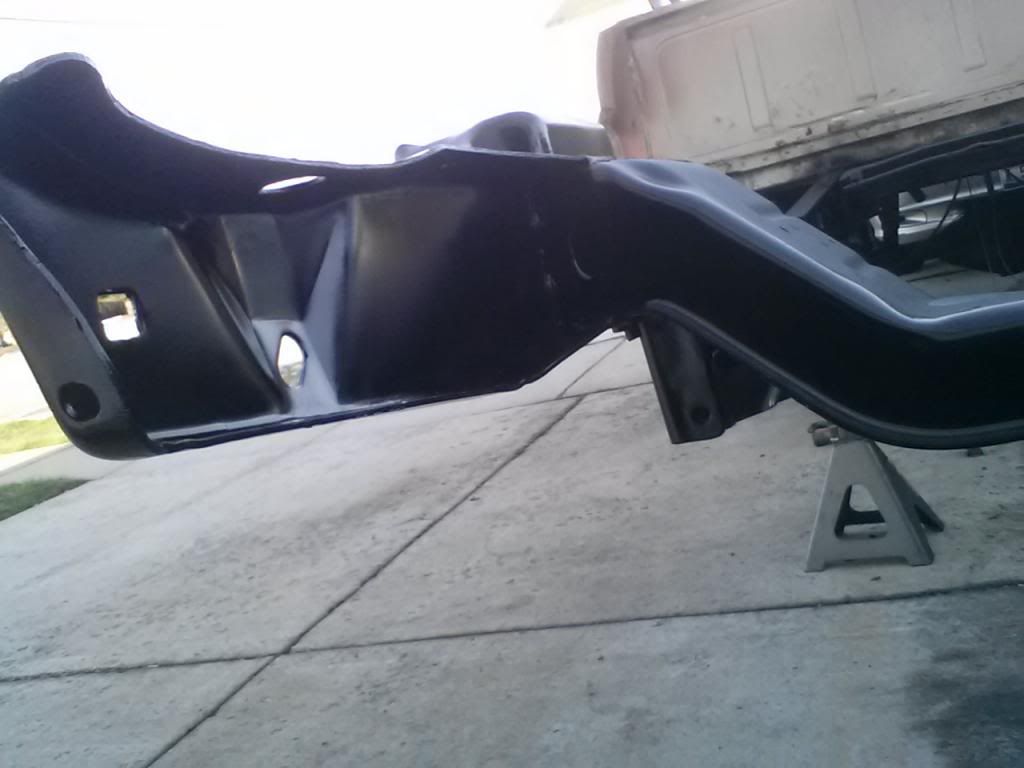
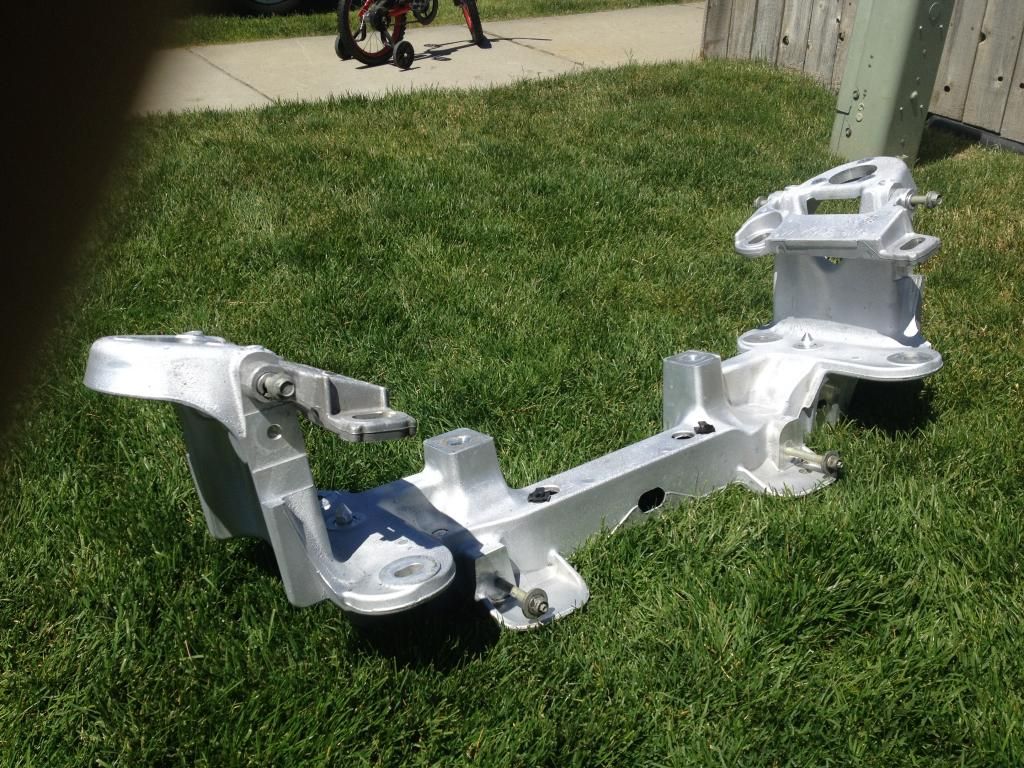
Next I went down to the local parts store and picked up some acid wheel cleaner and some small wire brushes. It took a couple hours, a whole bottle of wheel acid, and sh!t load of elbow grease but I'm very happy with how the k-frame came out:
Then I went to work on the frame. I used a grinder and an air hammer to get all rivets cut off (my neighbors weren't very stoked about the air hammer so I tried to get as much of the rivets cut off with the grinder as possible). That got rid of the shock/coil towers and i-beam mounts.
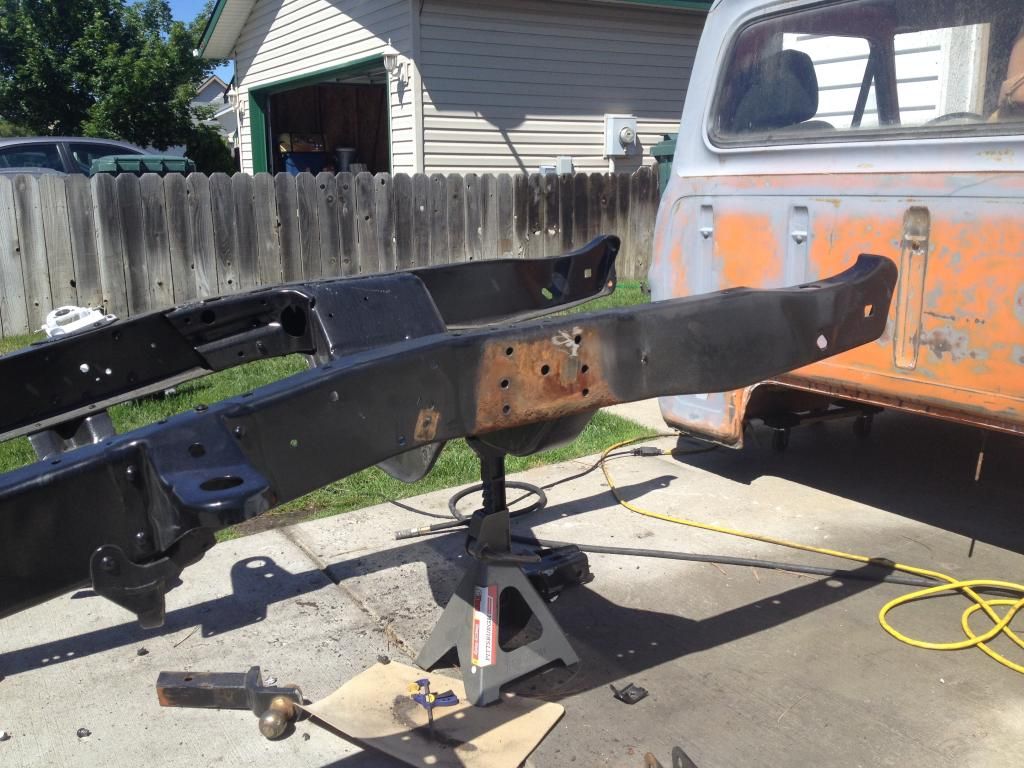
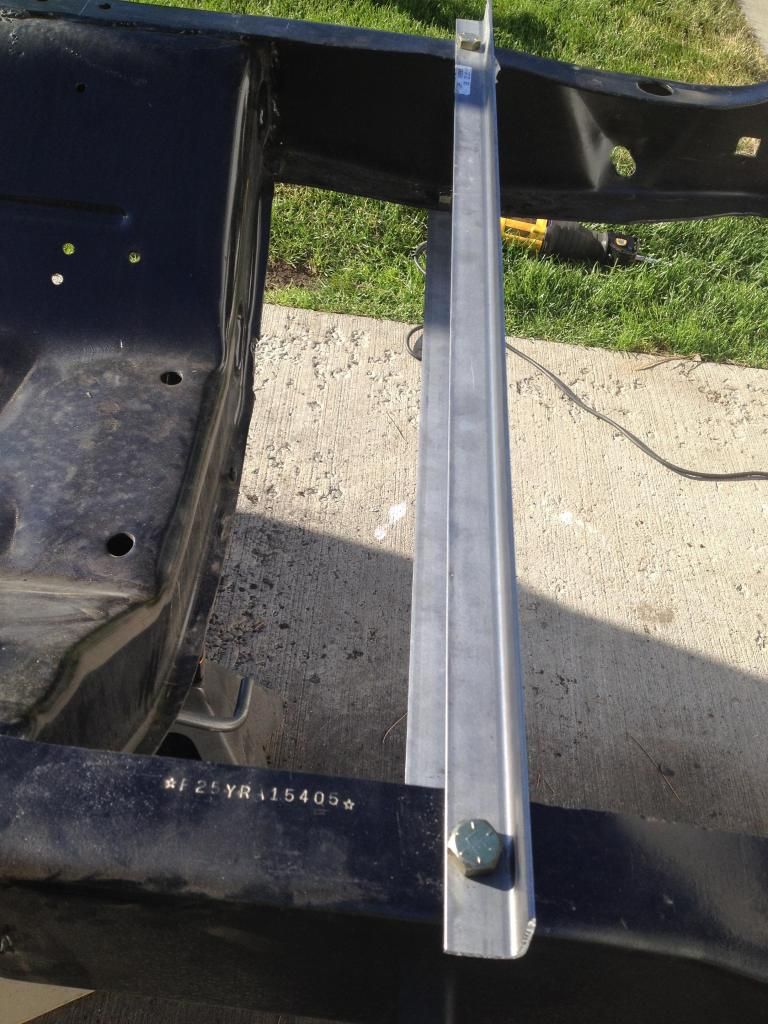
Then I braced the frame 3/16" angle iron. I didn't take measurement to do this part. I used the existing 9/16" holes in the frame and marked the angle iron while holding it in place. I also drilled the holes in the angle iron to 9/16" using a stepper bit (or uni-bit) and used 9/16" bolts to bolt the supports in place. I did it this way to make everything as snug as possible to eliminate the frame from having any room to move at all. Bolts fit very tight. I tightened them down to 50 foot pounds or so.
Then came time to cut the original cross-member out. I used a sawzall to do this. I went through 6 blades but not because they were worn out but because I kept bending them all to hell. It was a pain in the balls but I got the bulk of it cut out.
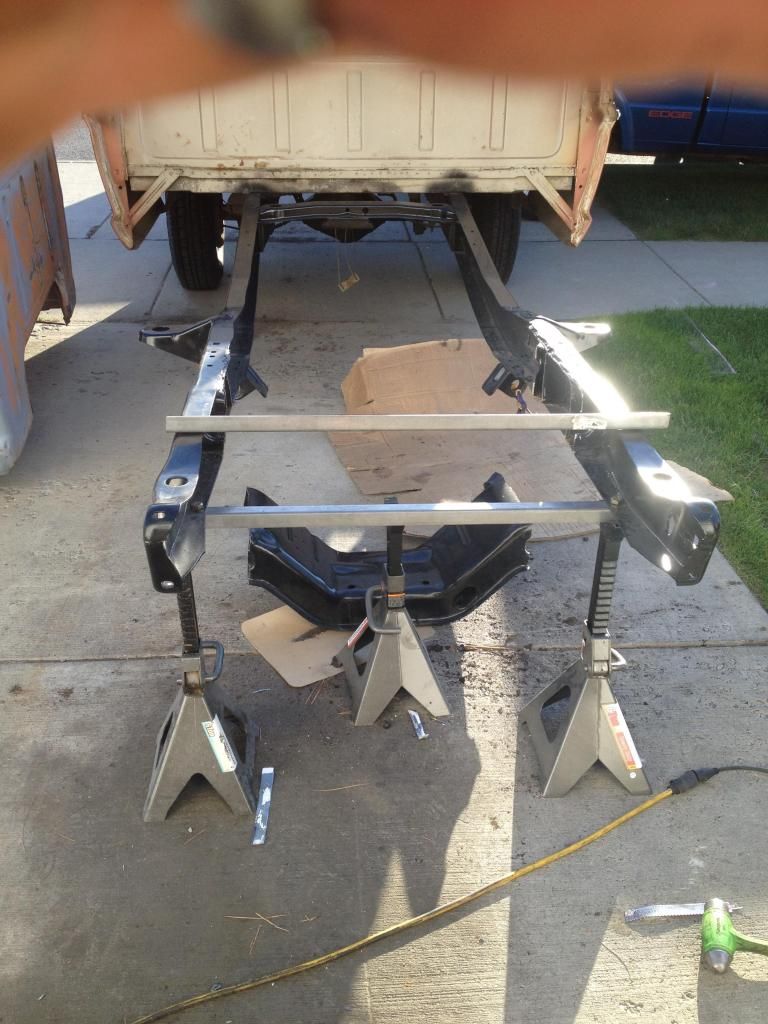
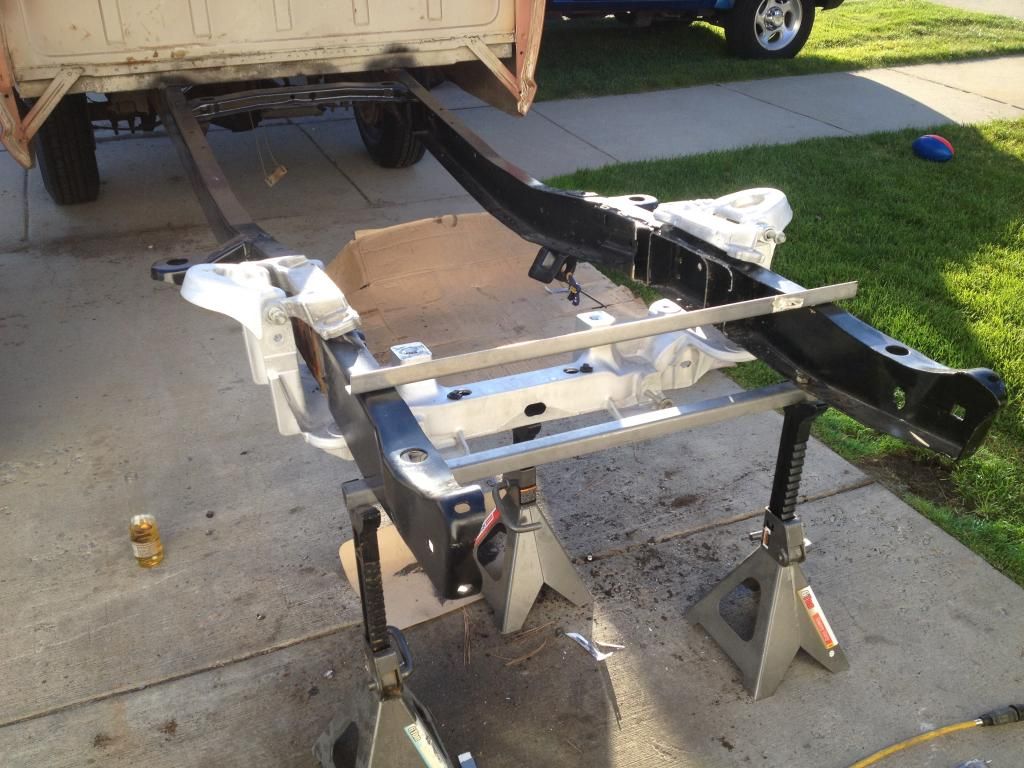
I did mark my center lines before cutting all my original stuff and decided to set the crown vic k-frame roughly in place so I could stand back and drink a beer while I just looked at it for a while.
Now that I have a new phone with a better camera (with my old phone I had use the screen side camera because the back/regular lens was cracked, so I hated taking pics) I will update more regularly. I now have a 1970 mustang tank kit, my engine mostly finished up, headers, seats, and a bunch of other stuff sitting in the garage ready to go, so I should be moving right along with the project now. My goal is to be finished up by the end of summer.
http://SpokaneSaveMore.com
Save More Automotive