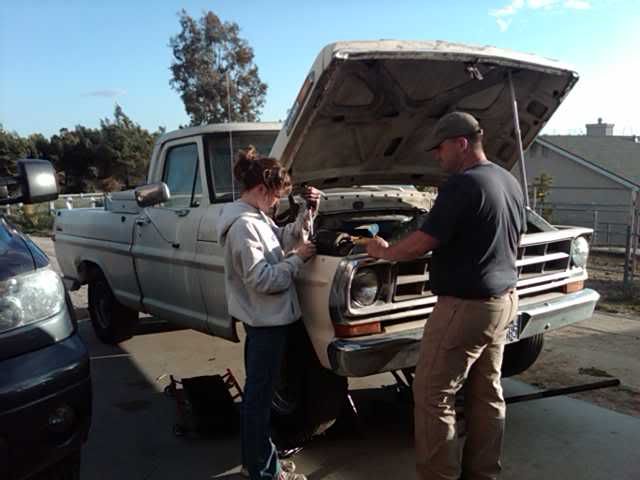
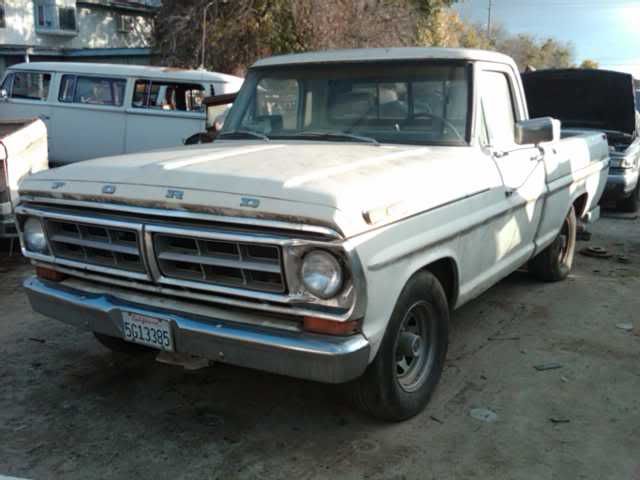
I sold this:
To allow us:
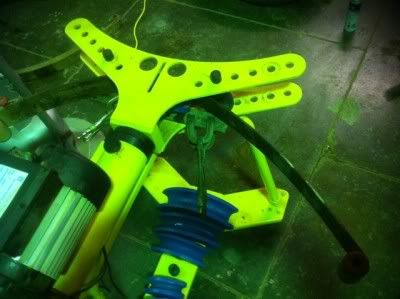
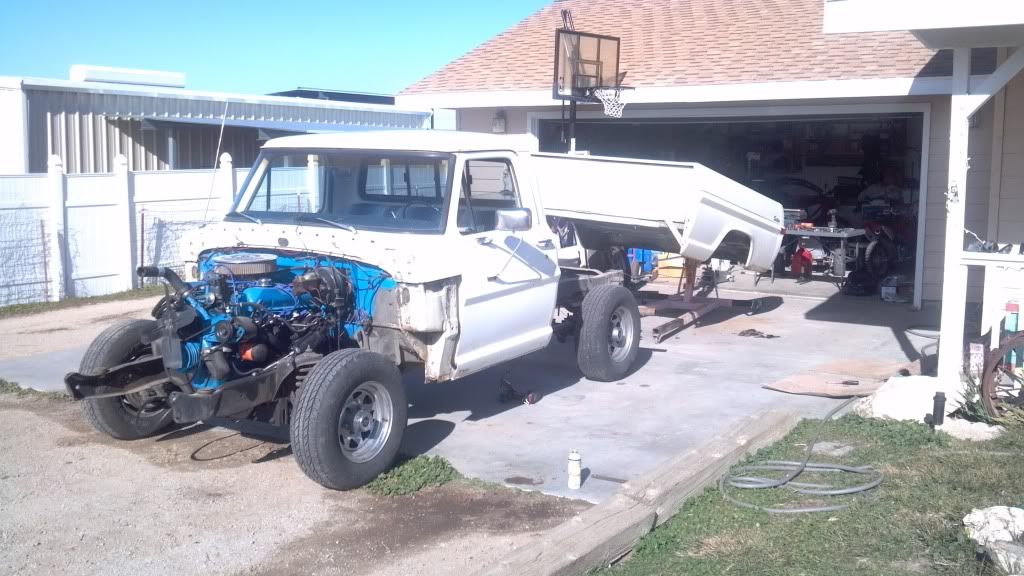
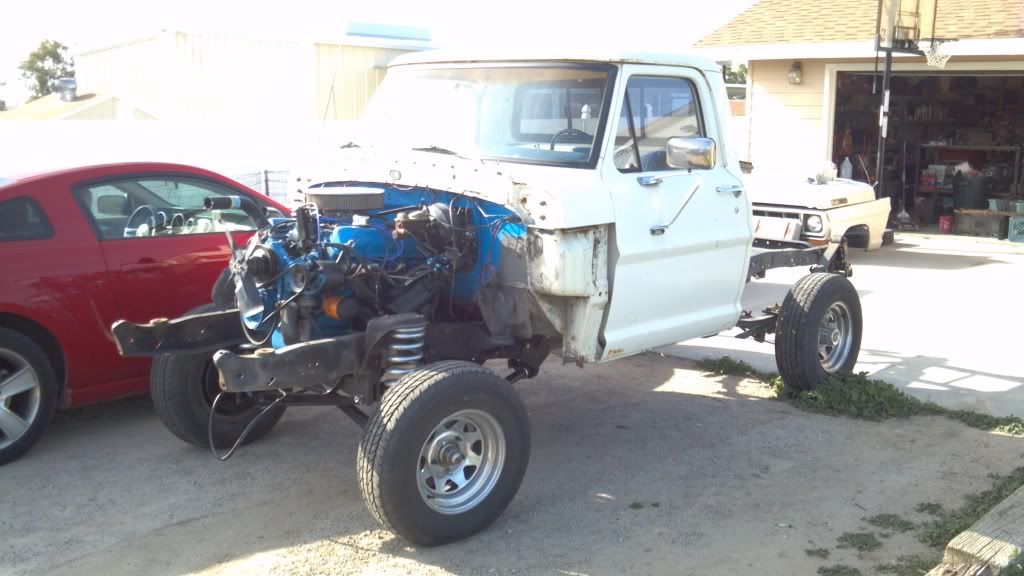
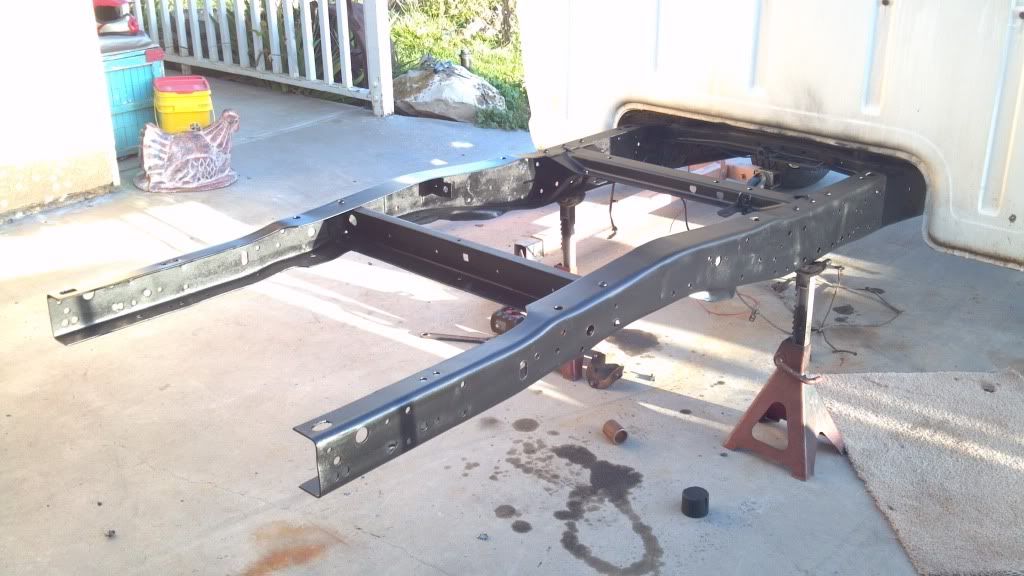
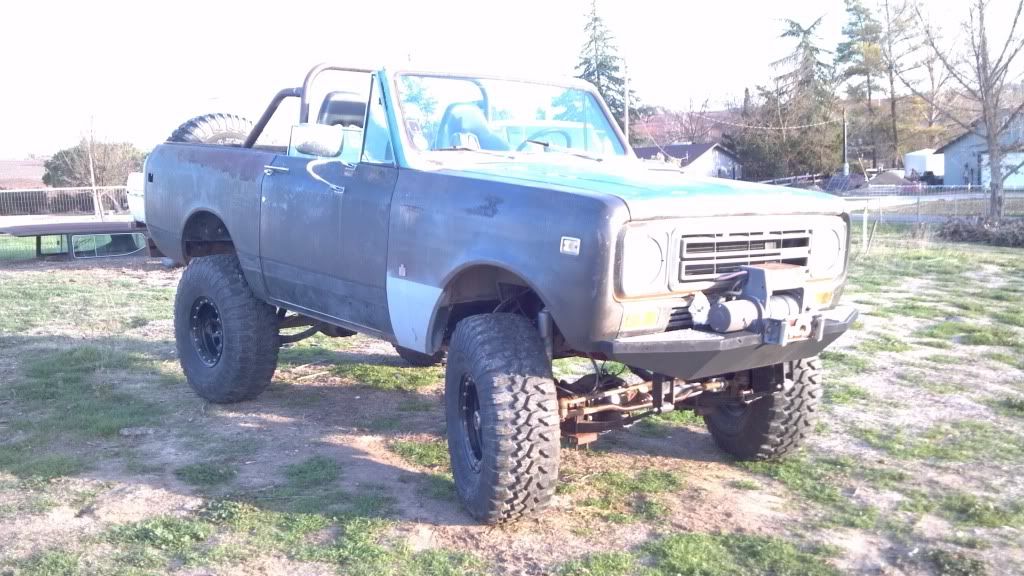
To transform this:
Into something like this:
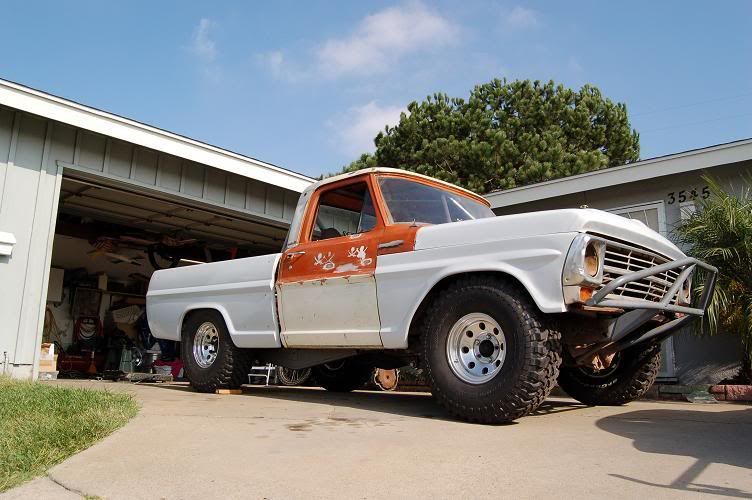
(Credit to whoever owns this truck, I think Bro-Dozer, its awesome, plus I snatched it from Philofab's thread 'cause we have the same taste.)
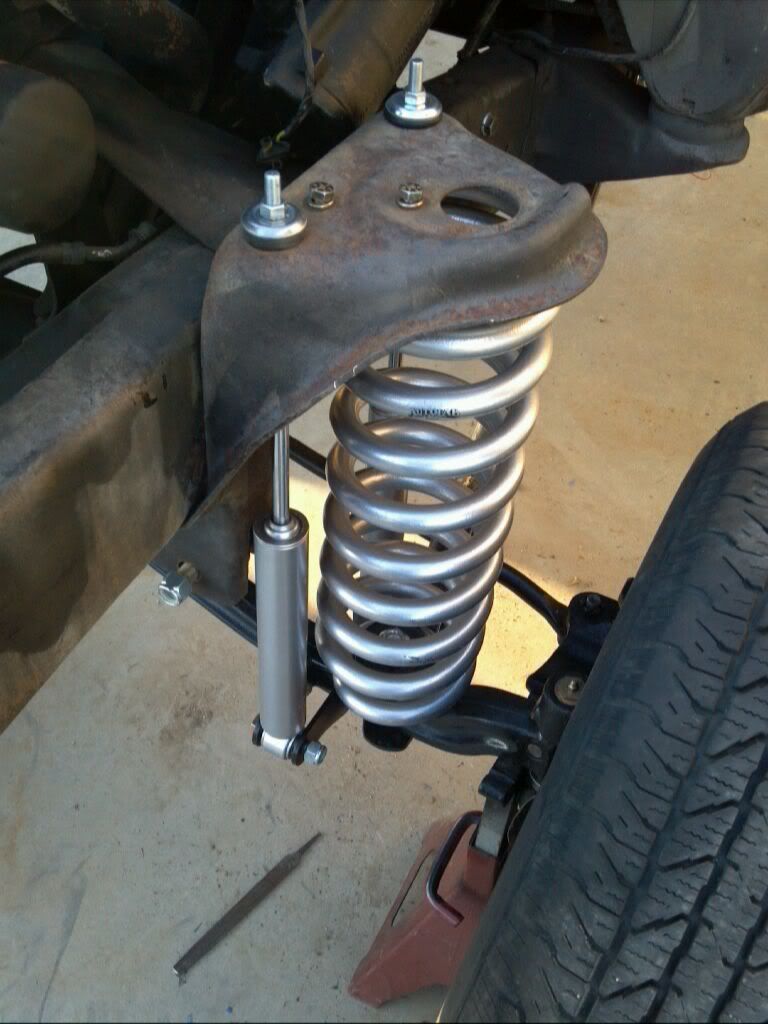
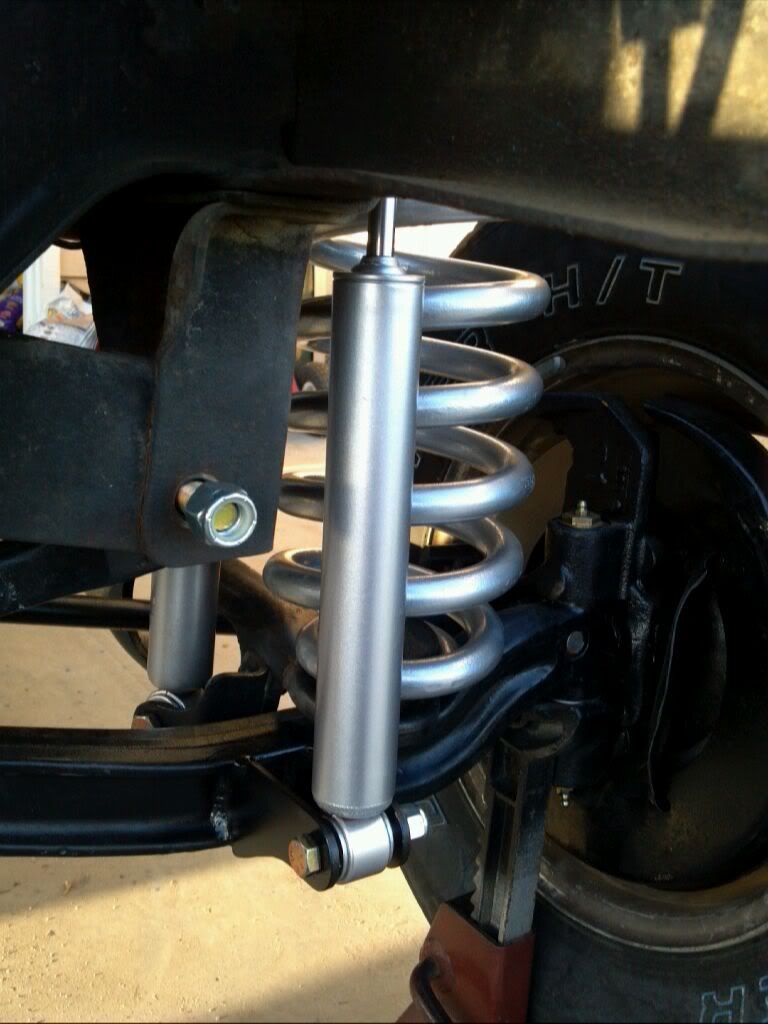
We made the trip to Santee California to visit John at Autofab and purchase a 5 inch front suspension lift kit. As pictured below, the kit consists of a new adjustable right side tie rod, F600 coils, correctly bent beams, extended radius arms, new radius arm pivots, crossmember ties, associated hardware and all new bushings. It also comes with access to Johns hard-won wealth of experience and knowledge. When you purchase the kit, you have to exchange beams and radius arms. The price of the kit was very reasonable and the people at Autofab are very easy to work with.
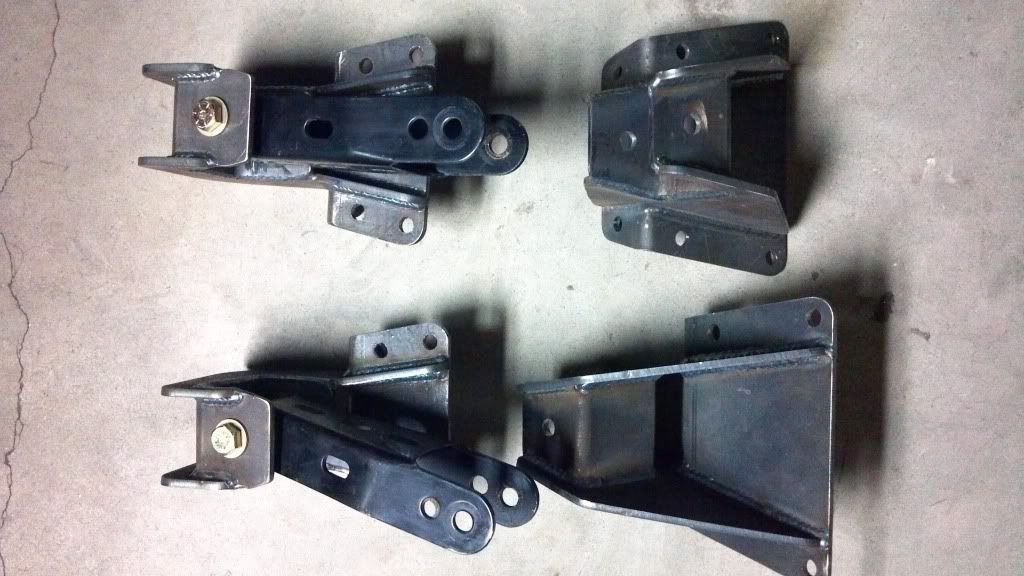
Here's the kit:
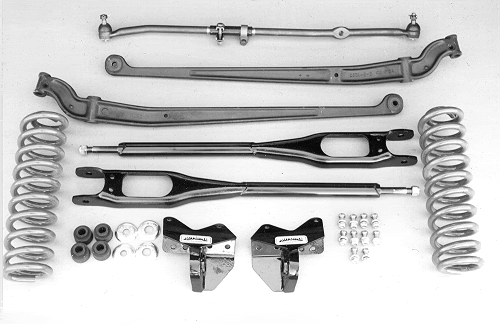
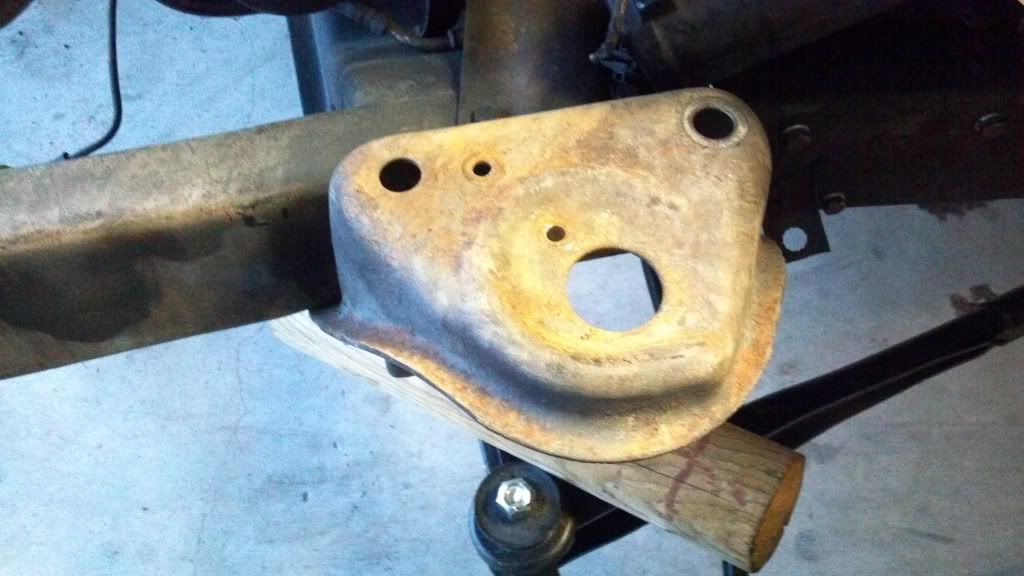
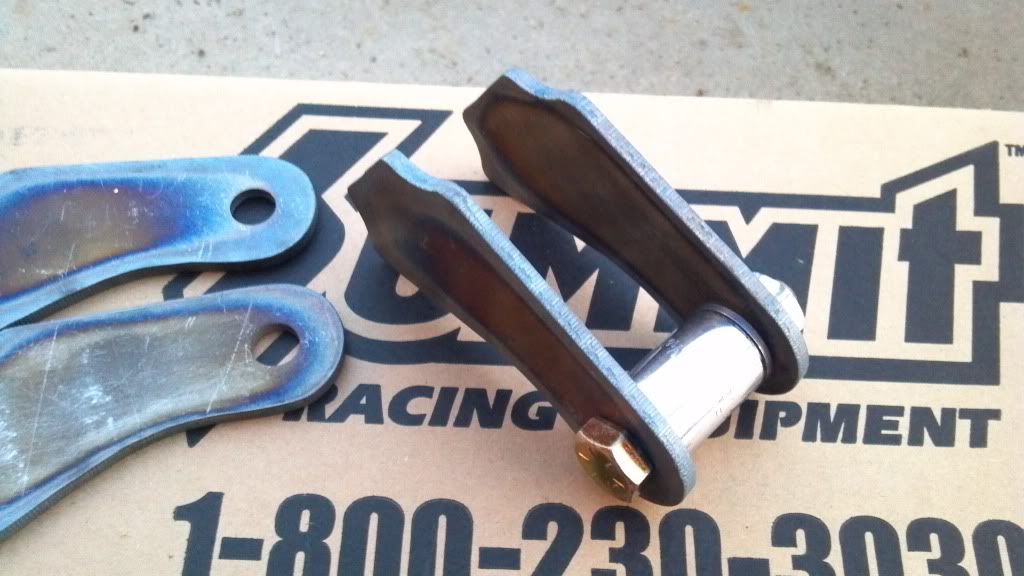
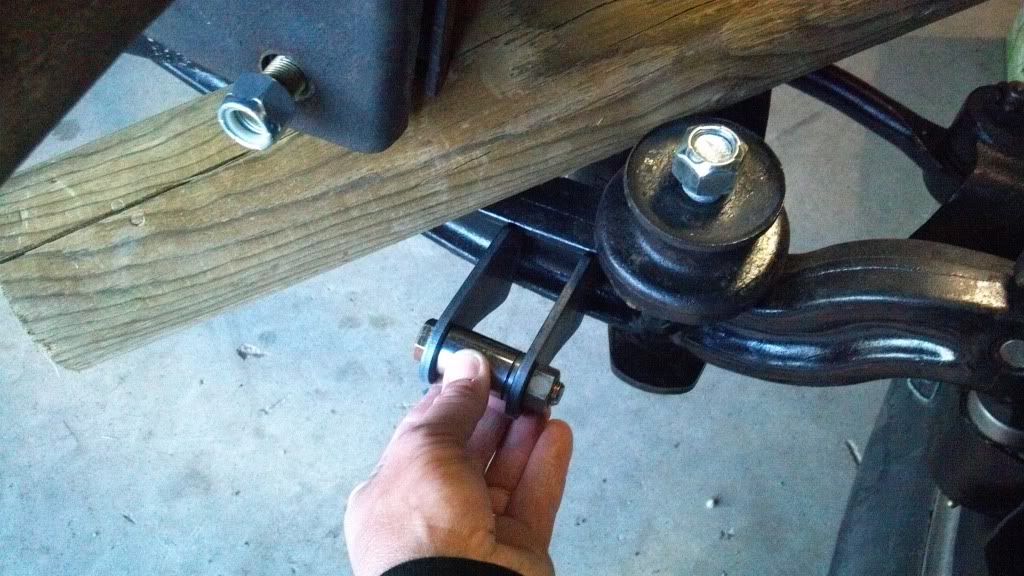
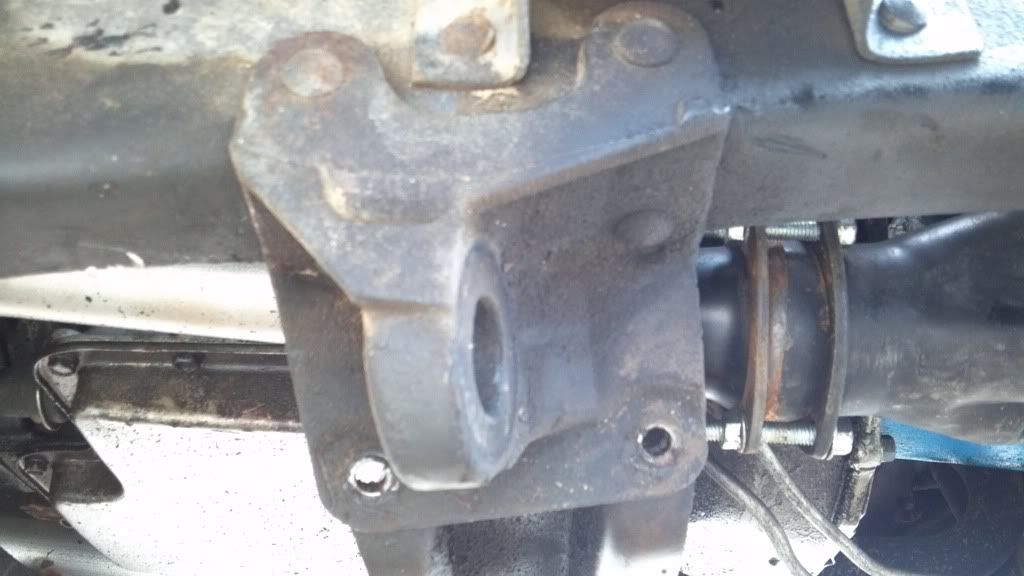
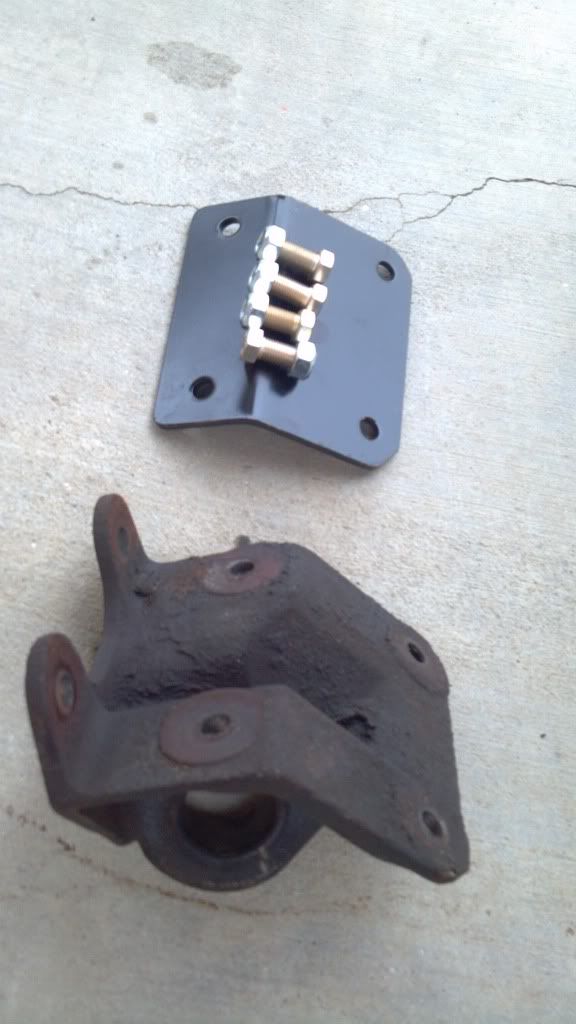
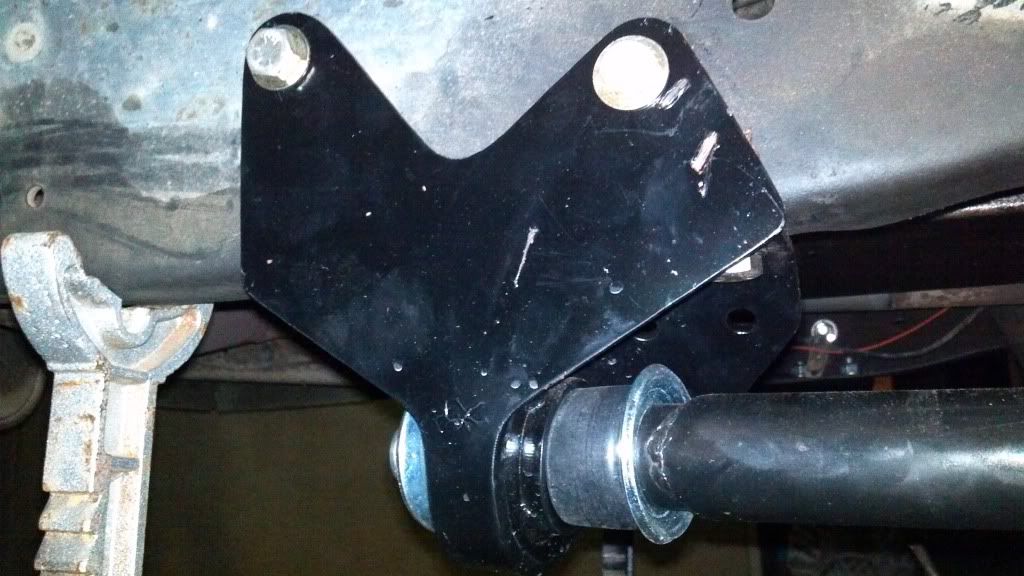
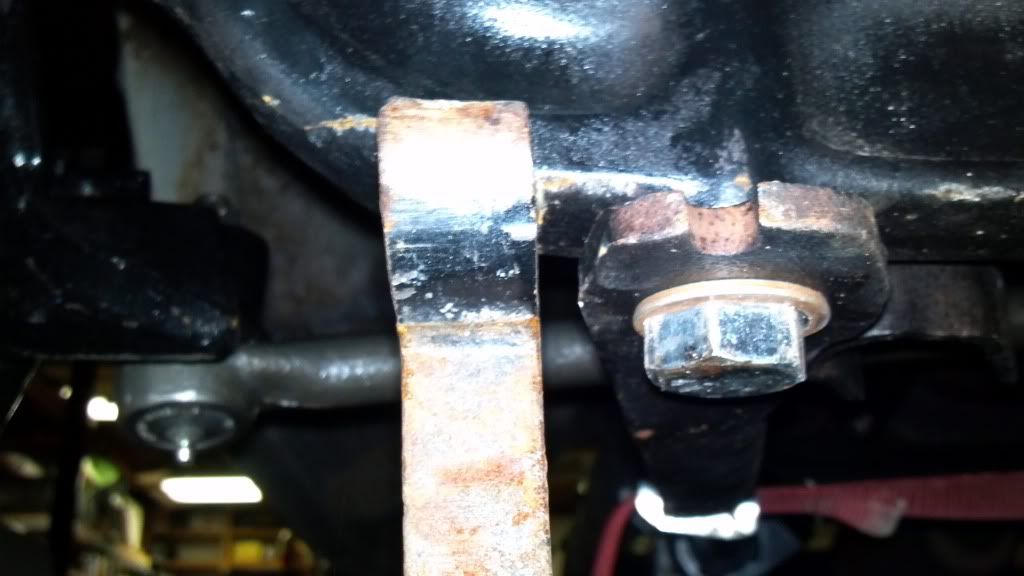
You have to remove your factory radius arm pivots and replace them with these ties (be sure to look at your factory radius arm pivots as there are two different styles, either two bolt, or one bolt attaching the pivot to the bell housing crossmember.):
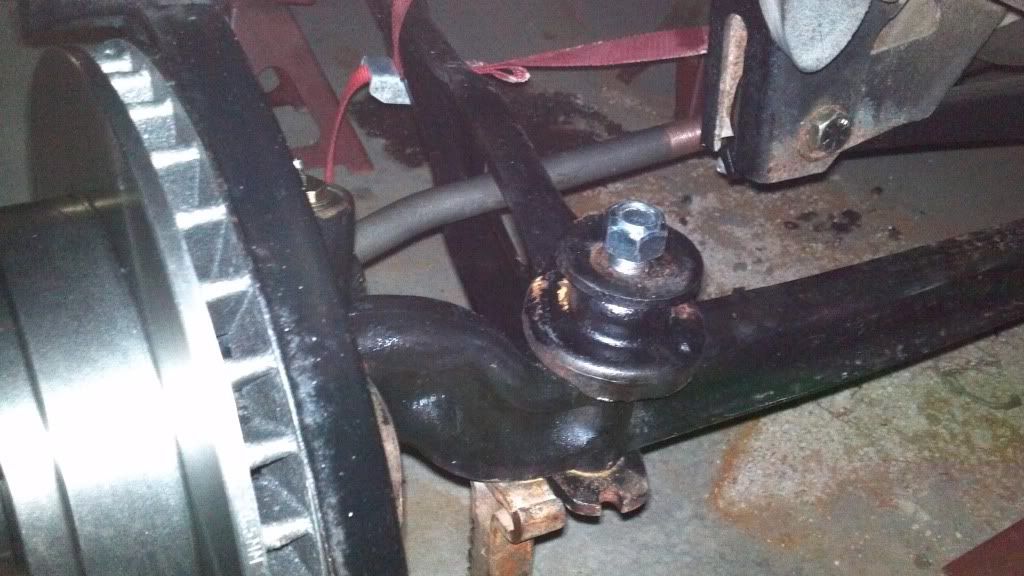
You also have to remove the factory bumpstops because of the larger coils. I wanted to replace them with some heavier duty type anyway. After installing the nuw re-aligned pivot brackets, you can then reassemble your front suspension using the extended arms and bent beams. I replaced the kingpins and bushings as well as bearings and rotors while I was there. I have a picture of my Daughter hand packing the wheel bearings. She looked like she had just finished field dressing a pig with a broken beer bottle.
I destroyed the original radius arm/beam clamp bolts during disassembly (I got lazy and cut the heads off with a torch.) Don't do this. The original bolts have extra long threads and I could not find them anywhwere I looked. I found some I could use at an old industrial supply house but I still needed to put a washer on the bottom to make sure I got a good clamp on the beam while still having enough thread to securely hold the spring seat and maintain the lock.
Cycles great and the geometry seems right on. Be sure to follow the instructions about alignment procedure. Again, John is the Obi-Wan Kenobi of twin I beam in my opinion.
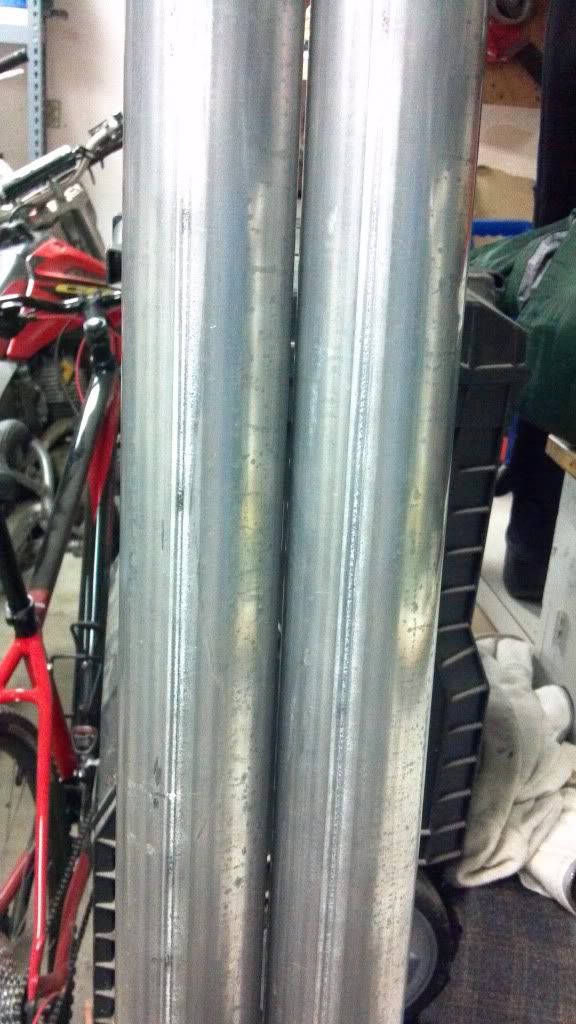
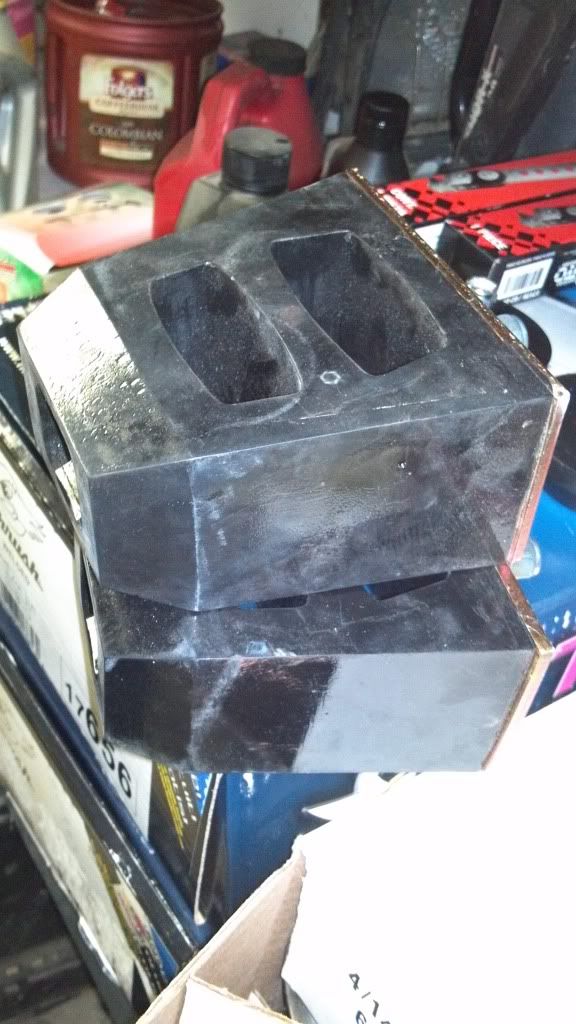
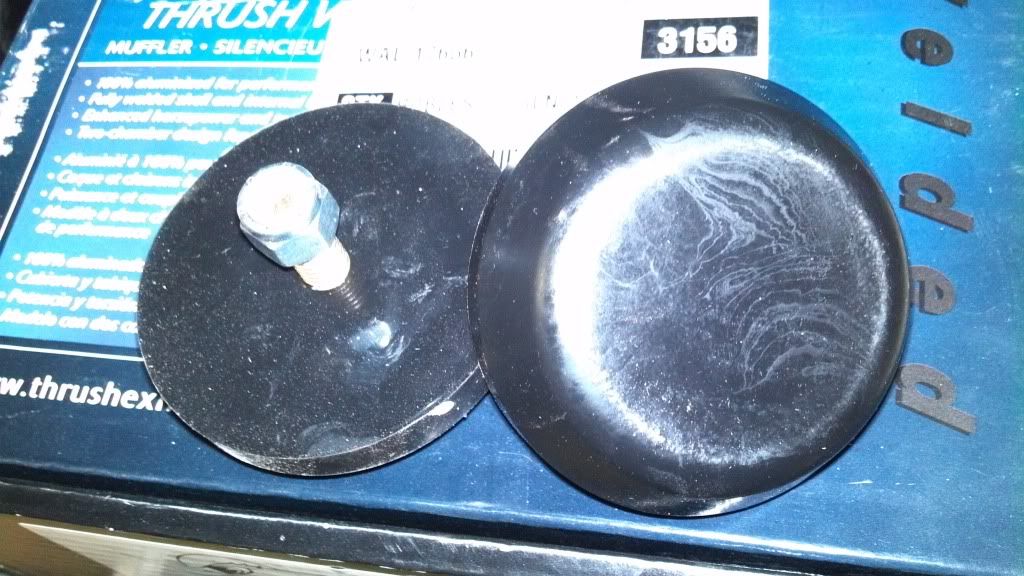
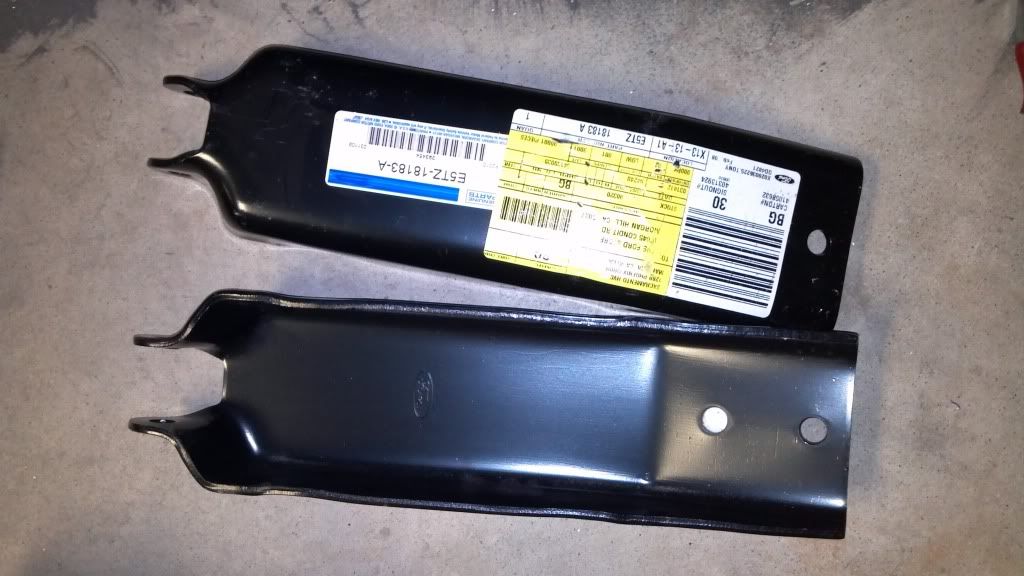
I bought these at the Ford dealership to use to build my shock mounts. I may not use them because Autofab makes some pretty bitchin spring buckets and shock towers for these trucks.
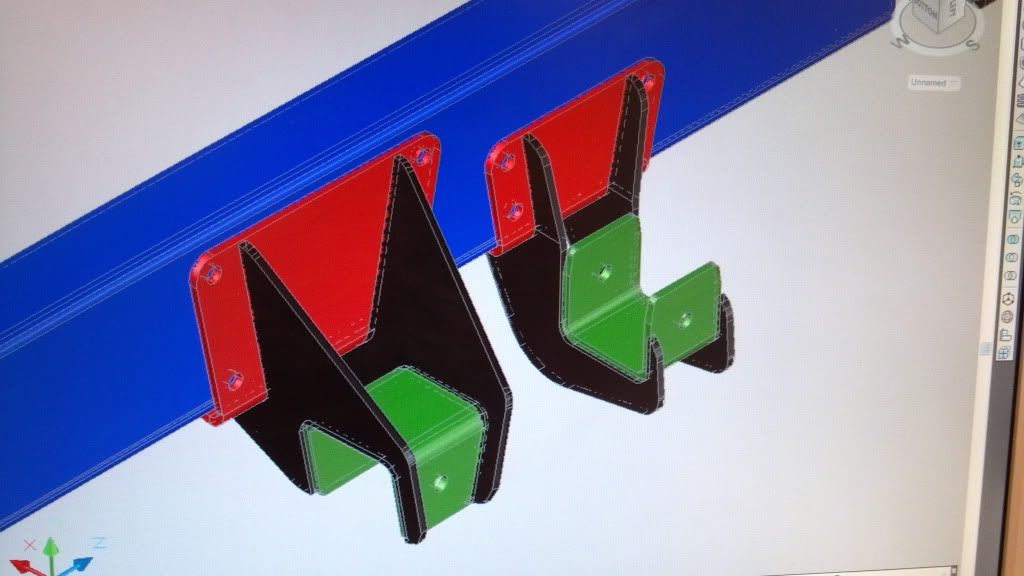
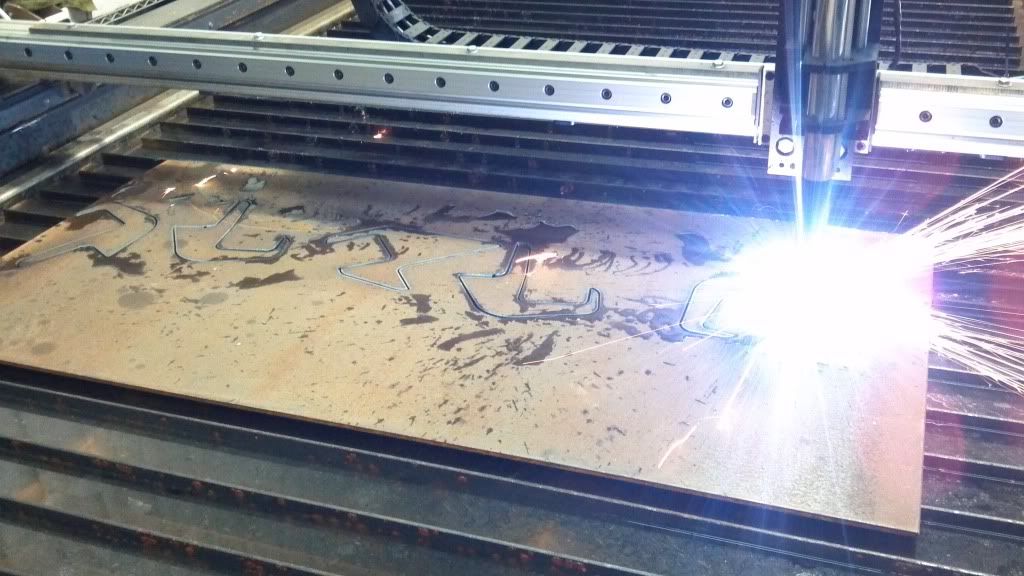
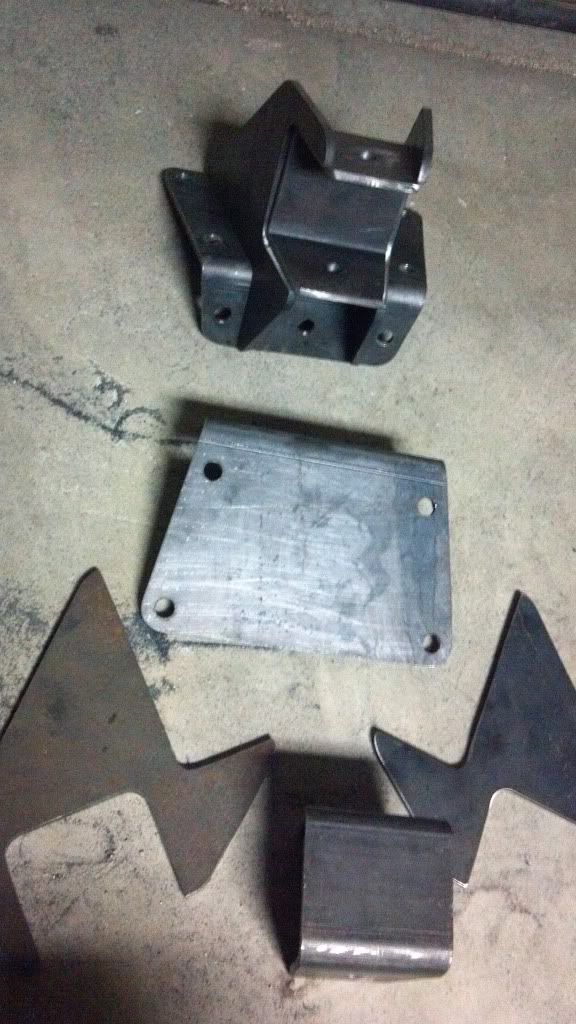
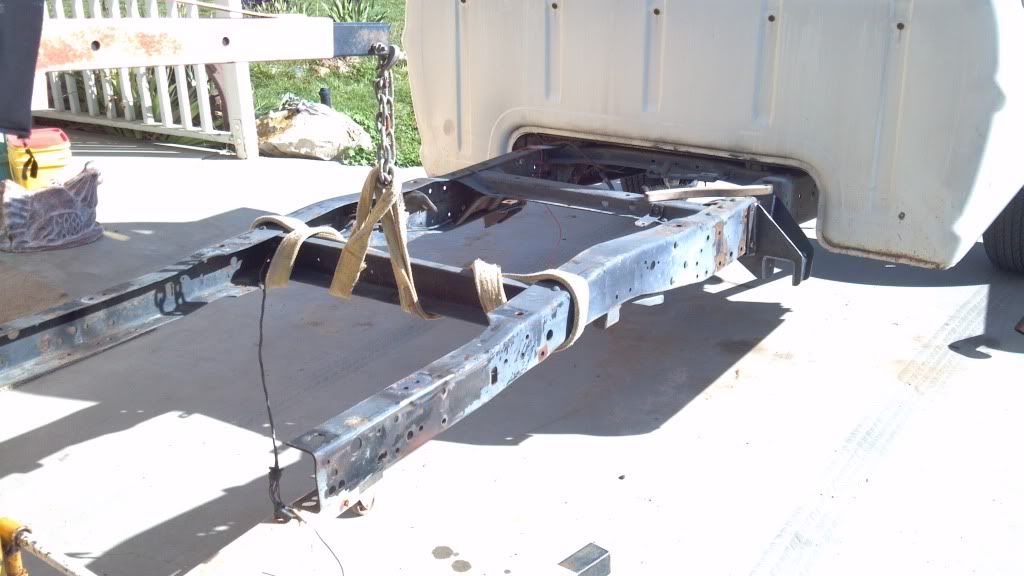
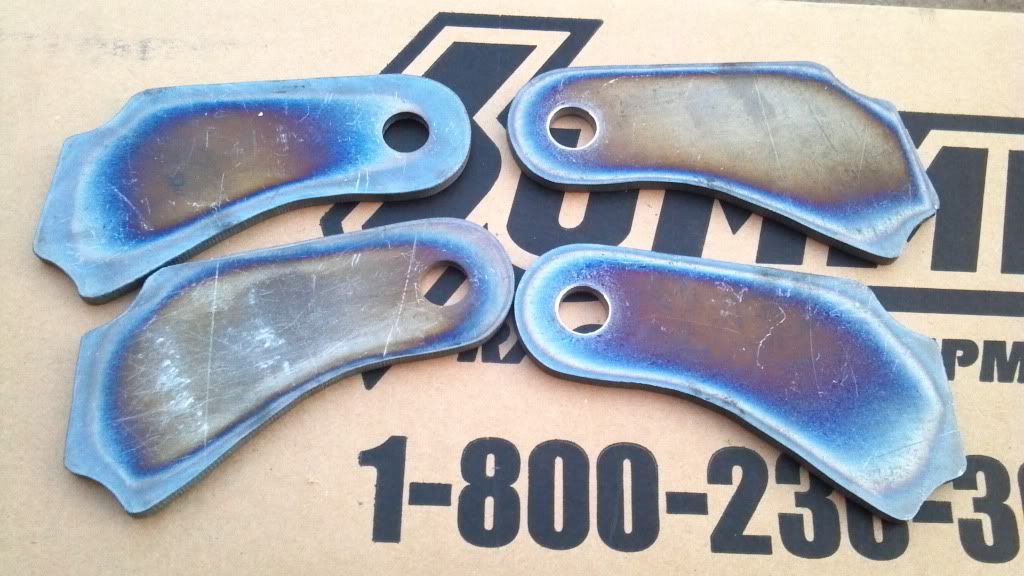
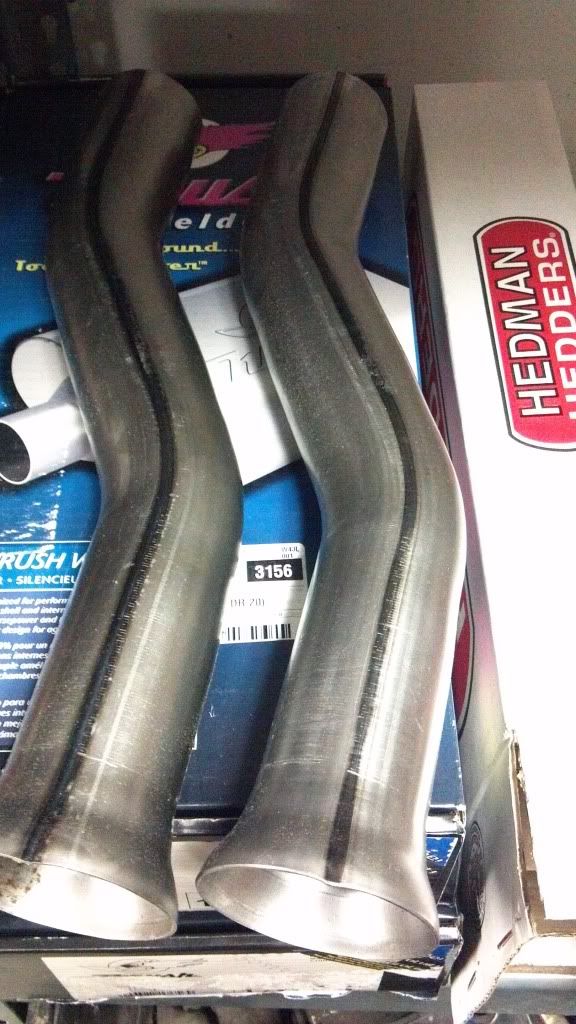
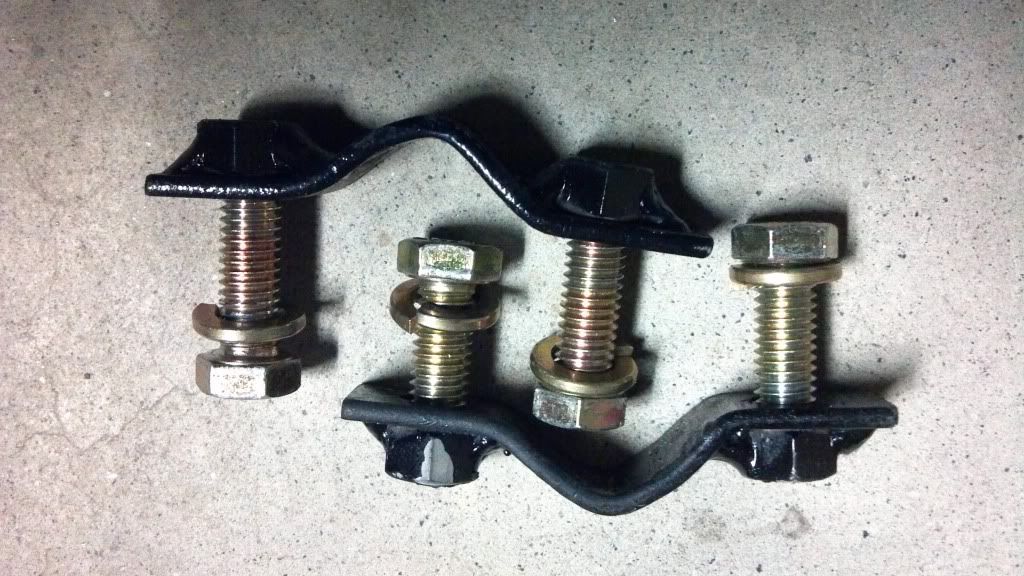
I made these to replace the siezed and rusty factory straps I twisted, broke, pryed and bled to remove:
I'm starting on the rear suspension now.