I guess I will start a step by step on this in hopes it adds to the already thread on the '72
http://www.fordification.com/forum/view ... 22&t=37897 that was done with a CV IFS.
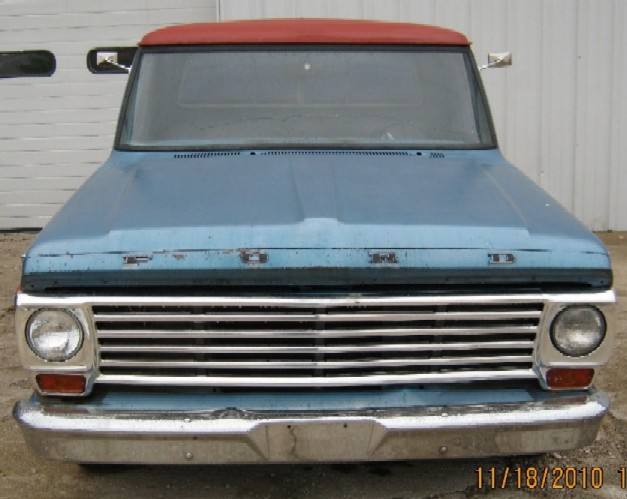
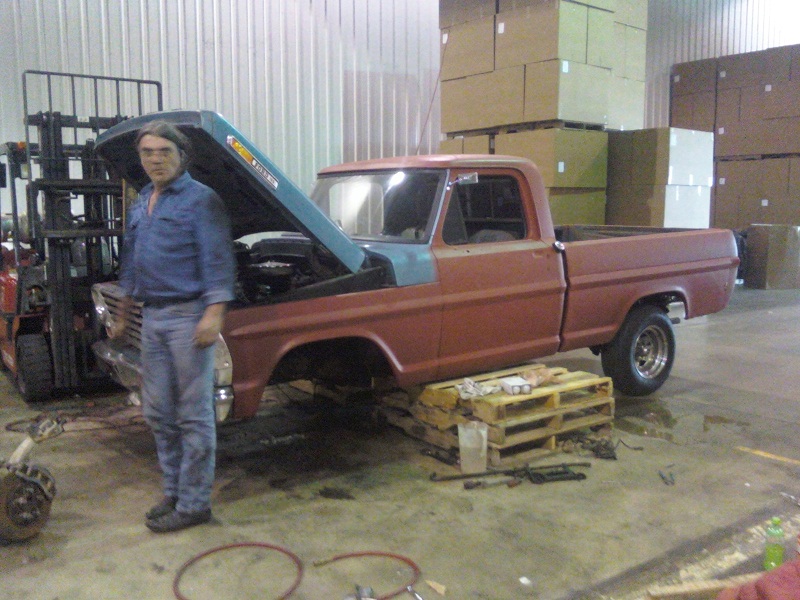
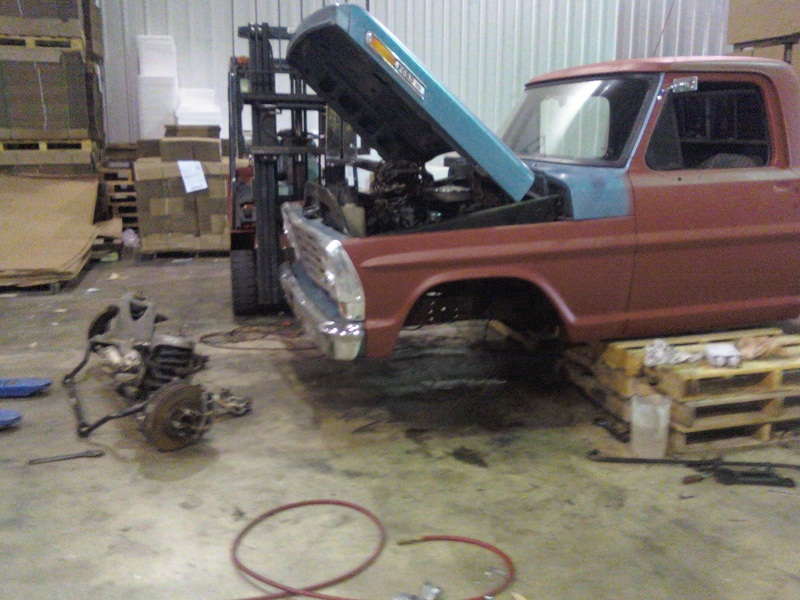
First thing I did was mark the fenders for the centerline of the existing front hub. The way I did this was to take a straight piece of steel with a level on it and line up on the center of the front hub, rotate until the level was good and mark the fenders. If the doghouse is off marking the frame would work equally as well. Then came tearing out the old suspension. This is the worst part of the job although hand drilling 4 holes 3/4"D on your back under a truck isn't much fun either.
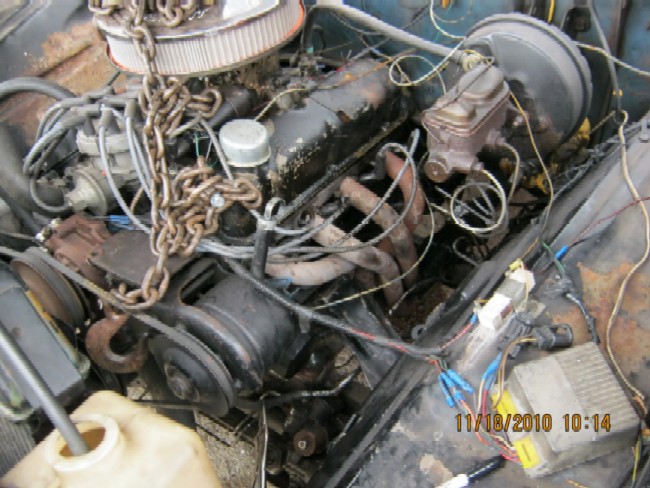
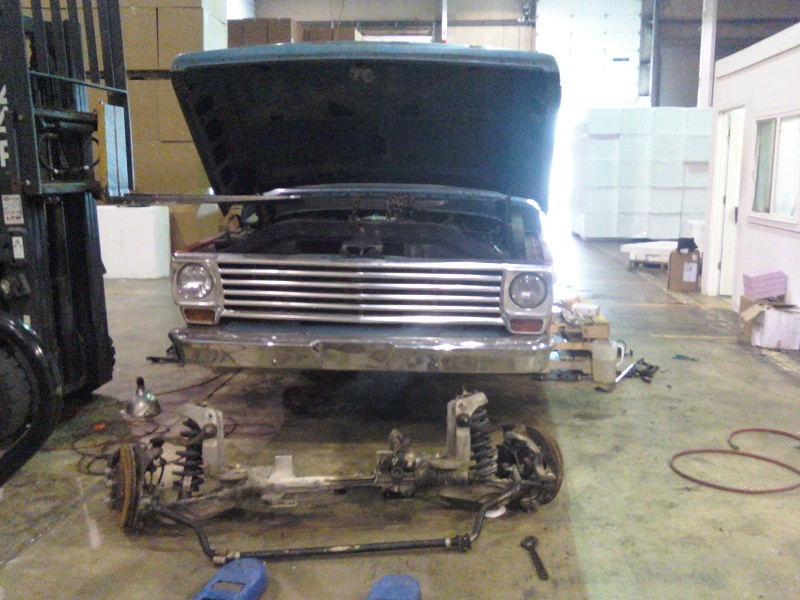
I started by cutting out all the rivets involved until the only piece left was the front crossmember. The crossmember is welded in. I cut it off even with the rails leaving just the very end inside the frame itself. The piece left is 3 sided and there is an open spot in the upper corners. I cut into 3 pieces (both sides and the top). The sides I beat with a hefty hammer and the welds gave way. The top I delicately sliced the weld with the flaming wrench along the top of the rail maintaining the rail. Used a long prybar to work it free. Drivers side has a boxed section for the steering box that needed cut into a bit. Same process for removing the stub of the crossmember though. A note here on the steering box. I was not able to get my steering box out until the crossmember was cut out. Remember though the engine is still hanging there in the middle of the engine compartment.
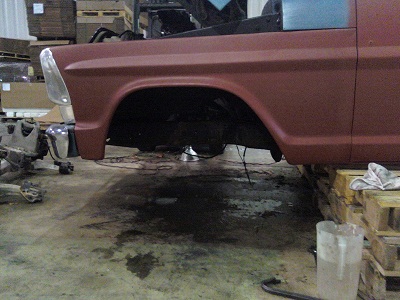
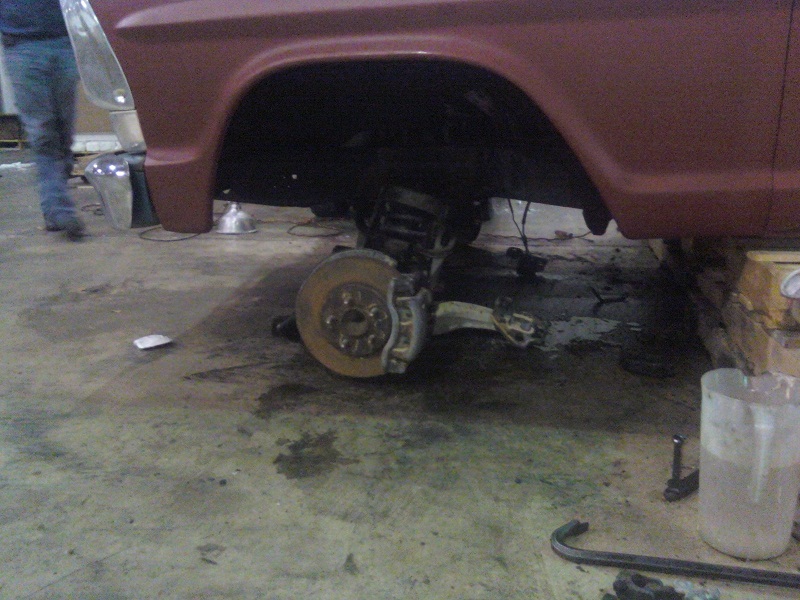
Best to make at least the portion of the mount for the rear of the lower control arms that the control arm bolts to before installing the suspension. Gussets can be fabbed later. Ok now we strip everything we don't need from the new suspension. I am not hooking up antilock so out that harness came from each wheel. The brake lines were cut in spots so out they came. I took out the nylon alignment pieces as well (more holes to drill!). Slide the unit under the truck lining up the centerline on the fender with the centerline of the hub using the same process as when making the mark. Check to verify this is where you want it. Might even put a wheel on to make sure this is the placement you desire in your wheel opening. Mark two of your holes on one of the rails and start drilling. I did the left rail first and placed the holes in the center of the rail. With those holes done I ran the bolts down through the bottom of the rail and through the crossmember to help better hold that side in place.
I moved the right side around until it was in the same location as the left, marked my holes and drilled. I started out trying to get the entire unit in correct alignment before drilling and most likely due to equipment and how I was doing this it seemed very difficult. Worked way easier doing it one side at a time. I then ran the crossmember up to the frame with all 4 bolts running down to help align into place. Works pretty well once all 4 holes are drilled. There are upper supports for the strut towers that go over the top of the rail. I put them on and marked my rails for drilling. Drilled those 4 holes. I had the frame section from the CV that housed the spacers so I didn't have to build any. I cut them out of the frame pieces and cut them off to correct length for the inside of the frame rails. This left the nut piece that I placed on top of the rail. You could just as easily drill the upper hole larger to slide them through and weld them in as in the CV.
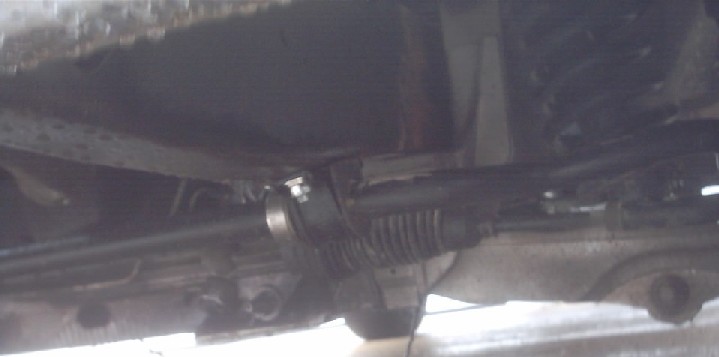
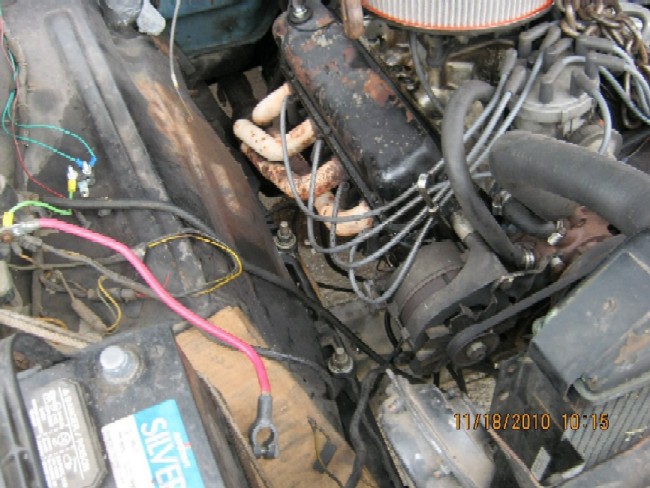
Now we bolt it up just like in the CV. At this point I went ahead and lined up the anti-sway bar , drilled and bolted in place. Mounting the brake hoses will require either a bracket or spacing away from the rail. If you bolt direct to the rail you will not have enough hose to make full turns. I mounted in the existing holes from the original brake hose brackets and used spacers on the bolt. Motor mounts. Since I am planning a 460 swap next year I scabbed mine in. Used the original mounts, cut off the bottoms and welded a 1/4" plate to them. Drilled a hole utilizing the CV crossmember as the 3rd point for the motor mount pinning.
Steering hoses. If at all possible get the ends that go in the rack. My front end did not come with them so I went searching the local junkyards. I merged the old to the new. The other small issue would be the bolt that holds them in.
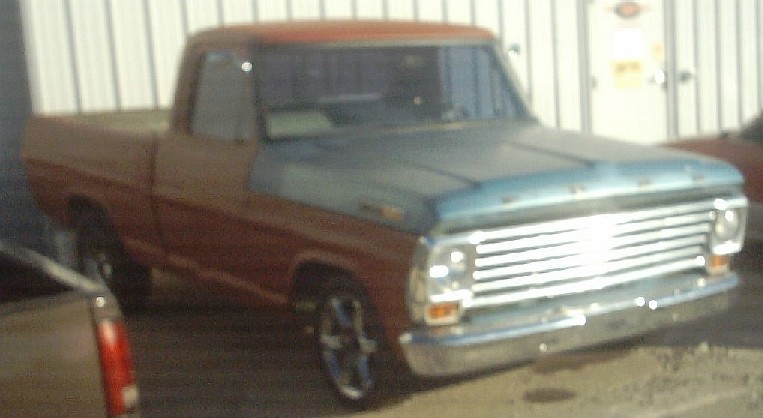
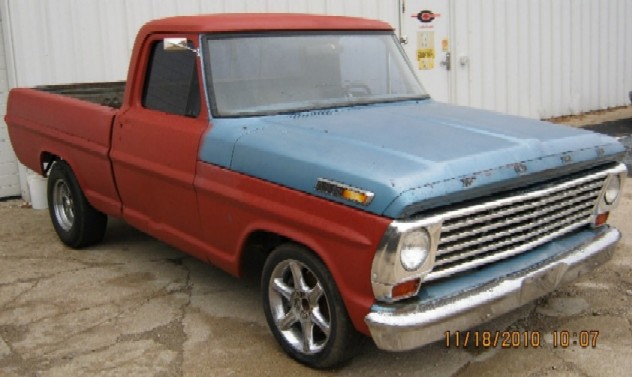
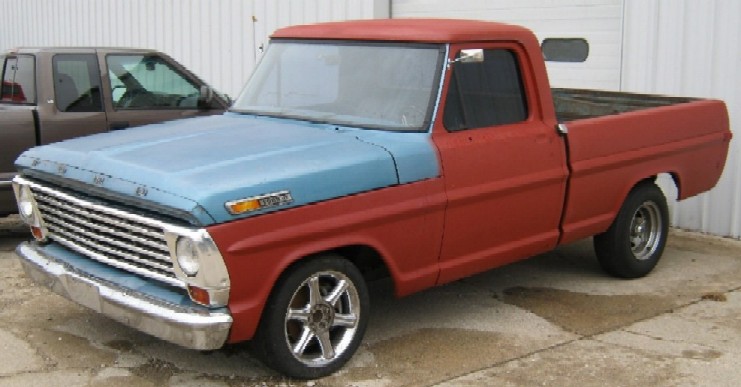
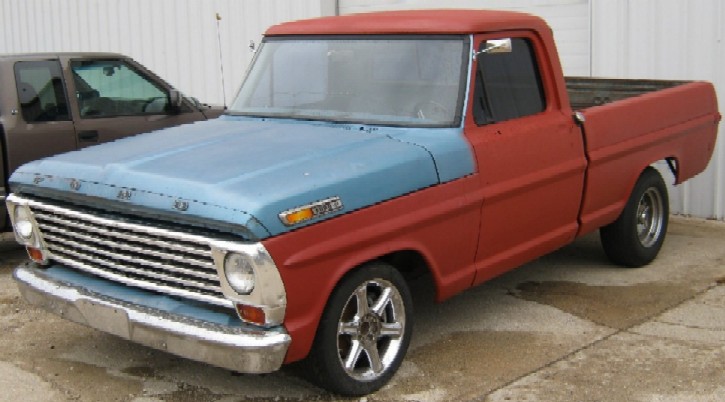
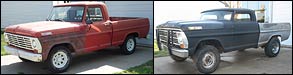
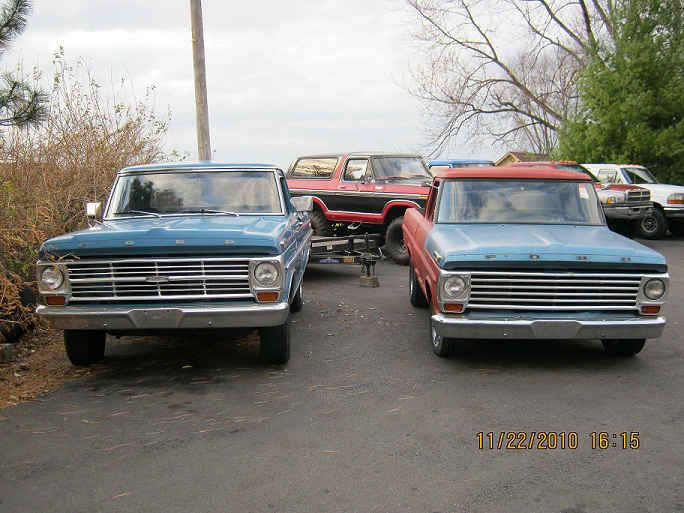
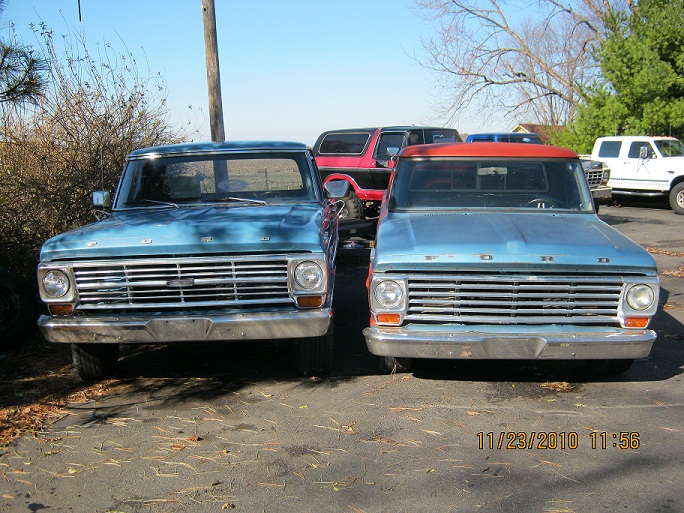
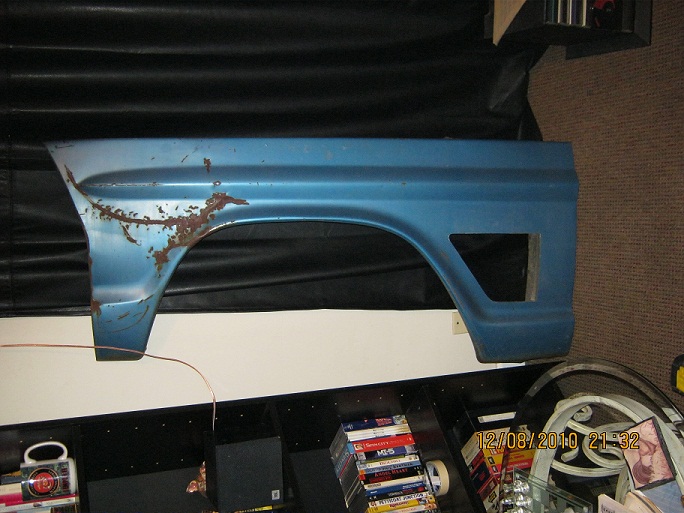
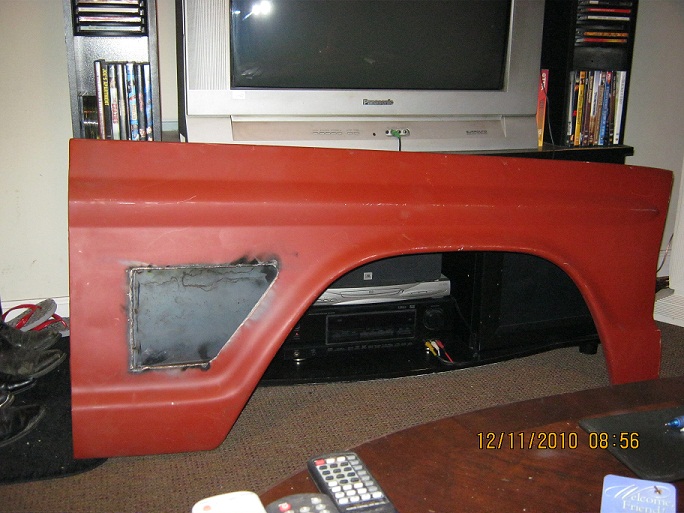
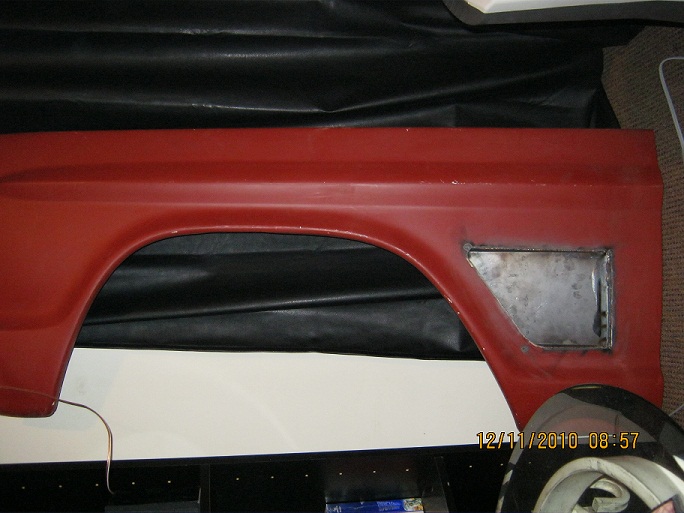
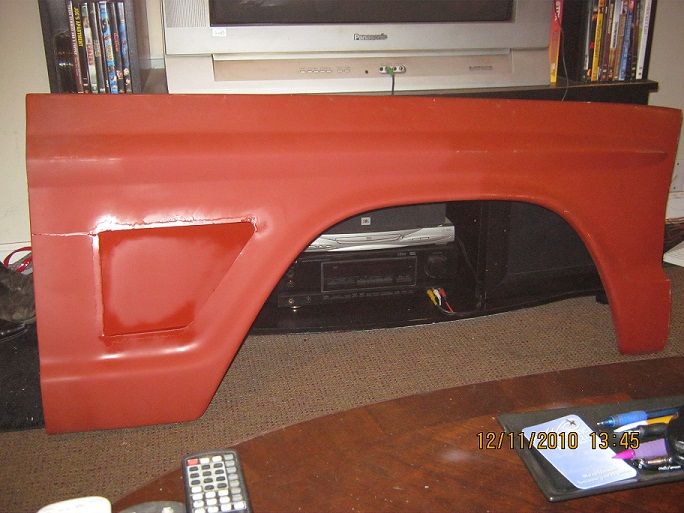
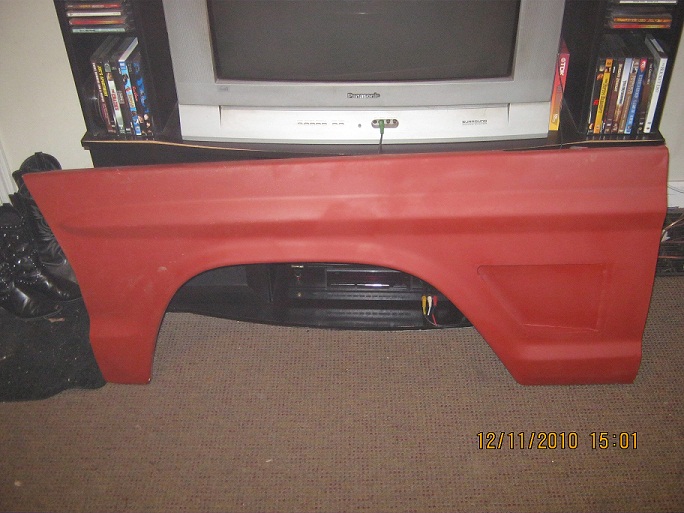
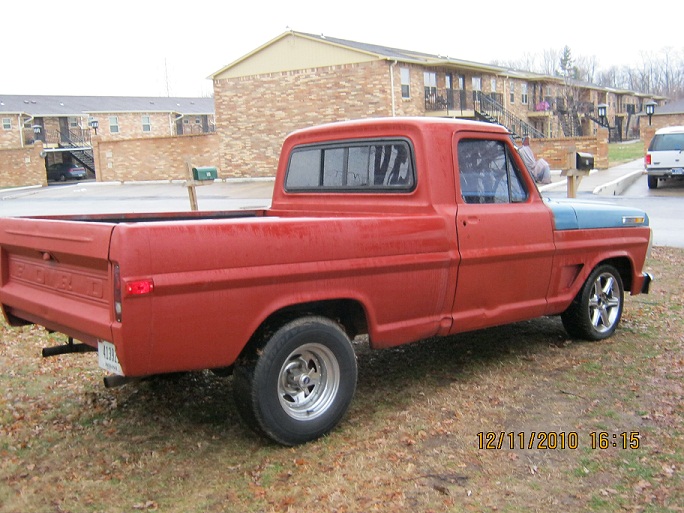
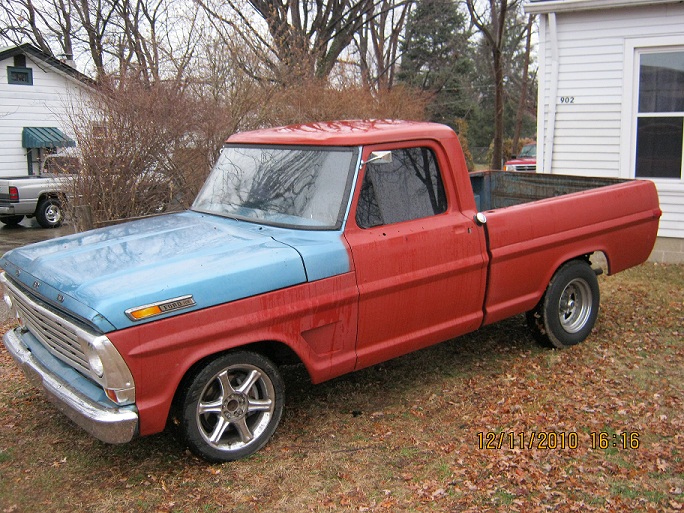
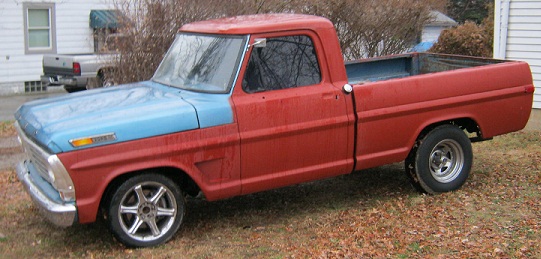
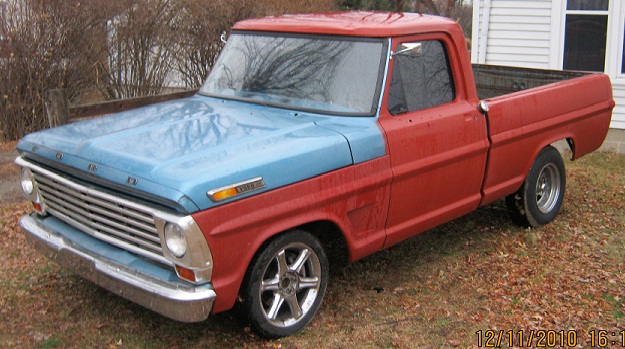
Have more pics to post. We put in a set of 1 1/2" dropped springs from Eaton Detroit Springs & cut the fenders to add fender scoops. When we did the suspension swap the truck rode very hard up front. With the new springs it rides much better. I even called Eaton Detroit and told them! I would highly recommend the swap to anyone. Most I know say it is way too much work for them. I don't think it was that bad but it was work. All well worth it though. We are now setting our sights to the truck IRS mount kit and getting the rear suspension done.